
Cobalt L4-2.4L VIN B (2006)
Parking Brake Cable: Adjustments
Park Brake Adjustment (Drum)
Park Brake Adjustment (Drum)
Caution: Refer to Brake Dust Caution in Service Precautions.
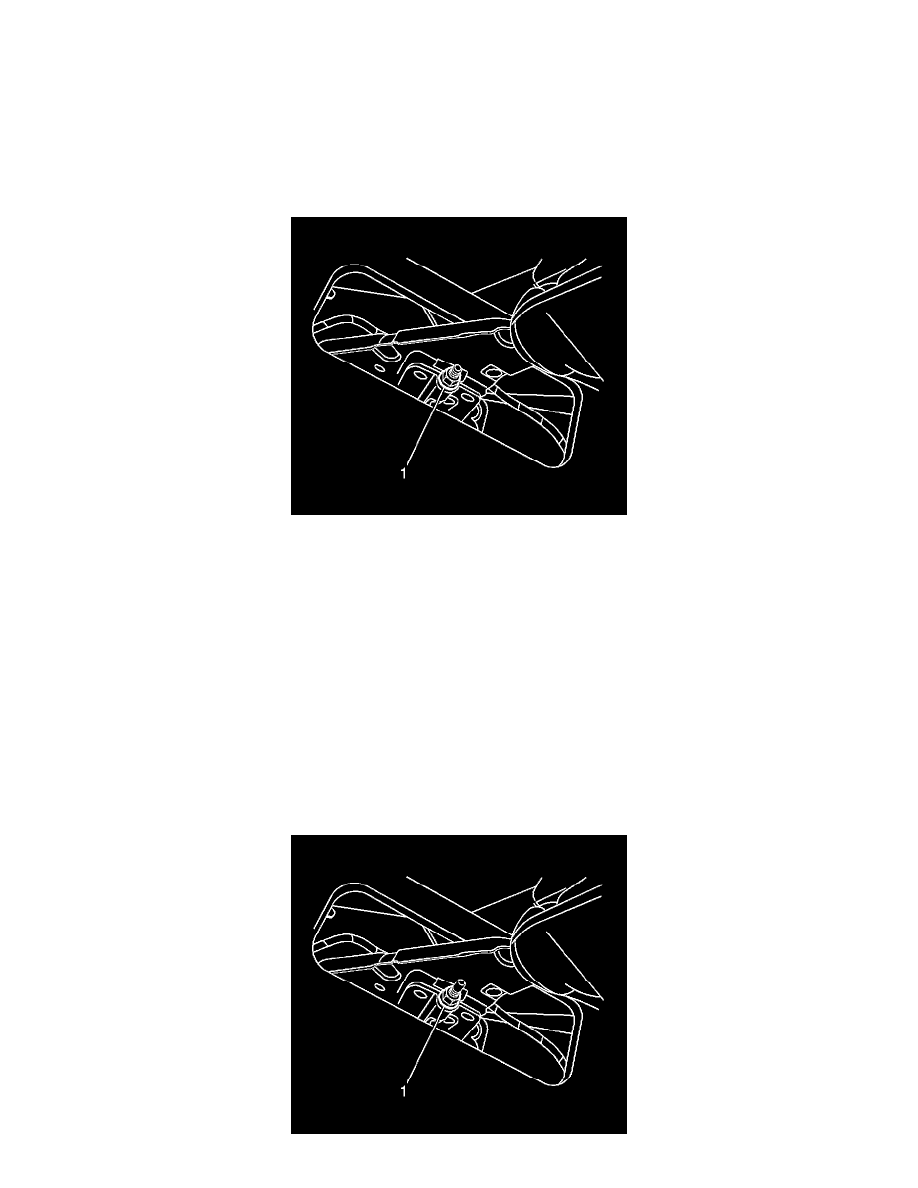
Important: The park brake cable adjusting nut is a nylon lock type. Use ONLY HAND TOOLS whenever tightening or loosening the adjusting nut.
1. Apply and fully release the park brake several times. Verify that the park brake lever releases completely.
2. Turn ON the ignition. Verify the red BRAKE warning lamp is not illuminated.
3. If the red BRAKE warning lamp is illuminated, verify the following:
^
The park brake lever is in the fully released position and against the stop.
^
There is no slack in the park brake cables.
4. If the red BRAKE warning lamp remained illuminated and there were no other visible causes, refer to Symptoms - Hydraulic Brakes in Hydraulic
Brakes.
5. Turn OFF the ignition.
6. Release the park brake lever boot from the floor console by applying light pressure inward on the sides of the boot retainer, and pull the boot back.
7. With the park brake lever in the released position, loosen the adjusting nut (1) enough to completely relieve tension on the front cable.
8. Raise and support the vehicle. Raise the vehicle just enough to allow rear tire and wheel assembly removal and rear drum adjustment.
9. Remove the rear tire and wheel assemblies.
10. Adjust the rear drum brakes.
11. Ensure there is no brake shoe drag after adjustment by rotating the brake drums. If drag exists, re-center the brake shoes and perform the brake
shoe adjustment again.
12. Install 2 wheel nuts to the wheel studs and firmly hand tighten in order to retain the brake drums.
13. Raise the park brake lever 6 detent positions.