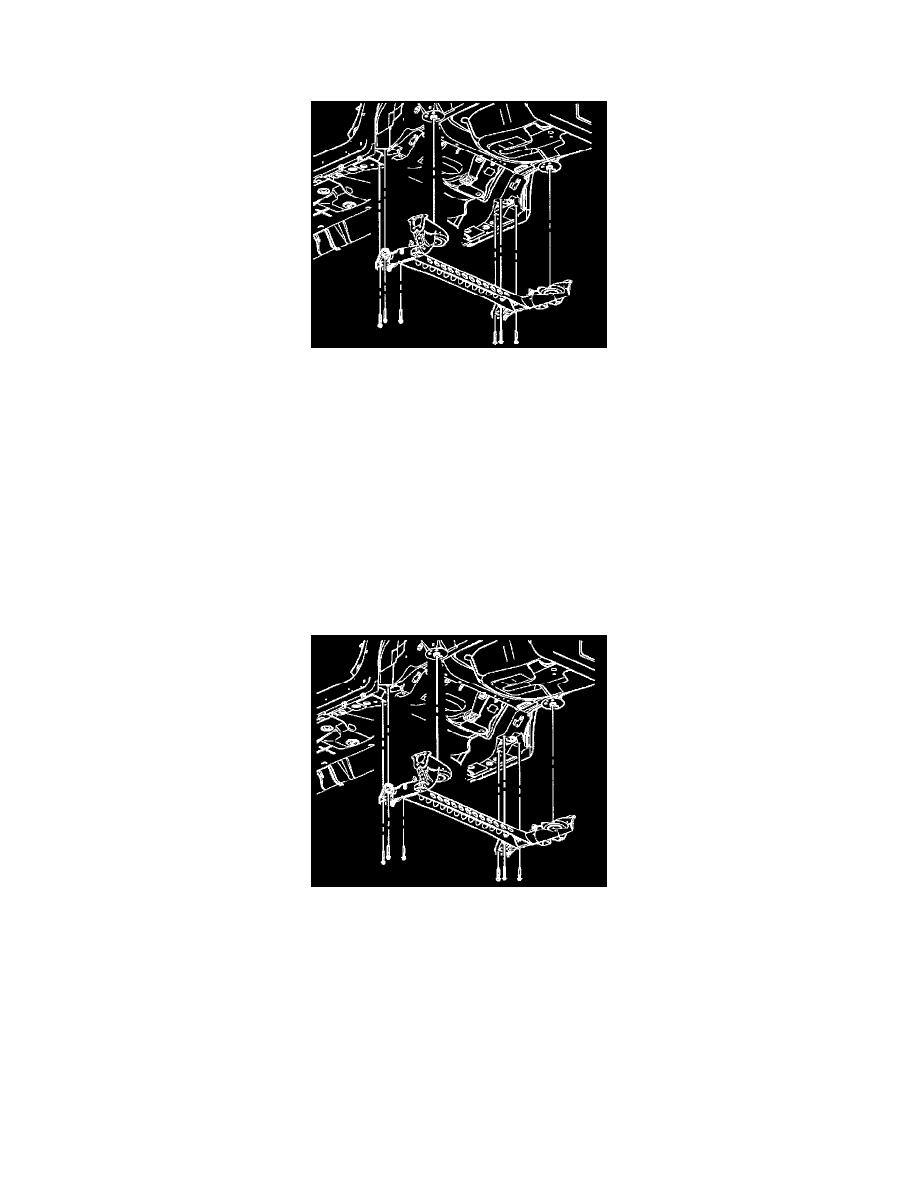
Cobalt L4-2.4L VIN B (2006)

12. Remove the wheel bearing/hub retaining nuts from both sides.
13. Remove the wheel bearing/hubs, with the brakes and backing plate as an assembly.
14. Remove all rear axle bushing bracket bolts.
15. Use the hydraulic lift table to lower the rear axle from the vehicle.
16. Remove the rear axle bushing through bolts and the park brake cable brackets.
17. Remove the rear coil spring lower seat from the axle.
Installation Procedure
1. Install the rear coil spring lower insulators to the axle.
2. Install the axle brackets to the axle bushings, with the alignment slot on the outboard side.
Important: The axle bushing through bolts must be installed with the bolt head facing inboard.
3. Loosely install the bushing bolts and nuts.
4. Place the axle on the hydraulic lift table.
5. Raise the axle into position.
6. Hand tighten the axle bracket to body bolts just enough to hold the brackets flush to the body.
Important:The axle through bolts must be tightened with the axle at the correct trim height and prior to torquing the axle bracket to body bolts.
7. Using the lift table, raise the axle to the proper trim height specification by measuring the vertical distance between the bottom edge of the upper
spring seat and the bottom of the notch in the lower spring seat.
Notice:Refer to Fastener Notice in Cautions and Notices.
8. Tighten the axle bushing through bolts.
Tighten the bolts to 90 Nm (66 lbs ft ) +60 degrees.
9. Insert two 12 mm diameter pins through the axle brackets into the underbody.
