
Colorado 2WD L4-2.8L VIN 8 (2004)
Seat Belt: Service and Repair
Front (Crew Cab)
SEAT BELT REPLACEMENT - FRONT (CREW CAB)
REMOVAL PROCEDURE
1. Disable the SIR system. Refer to SIR Disabling and Enabling Zone 2 and SIR Disabling and Enabling Zone 6 in Restraint Systems.
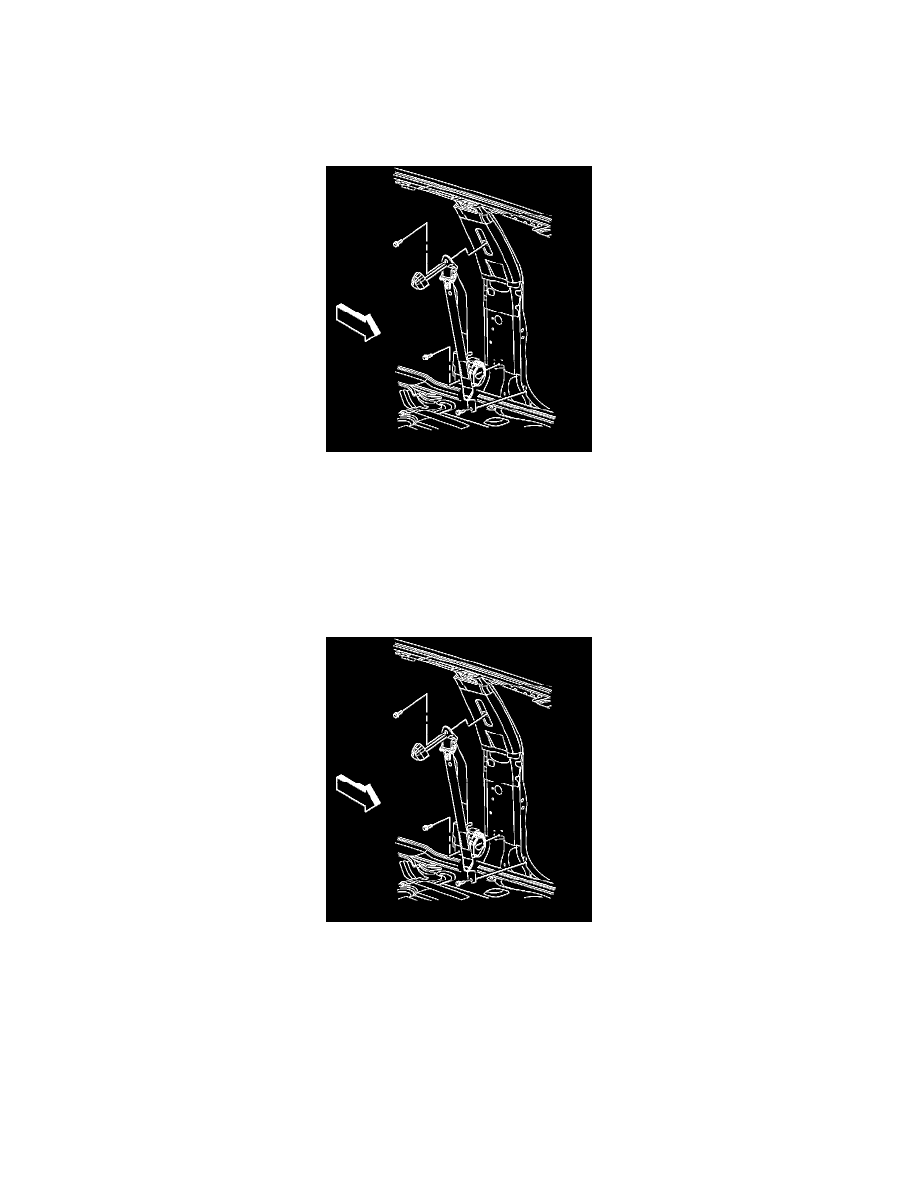
2. Open the front seat belt upper guide shoulder bolt trim cover.
3. Remove the front seat belt upper guide shoulder bolt.
4. Remove the lower center pillar trim panel.
5. Remove the front seat belt anchor bolt.
6. Disconnect the electrical connector from the retractor/pretensioner.
7. Remove the bolt that retains the seat belt retractor/pretensioner assembly to the body.
8. Remove the front seat belt assembly from the vehicle.
INSTALLATION PROCEDURE
1. Position the rear seat belt retractor/pretensioner assembly to the vehicle.
NOTE: Refer to Fastener Notice in Service Precautions.
2. Install the bolt which retains the seat belt retractor/pretensioner assembly to the body.
Tighten
Tighten the front seat belt retractor/pretensioner bolt to 52.5 N.m (39 lb ft).
3. Connect the electrical connector to the retractor/pretensioner.
4. Install the front seat belt upper guide with the bolt. Ensure that the seat belt webbing is not twisted.