
Colorado 2WD L5-3.5L VIN 6 (2005)
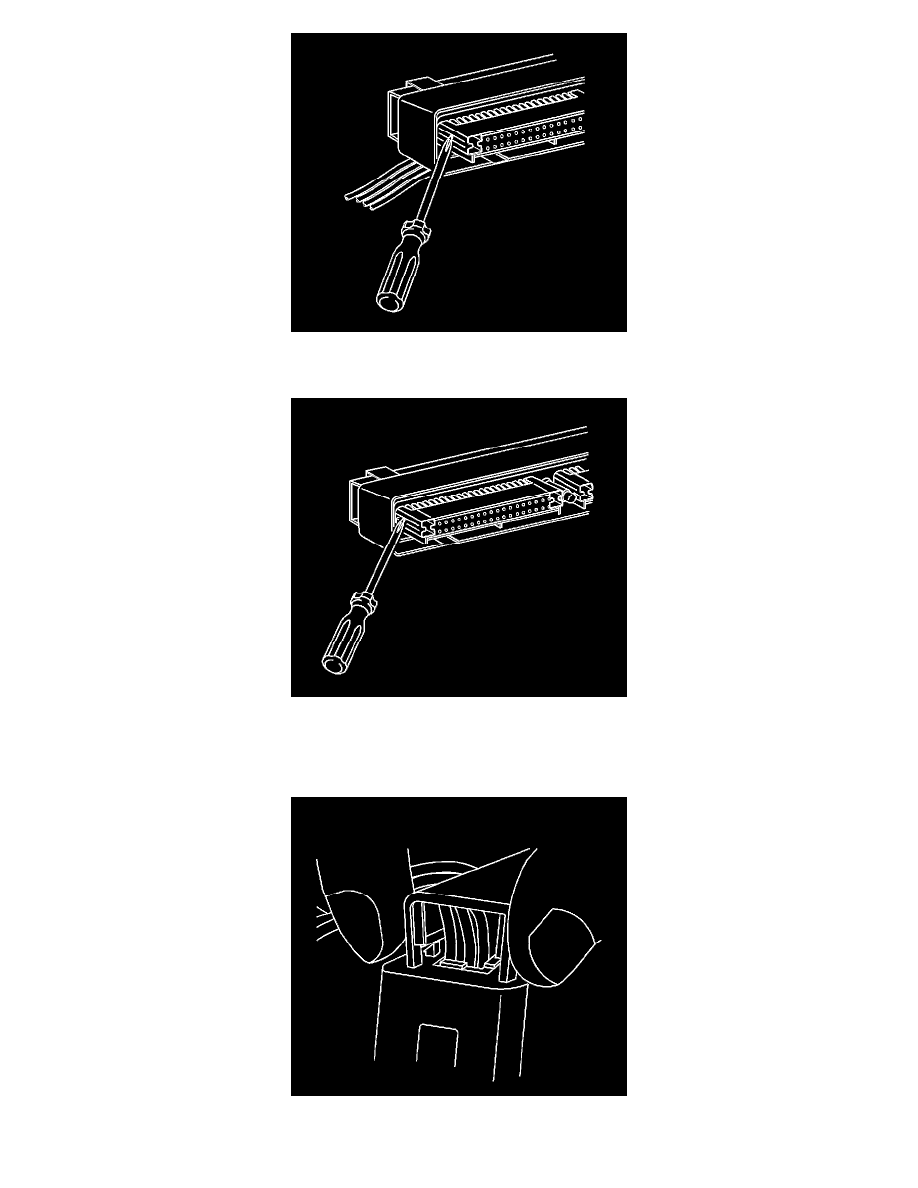
2. Locate the nose piece locking tabs that are positioned on the side of the connector nose piece. The connector nose piece acts as a terminal positive
assurance (TPA) and may be referred to as such.
3. Use a small flat-blade tool to push in one of the locking tabs while gently pulling on the same side of the nose piece.
4. Repeat the procedure for the other locking tab and remove the nose piece.
5. Remove the wire dress cover. The following is a general procedure for wire dress cover removal. Use this procedure as a guide, some dress cover
removal procedures may vary.
6. Use fingers to squeeze the 2 locking legs of the cover.