
Colorado 2WD L5-3.7L (2007)
Removal Procedure
1. Remove the lower body rear corner trim panel.
2. Remove the upper anchor bolt for the rear seat belt.
3. Remove the seat belt adjuster knob.
4. Remove the trim plate.
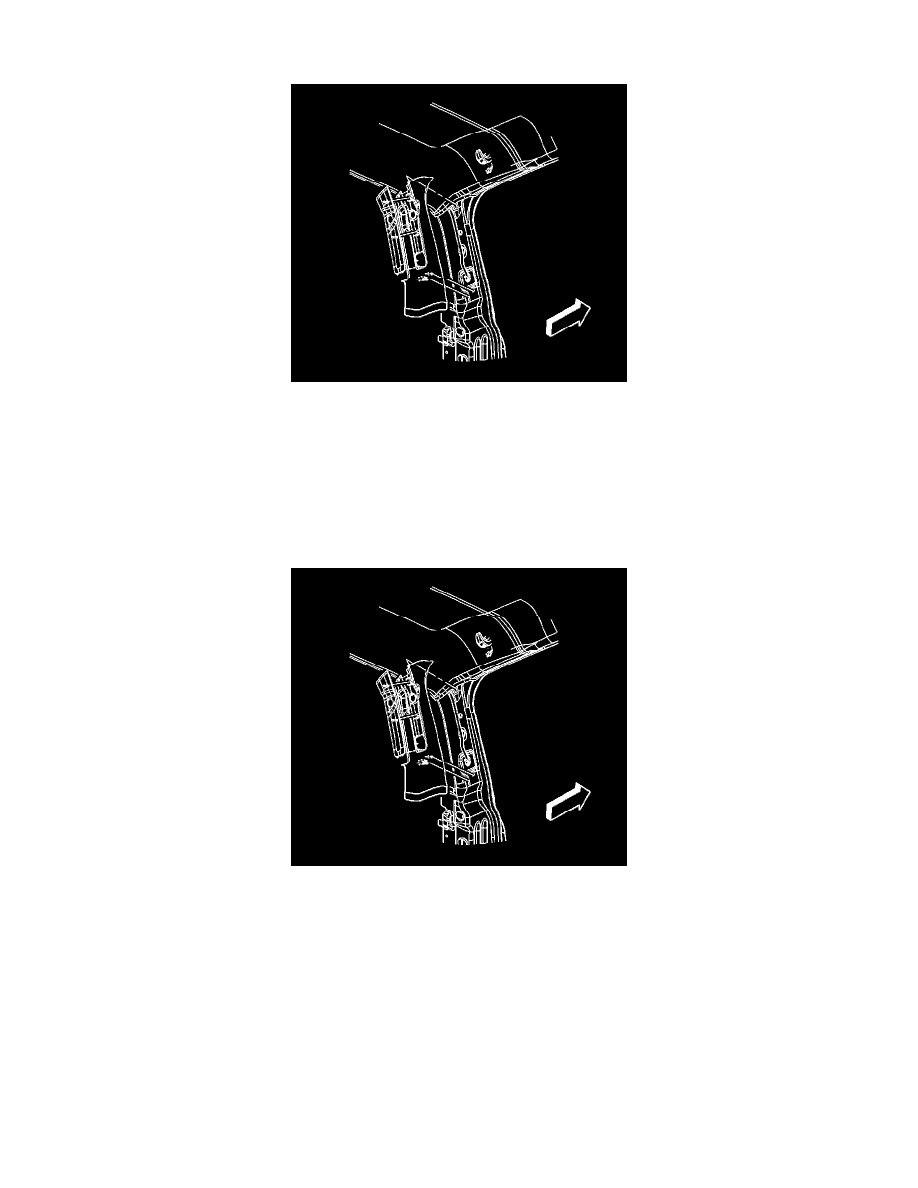
5. Grasp the top of the upper body rear corner trim panel and gently pull the panel away from the body to release the fasteners.
6. Remove any fasteners that may have pulled away from the panel and reinstall them to the back of the panel.
7. Remove the upper body rear corner trim panel from the vehicle.
Installation Procedure
1. Position the upper body rear corner trim panel.
2. Ensure that the panel fasteners are aligned with the holes in the body.
3. Install the upper body rear corner trim panel by pushing firmly against the body to seat the panel fasteners.
4. Install the trim plate.
5. Install the seat belt adjuster knob.
6. Install the upper anchor bolt for the front seat belt.
7. Install the lower body rear corner trim panel.
Center Pillar Lower Trim Panel Replacement
Center Pillar Lower Trim Panel Replacement
Removal Procedure