
Colorado 2WD V8-5.3L (2009)
Rear Door Striker: Adjustments
Door Lock Striker Adjustment
1. Ensure that the door is properly aligned within the door opening before proceeding with the striker adjustment. Refer to Front Side Door
Adjustment (See: Front Door/Adjustments) and Rear Door Adjustment (See: Adjustments).
2. Close the door onto the striker and note if the door drags on the striker causing the door to move upward or downward upon contact with the
striker. Also note closing effort to fully engage the latch.
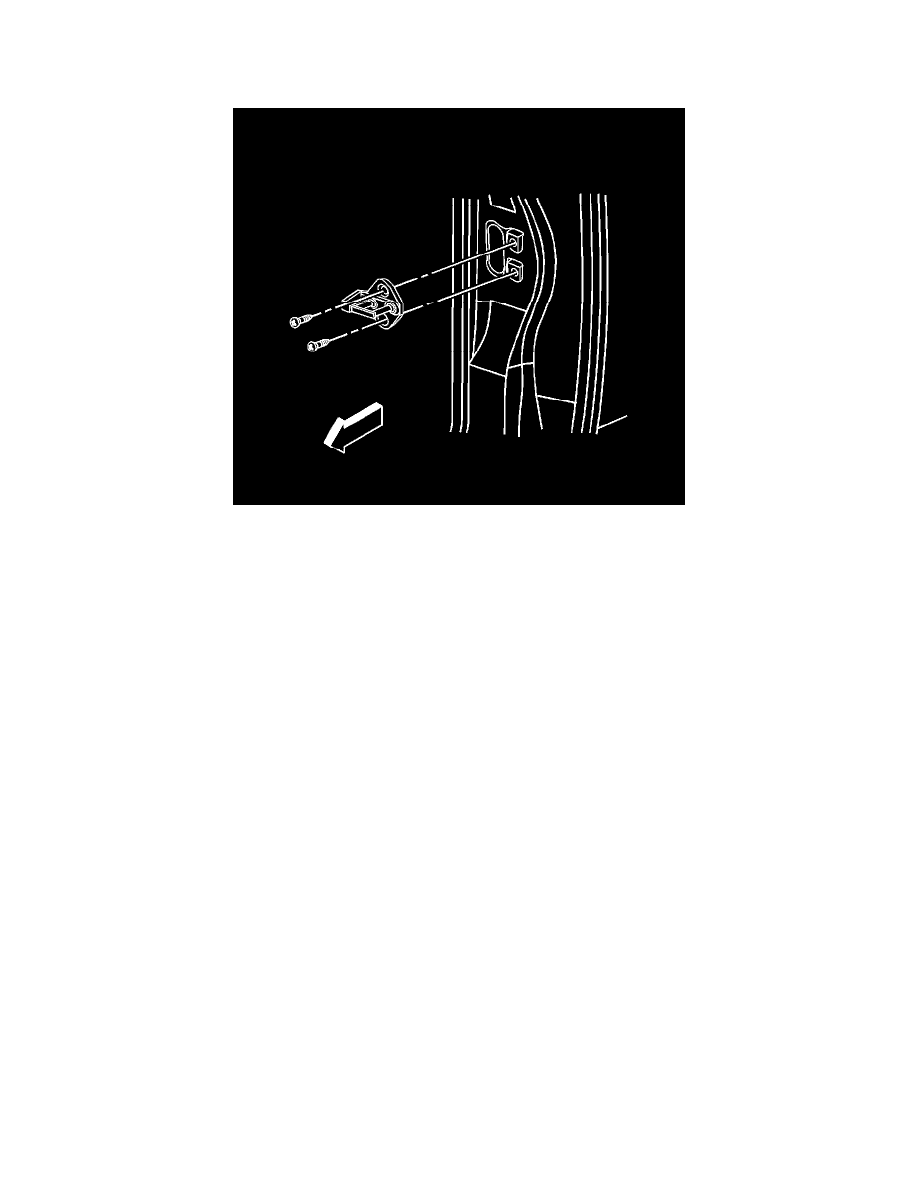
3. Mark the position of the door striker with a grease pencil.
4. Loosen the screws retaining the door striker to the body.
5. Move the striker to eliminate drag on the striker and door latch and to achieve the proper door position within the door opening. Start with the
up/down position, then position the striker to achieve proper alignment to the door opening. Set the in/out adjustment for the proper door seal
engagement ensuring that the door closing efforts are correct.
Caution: Refer to Fastener Caution (See: Service Precautions/Vehicle Damage Warnings/Fastener Caution).
6. Tighten the screws retaining the door striker to the body.
Tighten the door striker screws to 25 Nm (18 lb ft).