
Colorado 2WD V8-5.3L (2009)
Carpet: Service and Repair
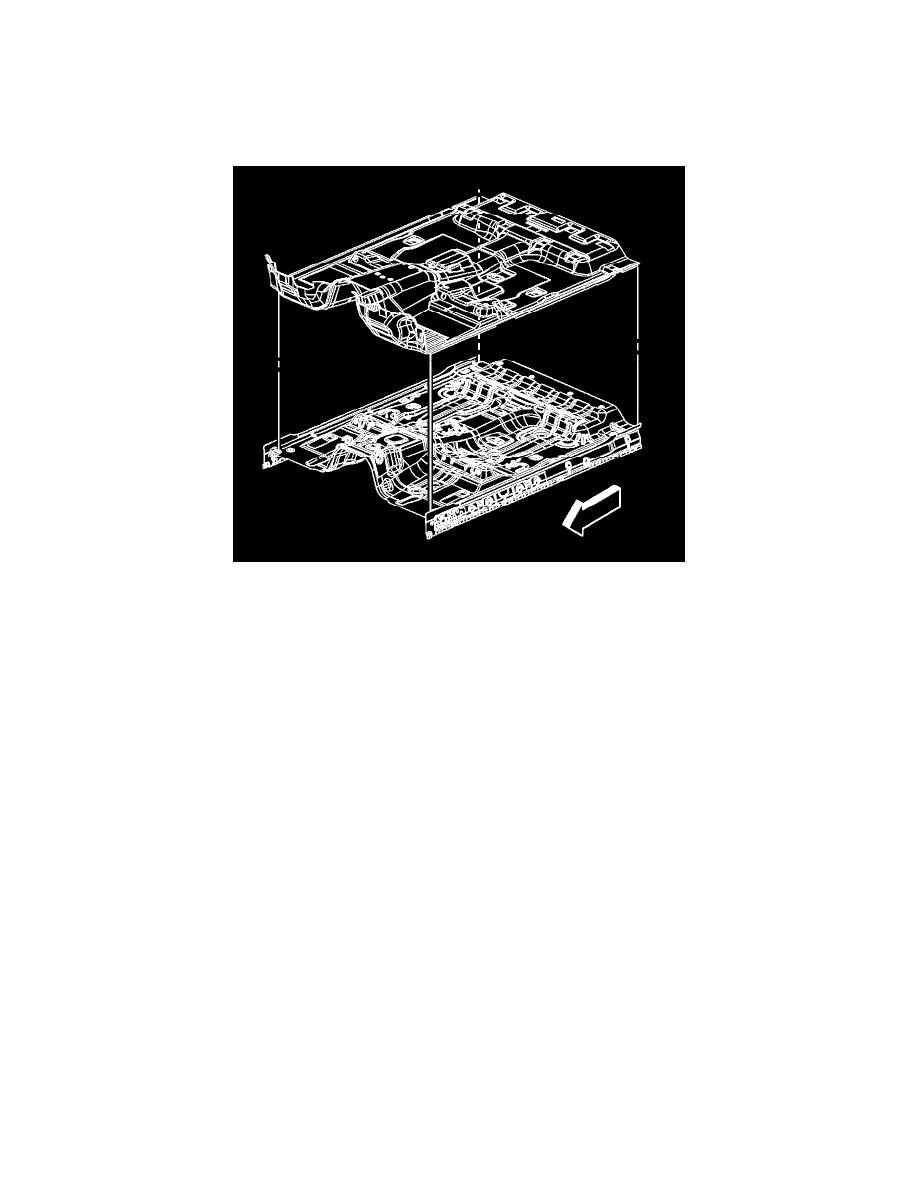
Floor Panel Carpet Replacement
Floor Panel Carpet Replacement
Removal Procedure
1. Remove the front seats. Refer to Split Bench Seat Replacement (See: Seats/Service and Repair/Split Bench Seat Replacement) or Front Seat
Replacement - Bucket (See: Seats/Service and Repair/Front Seat Replacement - Bucket).
2. Remove the rear seats, if equipped. Refer to Rear Bench Seat Replacement (See: Seats/Service and Repair/Rear Bench Seat Replacement).
3. Remove the storage bins, if equipped. Refer to Rear Storage Compartment Replacement (See: Utility Storage Compartment/Service and Repair).
4. Remove the jack and tool storage bracket. Refer to Jack and Tool Stowage Container Bracket Replacement (See: Jack/Service and Repair).
5. For extended and crew cabs, remove the jack tools from the floor.
6. Remove the floor console, if equipped. Refer to Console Replacement (Large w/Manual or Auto Transmission) (See: Console/Service and Repair
)Console Replacement (Small w/Manual Transmission) (See: Console/Service and Repair).
7. Remove the lower center instrument panel (I/P) trim. Refer to Instrument Panel Lower Center Trim Replacement (See: Dashboard / Instrument
Panel/Service and Repair).
8. Remove the front door sill plates. Refer to Front Side Door Sill Trim Plate Replacement (See: Scuff Plate/Service and Repair).
9. Remove the left hinge pillar trim panel. Refer to Body Hinge Pillar Trim Panel Replacement - Left Side (See: Trim Panel/Service and Repair).
10. Remove the right hinge pillar trim panel. Refer to Body Hinge Pillar Trim Panel Replacement - Right Side (See: Trim Panel/Service and Repair).
11. Remove the rear door sill plates, if equipped. Refer to Rear Side Door Sill Trim Plate Replacement (See: Scuff Plate/Service and Repair).
12. Remove the lower center pillar trim panels, if equipped. Refer to Center Pillar Lower Trim Panel Replacement (See: Trim Panel/Service and
Repair).
13. Remove the body rear trim panel. Refer to Body Rear Trim Panel Replacement (Crew Cab) (See: Trim Panel/Service and Repair)Body Rear
Trim Panel Replacement (Regular Cab) (See: Trim Panel/Service and Repair)Body Rear Trim Panel Replacement (Extended Cab) (See: Trim
Panel/Service and Repair).
14. Remove the lower body rear corner trim panels. Refer to Body Side Rear Lower Trim Panel Replacement (Regular Cab) (See: Trim
Panel/Service and Repair)Body Side Rear Lower Trim Panel Replacement (Crew Cab) (See: Trim Panel/Service and Repair)Body Side Rear
Lower Trim Panel Replacement (Extended Cab) (See: Trim Panel/Service and Repair).
15. Remove the carpet from the vehicle.
Installation Procedure