
Colorado 2WD V8-5.3L (2009)
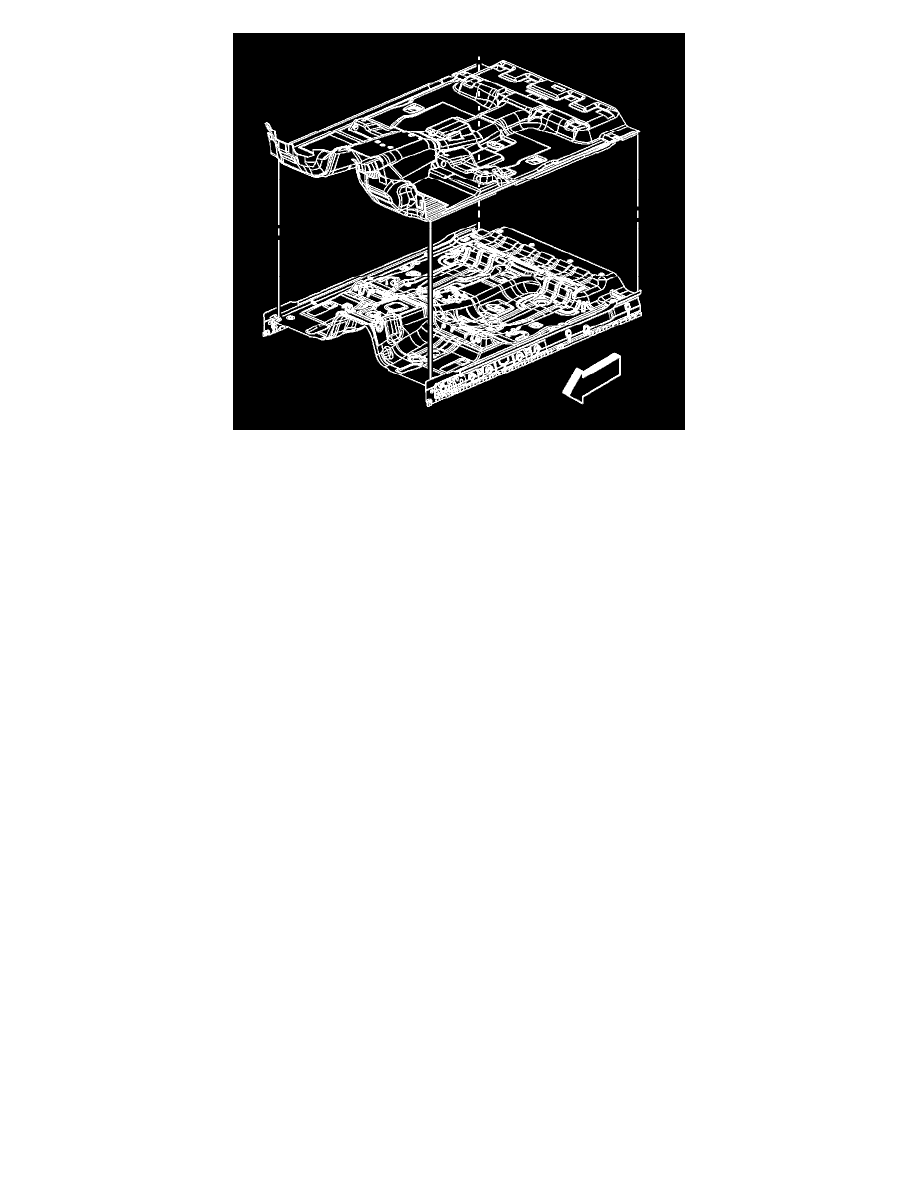
1. Position the carpet in the vehicle.
2. Install the lower body rear corner trim panels. Refer to Body Side Rear Lower Trim Panel Replacement (Regular Cab) (See: Trim Panel/Service
and Repair)Body Side Rear Lower Trim Panel Replacement (Crew Cab) (See: Trim Panel/Service and Repair)Body Side Rear Lower Trim Panel
Replacement (Extended Cab) (See: Trim Panel/Service and Repair).
3. Install the body rear trim panel. Refer to Body Rear Trim Panel Replacement (Crew Cab) (See: Trim Panel/Service and Repair)Body Rear Trim
Panel Replacement (Regular Cab) (See: Trim Panel/Service and Repair)Body Rear Trim Panel Replacement (Extended Cab) (See: Trim
Panel/Service and Repair).
4. Install the lower center pillar trim panels, if equipped. Refer to Center Pillar Lower Trim Panel Replacement (See: Trim Panel/Service and Repair
).
5. Install the rear door sill plates, if equipped. Refer to Rear Side Door Sill Trim Plate Replacement (See: Scuff Plate/Service and Repair).
6. Install the left hinge pillar trim panel. Refer to Body Hinge Pillar Trim Panel Replacement - Left Side (See: Trim Panel/Service and Repair).
7. Install the right hinge pillar trim panel. Refer to Body Hinge Pillar Trim Panel Replacement - Right Side (See: Trim Panel/Service and Repair).
8. Install the front door sill plates. Refer to Front Side Door Sill Trim Plate Replacement (See: Scuff Plate/Service and Repair).
9. Install the lower center I/P trim. Refer to Instrument Panel Lower Center Trim Replacement (See: Dashboard / Instrument Panel/Service and
Repair).
10. Install the floor console, if equipped. Refer to Console Replacement (Large w/Manual or Auto Transmission) (See: Console/Service and Repair
)Console Replacement (Small w/Manual Transmission) (See: Console/Service and Repair).
11. For extended and crew cabs, install the jack tools to the floor.
12. Install the jack and tool storage bracket. Refer to Jack and Tool Stowage Container Bracket Replacement (See: Jack/Service and Repair).
13. Install the storage bins, if equipped. Refer to Rear Storage Compartment Replacement (See: Utility Storage Compartment/Service and Repair).
14. Install the rear seats, if equipped. Refer to Rear Bench Seat Replacement (See: Seats/Service and Repair/Rear Bench Seat Replacement).
15. Install the front seats. Refer to Split Bench Seat Replacement (See: Seats/Service and Repair/Split Bench Seat Replacement) or Front Seat
Replacement - Bucket (See: Seats/Service and Repair/Front Seat Replacement - Bucket).