
Colorado 2WD V8-5.3L (2009)
Condenser HVAC: Service and Repair
Air Conditioning Condenser Replacement
Tools Required
J 39400-A Halogen Leak Detector
Removal Procedure
1. Remove the radiator. Refer to Radiator Replacement (See: Engine, Cooling and Exhaust/Cooling System/Radiator/Service and Repair).
2. Recover the refrigerant. Refer to Refrigerant Recovery and Recharging (See: Service and Repair/Refrigerant Recovery and Recharging).
3. Remove the receiver dryer.
4. Remove the condenser inlet hose bolt.
5. Remove the condenser inlet hose.
6. Remove the condenser outlet hose bolt.
7. Remove the condenser outlet hose.
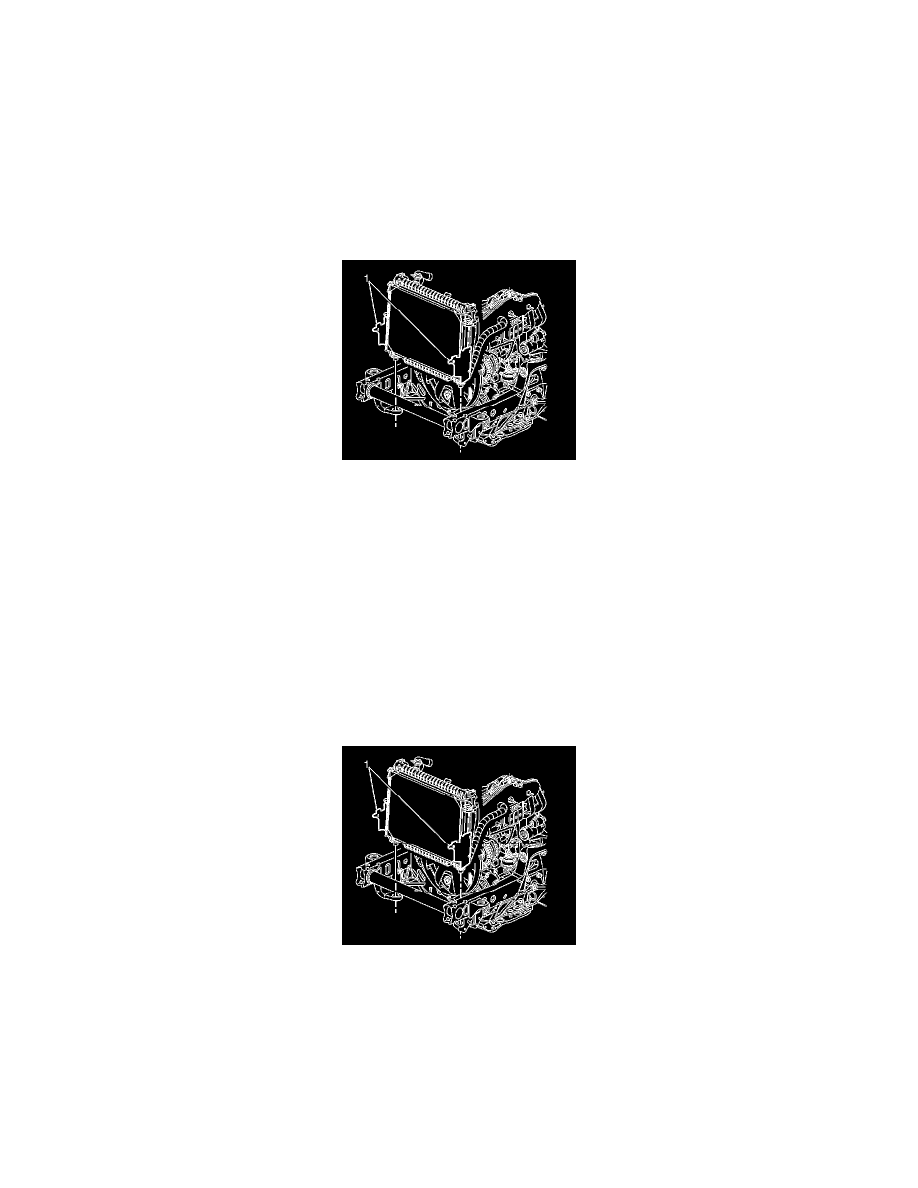
8. Remove the condenser from mounts on the radiator (1).
9. Remove the condenser.
Installation Procedure
Note: If replacing the condenser, add the refrigerant oil to the condenser. Refer to Refrigerant System Capacities (See: Specifications/Capacity
Specifications) for the capacity information.
1. Install the condenser to the radiator.
2. If replacing the condenser, transfer the components from the old condenser as necessary.
3. Install the condenser to the mounts on the radiator (1).
Caution: Refer to Fastener Caution (See: Service Precautions/Vehicle Damage Warnings/Fastener Caution).
4. Install the condenser retaining bolts to the radiator. Tighten the bolts to 28 Nm (21 lb ft).
5. Install the receiver dyer.
6. Install the condenser inlet hose.
7. Install the condenser inlet hose bolt. Tighten the bolts to 20 Nm (15 lb ft).
8. Install the condenser outlet hose.
9. Install the condenser outlet hose bolt. Tighten the bolts to 20 Nm (15 lb ft).
10. Install the radiator. Refer to Radiator Replacement (See: Engine, Cooling and Exhaust/Cooling System/Radiator/Service and Repair).