
Colorado 2WD V8-5.3L (2009)
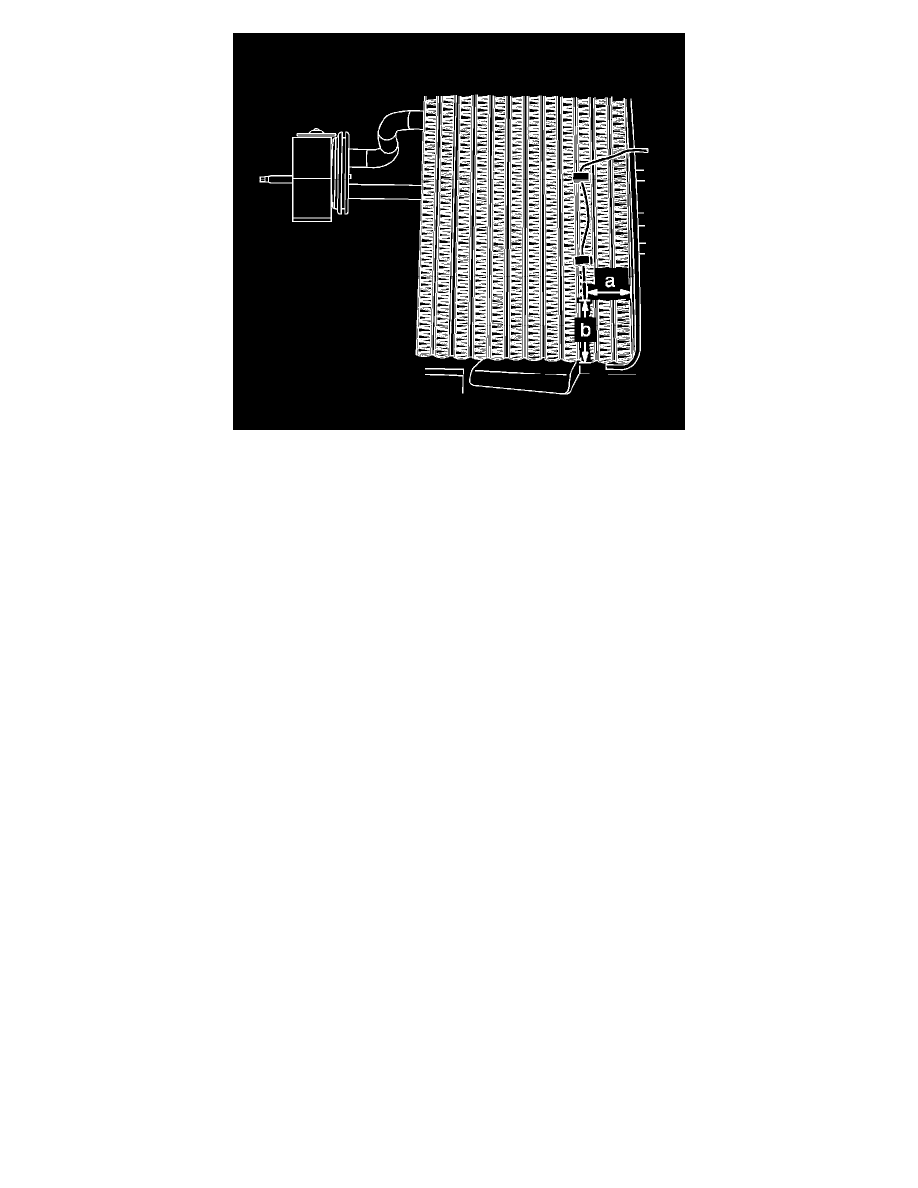
1. Install the evaporator temperature sensor to the evaporator core. Place the sensor approximately 3.5 cm (1.4 in) from the side (a) and 5 cm (2 in)
from the bottom (b) corner of the evaporator core.
Note: Improper wire alignment will pinch and may cut the sensor wires.
2. Align the evaporator temperature sensor wires with the opening in the upper HVAC module case.
3. Install the evaporator core. Refer to Air Conditioning Evaporator Core Replacement (See: Evaporator Core/Service and Repair).
4. Cut the evaporator temperature sensor from the replacement assembly.
5. Connect the original sensor wire to the replacement assembly. Refer to Splicing Copper Wire Using Splice Sleeves (See: Testing and
Inspection/Component Tests and General Diagnostics).
6. Connect the electrical connector to the evaporator temperature control module.
Caution: Refer to Fastener Caution (See: Service Precautions/Vehicle Damage Warnings/Fastener Caution).
7. Install the mounting screw to the control module. Tighten the screw to 1.9 Nm (17 lb in).
8. Install the radio. Refer to Radio Replacement (See: Accessories and Optional Equipment/Radio, Stereo, and Compact Disc/Radio/Stereo/Service
and Repair/Radio Replacement).