
Colorado 2WD V8-5.3L (2009)
14. Install the pinion yoke.
Align the marks made during removal.
15. Seat the pinion yoke onto the pinion shaft by tapping it with a soft-faced hammer until a few pinion shaft threads show through the yoke.
16. Install the washer and a new pinion nut.
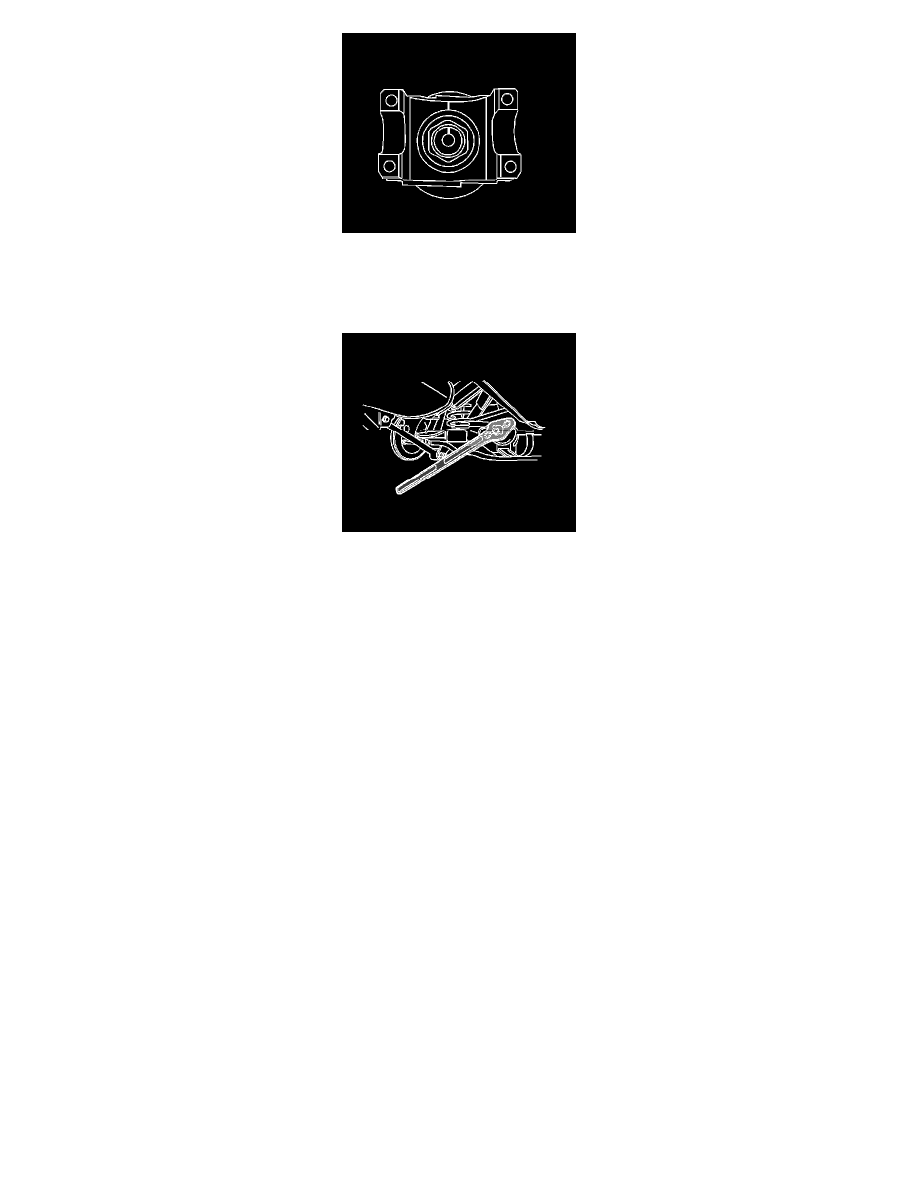
17. Install the J 8614-01 onto the pinion yoke as shown.
Note: If the rotating torque is exceeded, the pinion will have to be removed and a new collapsible spacer installed.
18. Install the pinion yoke. Refer to Drive Pinion Flange/Yoke and/or Oil Seal Replacement (See: Pinion Flange/Service and Repair/Rear Drive Axle
).
19. Install the differential. Refer to Differential Replacement (See: Service and Repair/Removal and Replacement/Rear Drive Axle/Differential
Replacement).
20. Perform a gear tooth contact pattern check on the pinion and the ring gear. Refer to Gear Tooth Contact Pattern Inspection (See: Service and
Repair/Removal and Replacement/Rear Drive Axle/Gear Tooth Contact Pattern Inspection).
21. Install the axle shafts. Refer to Rear Axle Shaft Replacement (See: Drive Axles, Bearings and Joints/Axle Shaft Assembly/Axle Shaft/Service and
Repair).
22. Fill the axle with axle lubricant. Use the proper fluid. Refer to Rear Axle Lubricant Replacement (8.0 Inch Axle) (See: Fluid -
Differential/Service and Repair/Removal and Replacement/Rear Drive Axle/Rear Axle Lubricant Replacement (8.0 Inch Axle))Rear Axle
Lubricant Replacement (8.6 Inch Axle) (See: Fluid - Differential/Service and Repair/Removal and Replacement/Rear Drive Axle/Rear Axle
Lubricant Replacement (8.6 Inch Axle)).
23. Lower the vehicle.