
Colorado 4WD L4-2.9L (2008)
3. Install the rear shoulder belt guide.
4. Install the jack and tool storage bracket. Refer to Jack and Tool Stowage Container Bracket Replacement (Regular Cab) (See: ) .
5. Install the folding seat. Refer to Folding Seat Replacement (Extended Cab) (See: Seats/Service and Repair/Folding Seat Replacement (Extended
Cab)) .
6. Install the rear seat back. Refer to Rear Seat Back Replacement (Crew Cab) (See: Seats/Seat Back/Service and Repair/Rear Seat Back
Replacement (Crew Cab))Rear Seat Back Replacement (Extended Cab) (See: Seats/Seat Back/Service and Repair/Rear Seat Back Replacement
(Extended Cab)) .
Body Rear Trim Panel Replacement (Regular Cab)
Body Rear Trim Panel Replacement (Regular Cab)
Removal Procedure
1. Remove the front seats. Refer to Front Seat Replacement - Bucket (See: Seats/Service and Repair/Front Seat Replacement - Bucket) or Split
Bench Seat Replacement (See: Seats/Service and Repair/Split Bench Seat Replacement) .
2. Remove the jack and tool storage bracket. Refer to Jack and Tool Stowage Container Bracket Replacement (Regular Cab) (See: ) .
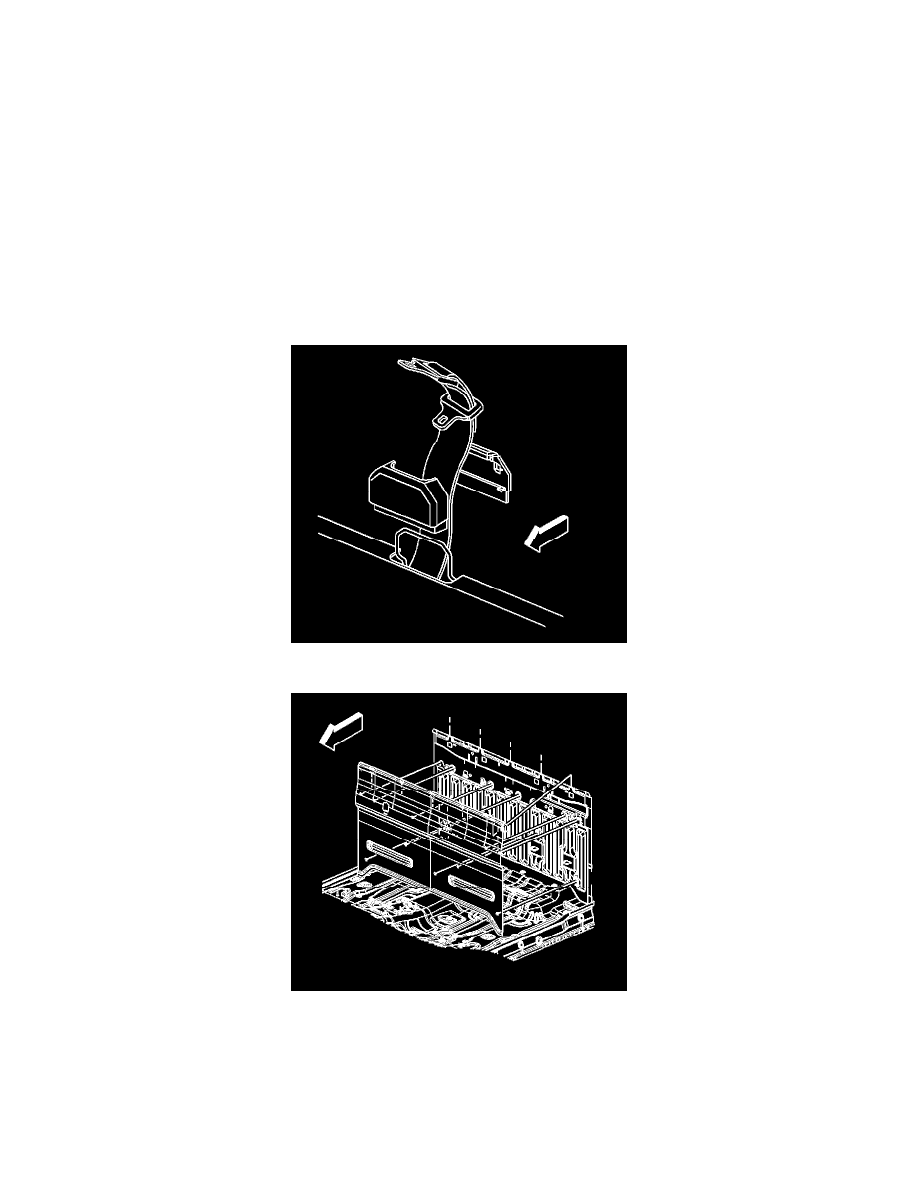
3. Remove the rear shoulder belt guide.
4. Grasp the lower edge of the body rear trim panel and pull to release the fasteners from the sheet metal.
5. Raise the panel to unhook it from the sheet metal along the lower edge of the rear window.
6. Remove any fasteners that may have pulled away from the panel and reinstall them to the back of the panel.
7. Remove the body rear trim panel from the vehicle.
Installation Procedure