
Colorado 4WD L4-2.9L (2008)
Important: The mating surface of the ring gear and the differential case must be clean and free of burrs before installing the ring gear.
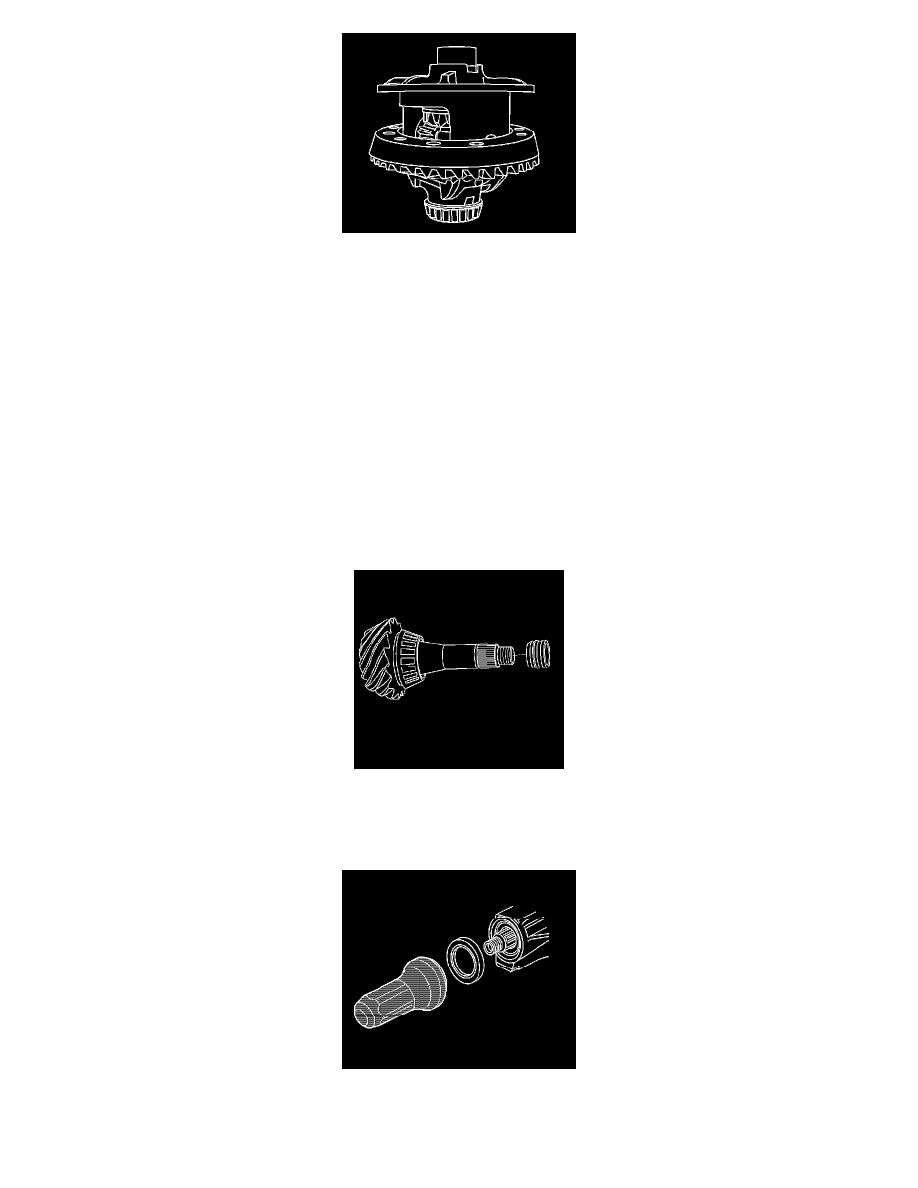
1. Install the ring gear to the differential case. Refer to Differential Case Assembly Disassemble (See: Service and Repair/Overhaul/Front Drive
Axle/Differential Case Assembly Disassemble) .
2. Install the new ring gear bolts.
Hand start each bolt to ensure that the ring gear is properly installed to the differential case.
Notice: Refer to Fastener Notice (See: Service Precautions/Vehicle Damage Warnings/Fastener Notice) .
3. Tighten the new ring gear bolts alternately and in stages, gradually pulling the ring gear onto the differential case.
Tighten the ring gear bolts in sequence to 120 N.m (89 lb ft).
4. Install the drive pinion bearing cups. Refer to Drive Pinion Bearings Replacement (See: Pinion Bearing/Service and Repair/Front Drive Axle) .
5. Determine the selective shim thickness for the pinion gear. See Differential Side Bearing Preload Adjustment Procedure below.
6. Install the selective shim onto the pinion.
7. Install the inner pinion bearing onto the pinion. Refer to Drive Pinion Bearings Replacement (See: Pinion Bearing/Service and Repair/Front Drive
Axle) .
8. Install a new collapsible spacer.
9. Lubricate the pinion bearings with axle lubricant. Refer to Fluid and Lubricant Recommendations (See: Maintenance/Service Intervals) .
10. Install the pinion to the axle housing.
11. Install the outer pinion bearing.
12. Install a new pinion oil seal using the J 21128.
13. Apply sealant, GM P/N 12346004 (Canadian P/N 10953480) or equivalent, to the splines of the pinion yoke.