
Colorado 4WD L4-2.9L (2008)
Transfer Case Shift Control Module
1. If replacing the bracket, install the bracket to the floor panel.
Notice: Refer to Fastener Notice.
2. Install the 2 fasteners retaining the bracket to the floor panel.
Tighten the fasteners to 9 N.m (80 lb in).
3. Position the TCCM to the bracket.
4. Connect the electrical connectors.
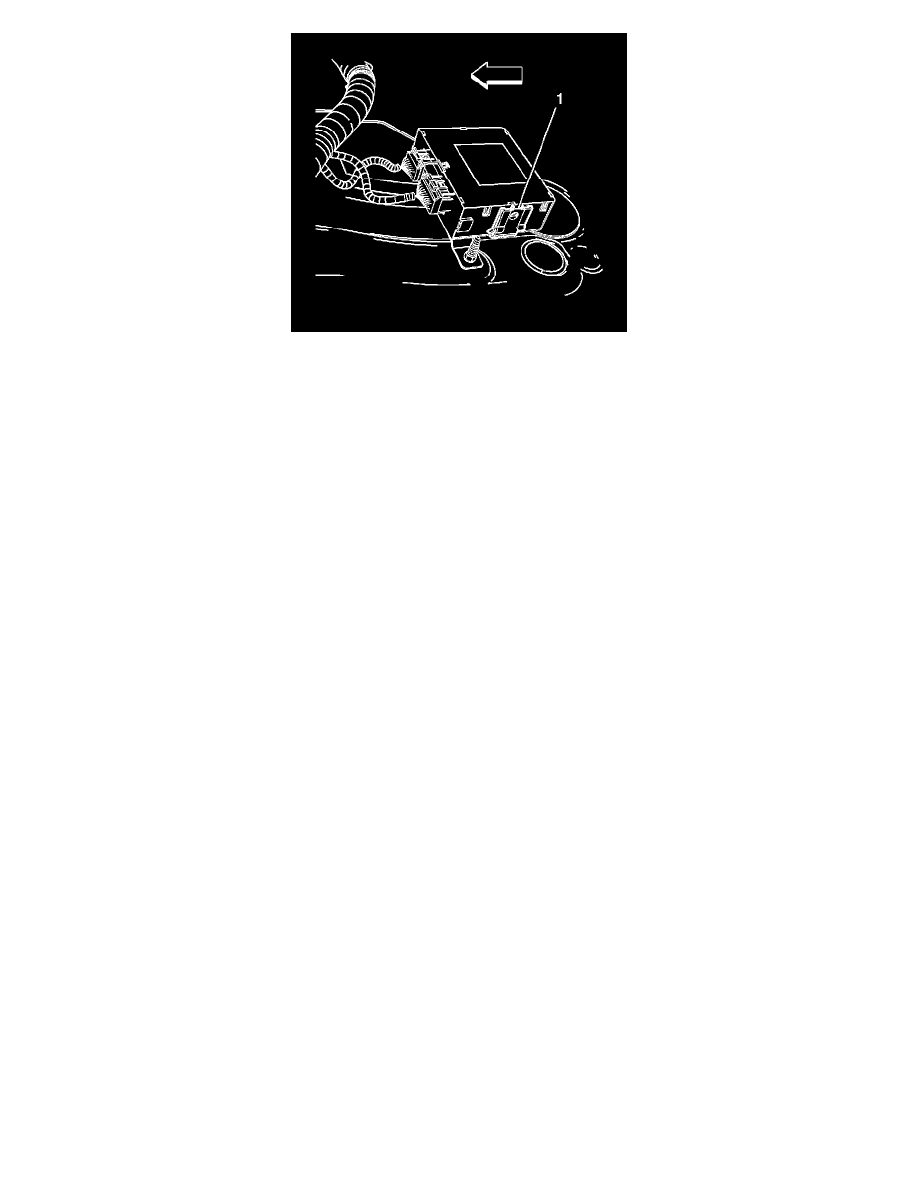
5. Install the TCCM to the bracket, ensuring the retaining tabs (1) are fully engaged.
6. Install the left center pillar. Refer to Center Pillar Lower Trim Panel Replacement (See: Body and Frame/Interior Moulding / Trim/Trim
Panel/Service and Repair) .
7. Install the left hinge pillar. Refer to Body Hinge Pillar Trim Panel Replacement - Left Side (See: Body and Frame/Interior Moulding / Trim/Trim
Panel/Service and Repair) .
8. Install the left front sill plate. Refer to Front Side Door Sill Plate Replacement (See: Body and Frame/Interior Moulding / Trim/Scuff
Plate/Service and Repair) .
9. Install the drivers bucket seat or split bench seat. Refer to Front Seat Replacement - Bucket (See: Body and Frame/Seats/Service and Repair/Front
Seat Replacement - Bucket) or Split Bench Seat Replacement (See: Body and Frame/Seats/Service and Repair/Split Bench Seat Replacement) .
10. Refer to Control Module References (See: Testing and Inspection/Programming and Relearning) for replacement and setup information.