
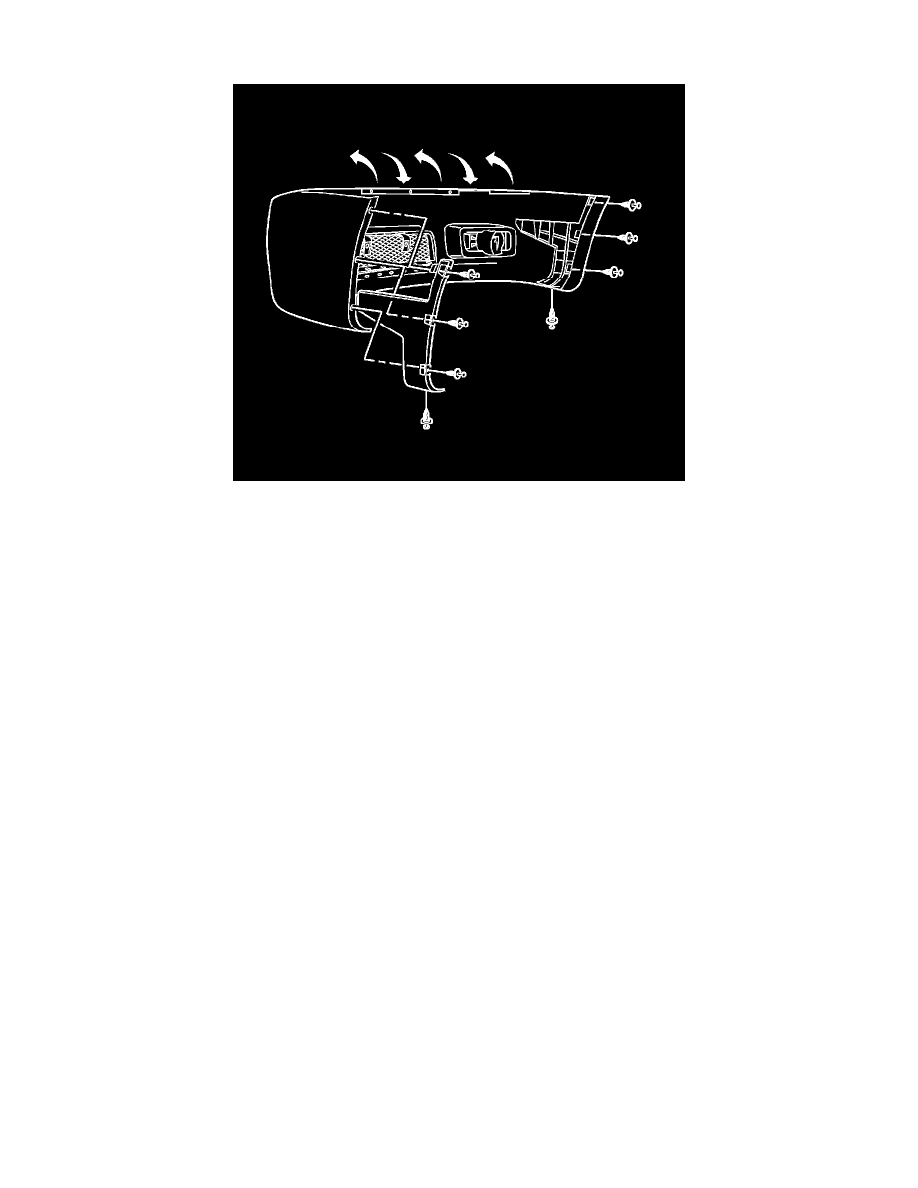
Colorado 4WD L5-3.5L VIN 6 (2005)
*
Install the lower grille.
*
Install the fog lamps.
2. Ensure that the bumper surface and the tape contact areas are clean and dry.
3. Warm the surface with a heat gun 152 mm (6 in) from the surface to a minimum of 21°C (70°F).
Important: Do NOT touch the adhesive backing.
4. Apply one side of the adhesive strip backing to the fascia center.
5. Replace the adhesive tape 150 mm (6 in) long 25 mm (1 in) wide in the center of the fascia.
6. Peel off the tape liner from the adhesive strip backing.
7. Position the fascia to the bumper.
8. Hand roll the fascia over the bumper edge in order to ensure proper adhesion in the center.
9. Raise and support the vehicle. Refer to Vehicle Lifting.
10. Install the push-pins to the left and right sides to retainers.
11. Connect the electrical to the fog lamps.
12. Install the center air deflector.
13. Lower the vehicle.
14. Install the front upper grille.
15. Access the fog lamp vertical adjuster. Refer to Fog Lamp Aiming Procedure (Canyon) in Lighting Systems.