
Colorado 4WD L5-3.5L VIN 6 (2005)
23. Remove the unused die (1).
24. Ensure that the rear of both dies are seated firmly against the enclosed end of the die cage.
25. Firmly hand tighten the clamping screw (2) against the dies.
26. Select the appropriate forming mandrel and place into the forming ram.
27. Rotate the hydraulic fluid control valve clockwise to the closed position.
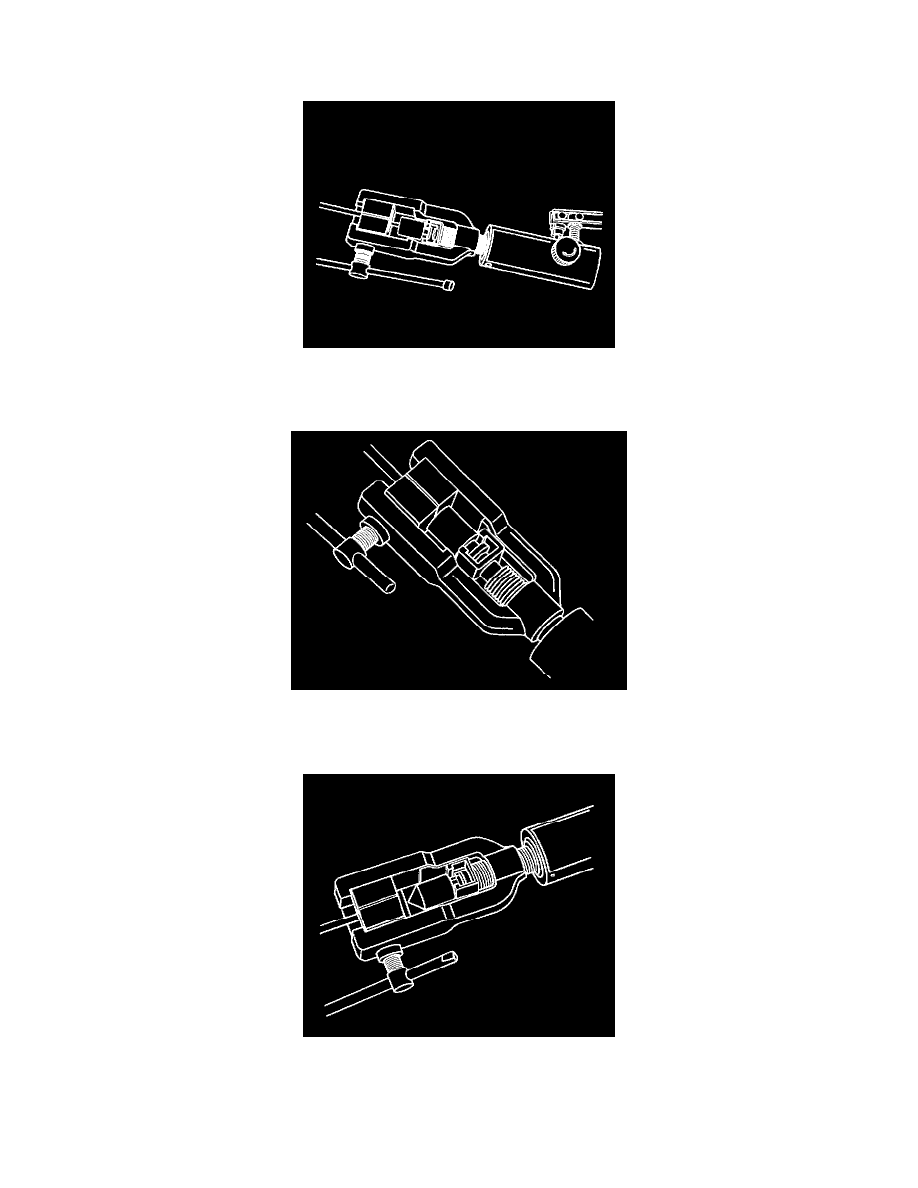
28. Rotate the body of the J 45405 until it bottoms against the die cage.
29. While guiding the forming mandrel into the exposed end of pipe to be flared, operate the lever of the J 45405 until the forming mandrel bottoms
against the clamping dies.
30. Rotate the hydraulic fluid control valve counterclockwise to the open position to allow the hydraulic forming ram to retract.
31. Insert the finishing cone into the forming ram.
32. Rotate the hydraulic fluid control valve clockwise to the closed position.
33. Rotate the body of the J 45405 until it bottoms against the die cage.
34. While guiding the finishing cone into the exposed end of pipe to be flared, operate the lever of the J 45405 until the finishing cone bottoms against
the dies.