
Colorado 4WD L5-3.5L VIN 6 (2005)
16. Remove the intake manifold bolts.
17. Lower the vehicle.
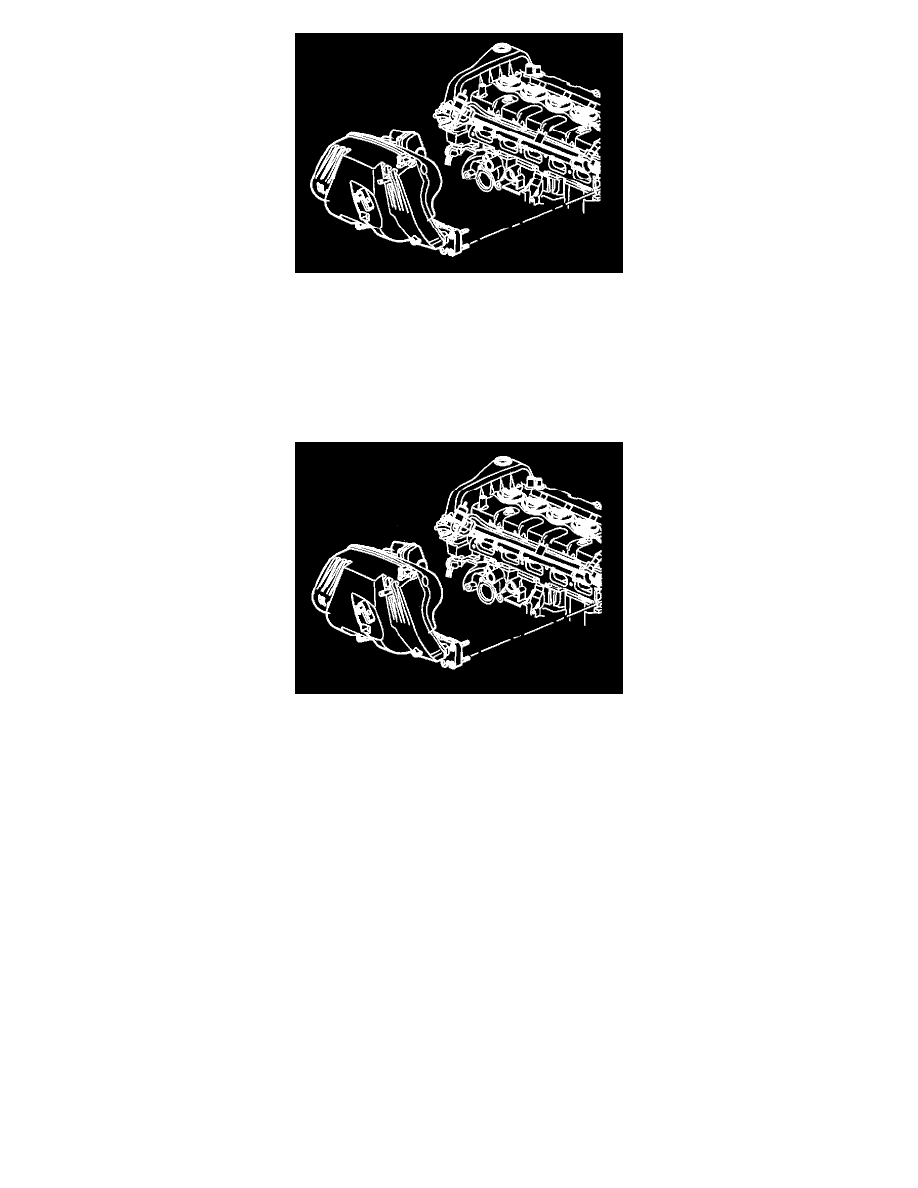
18. Remove the intake manifold from the cylinder head.
19. Remove the seal from the intake manifold. Discard the seal.
20. Mask off the open ports to the cylinder head, in order to prevent foreign objects from entering the engine.
21. Clean and Inspect the intake manifold.
Installation Procedure
1. Remove the masking from the cylinder head and ensure the sealing surface is clean and dry.
2. Install a NEW seal into the intake manifold groove.
3. Position the intake manifold to the cylinder head.
4. Raise and support the vehicle only high enough to access the following components through the wheelhouse
^
The intake manifold bolts
^
The engine wiring harness bracket bolts
^
The wiring harnesses
Notice: Refer to Fastener Notice in Service Precautions.
5. Install the intake manifold bolts.
^
Tighten the intake manifold bolts from the inside working outward to 10 Nm (89 inch lbs.).