
Colorado 4WD L5-3.5L VIN 6 (2005)
Torsion Bar: Service and Repair
(Bar)
Torsion Bar Replacement (Bar)
Removal Procedure
Notice: Use care when handling the torsion bars in order to avoid chipping or scratching the coating. Damage to the coating will result in premature
failure of the torsion bars.
1. Raise and support the vehicle. Refer to Vehicle Lifting.
2. Allow the front suspension to hang in the rebound position.
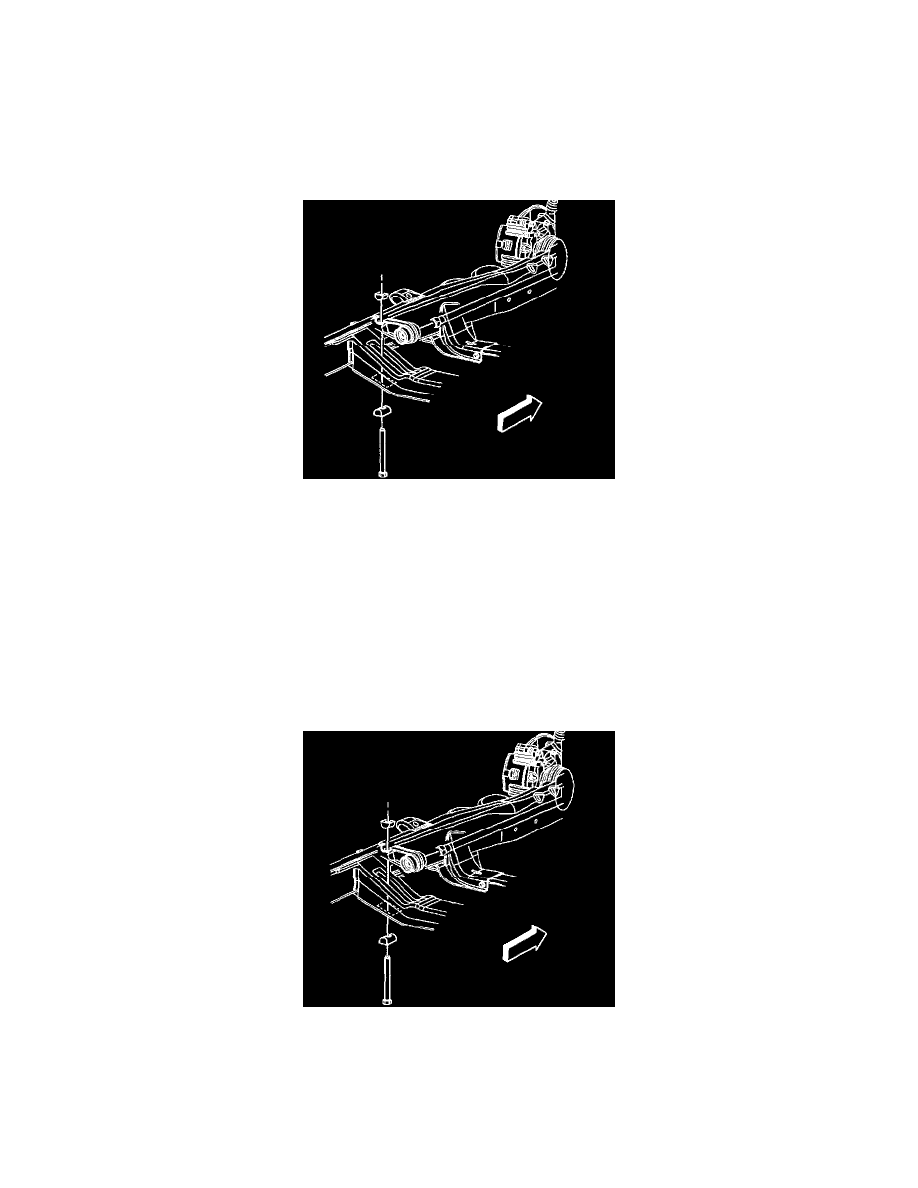
3. Mark the adjuster bolt.
Important: To aid in re-assembly record the number of turns that are required to remove the adjuster bolt.
4. Remove the adjuster bolt, spacer and adjuster nut.
Important: Take note that the torsion bars are specific to the left and right sides of the vehicle.
5. Remove the adjustment arms and torsion bars as a unit, moving it rearward to disengage the lower control arm.
Installation Procedure
1. Install the adjustment arms and torsion bars in relation to where the bars were removed.
2. Install the adjustment arm to the torsion bar and slide the torsion bar forward until the torsion bar fully engages the lower control arm.
3. Install the adjuster bolt, spacer and adjuster nut.
4. Lower the vehicle.
5. Check the Z-Height. Refer to Trim Height Specifications.