
Colorado 4WD L5-3.7L (2007)
Note the size, color and locations of the lower sunroof frame screws when removing them.
Remove the six (black) TORX(R) screws from each side of the lower sunroof frame.
Do Not remove the (red) TORX(R) screws from the track.
Remove the eight (gold) TORX(R) screws from the lower sunroof frame.
Remove the lower frame from the sunroof module assembly.
Have a clean workbench with a flat protective cover. The cover will help protect the sunroof glass when the glass is placed face down on the bench.
Remove the sunroof module and window from the vehicle and place the glass side down on a clean bench.
Tip
The sunroof window can now be manually moved forward or backward.
Manually close the sunroof window to the sunroof module assembly.
Clean the outside area of the upper sunroof frame with GM(TM) Glass Cleaner for vehicles built without adhesive under the sunroof frame. If the
sunroof frame has adhesive applied to the frame use masking tape to clean the frame and seal.
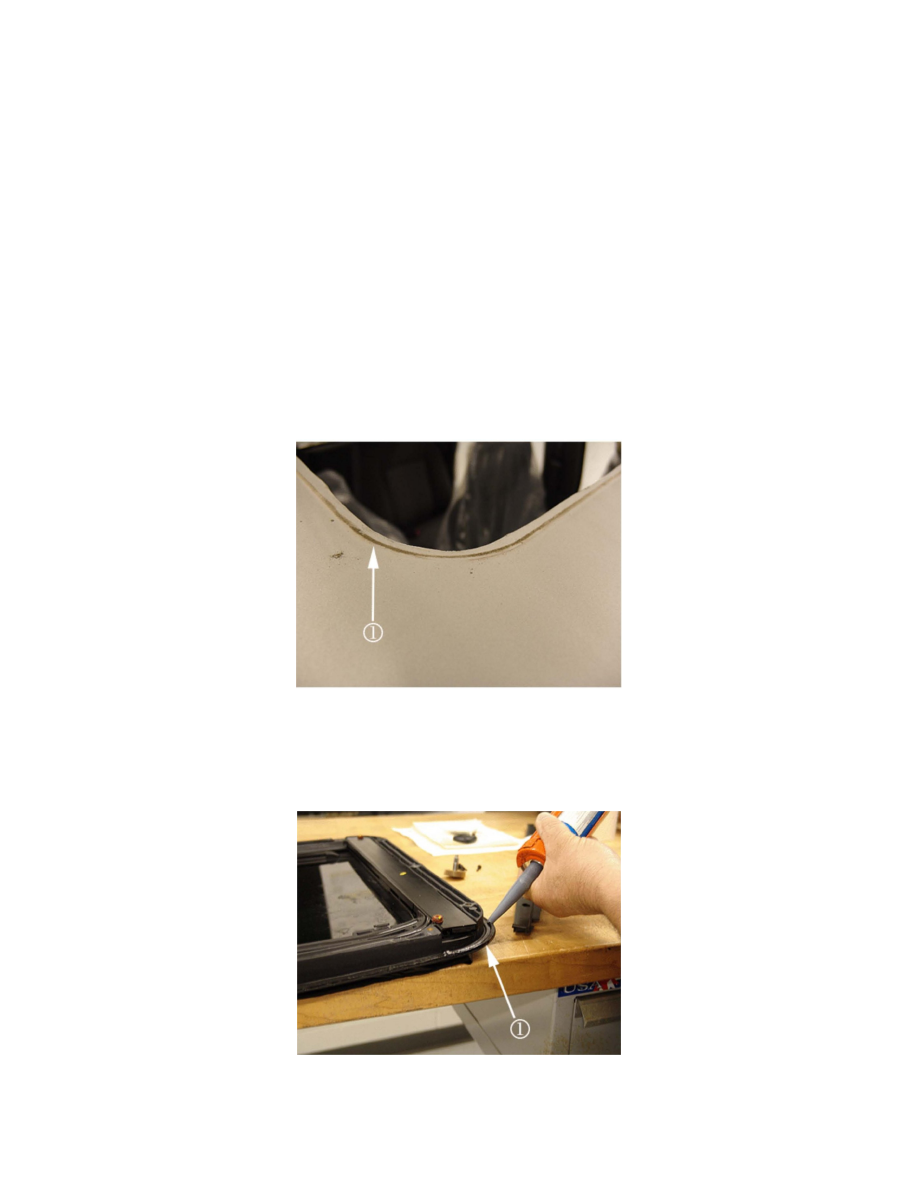
Clean the outside roof panel area (1) around the sunroof opening with GM(TM) Glass Cleaner if no adhesive has been used. If adhesive has been used it
may be necessary to use masking tape and a 3M(TM) General Purpose Adhesive Cleaner P/N 08984 or equivalent to clean the roof panel.
Apply GM Super Lube(R) with PTFE P/N 12371287 (in Canada 10953437) to the outside bare edges of the roof panel opening for the sunroof module.
This grease is recommended for use on any bare edges around the sunroof opening. An acid brush can be used to apply the grease.
A caulk gun applicator will be needed to apply the adhesive (1).
Tip