
Colorado 4WD L5-3.7L (2007)
You may want to use some disposable gloves to keep the adhesive from getting onto your hands.
Apply a 2 mm (1/16 in) bead (1) of CRL7711 Sealant around the entire edge of the upper frame assembly and dry seal.
Install the sunroof module assembly back into the vehicle.
Install the lower sunroof frame to the sunroof module.
Install the screws into the lower sunroof frame assembly.
Tighten the screws in the lower sunroof frame using the cross-tightening sequence.
Tighten
Tighten the screws to 3 N.m (27 lb in).
Manually push the sunroof window to the full open position. This will allow the window motors and cables to be timed.
Install the sunroof motor. Refer to Power Sunroof Motor Replacement in SI.
Verify the proper operation of the sunroof.
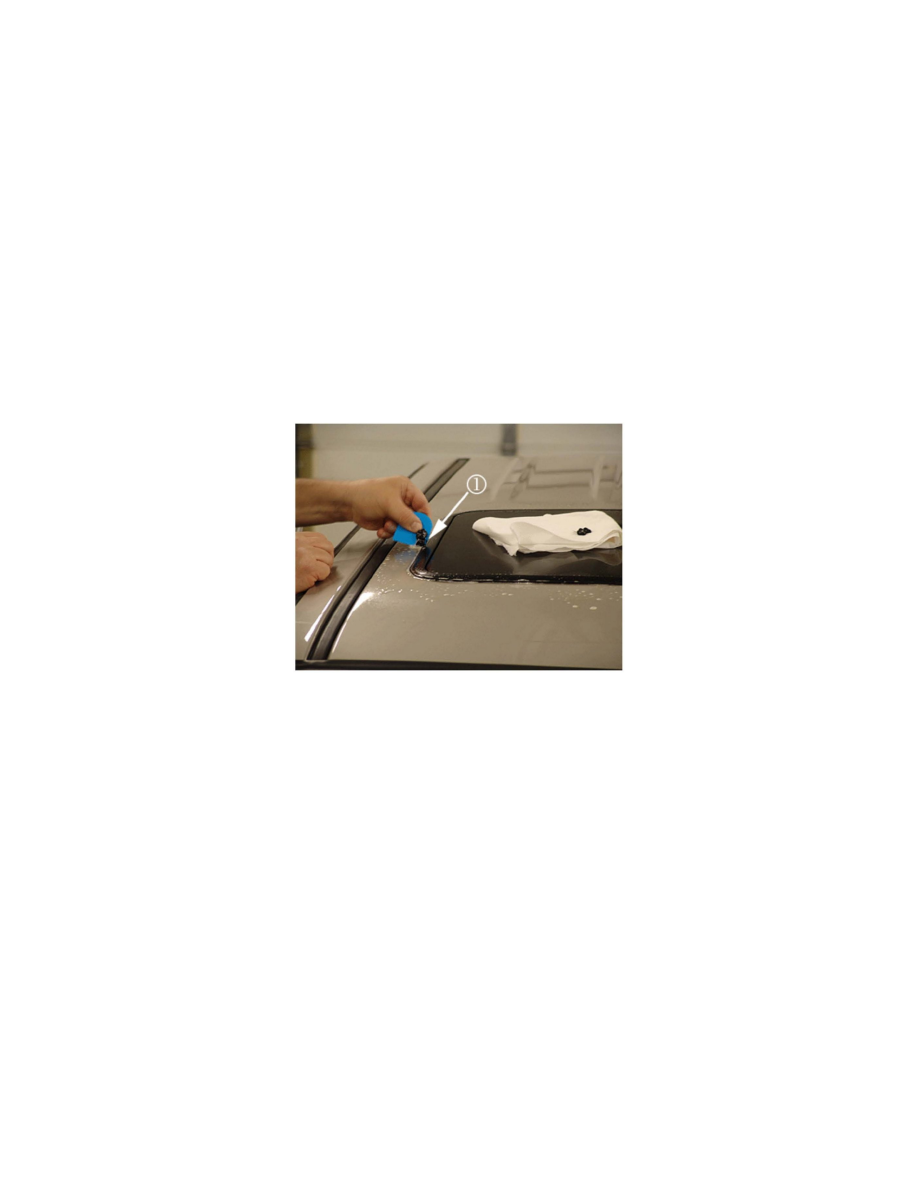
Clean off any excessive adhesive (1) from the roof panel with a plastic-type scraper/razor blade while using a 3M(TM) General Purpose Cleaner PIN
08984 or equivalent as shown in the graphic above.
Perform a water test to verify the leak has been fixed.
Install the sunroof front trim cover. Refer to Sunroof Front Trim Cover Replacement in SI.
A clicking sound can be heard when the retaining clips snap onto the upper frame. Open the sunroof and visually inspect from the roof area that the
retaining clips on the front trim cover are installed properly.
Install the outer trim cover and four screws.
Tighten
Tighten the screws to 1 N.m (9 lb in).
Condition 2