
Colorado 4WD L5-3.7L (2007)
Blower Motor: All Technical Service Bulletins
A/C - Blower Motor Clicking/Chirping/Whirring Noises
TECHNICAL
Bulletin No.: 06-01-38-001C
Date: July 14, 2010
Subject: Excessive Blower Motor Clicking/Chirping/Whirring or Ticking Noise on Low Speed (Install Blower Motor Sound Insulator Cover)
Models:
2005-2010 Chevrolet Colorado
2005-2010 GMC Canyon
Supercede:
This bulletin is being revised to update the model years to 2010. Please discard Corporate Bulletin Number 06-01-38-001B (Section 01 - HVAC).
Condition
Some customers may comment on excessive or annoying blower motor noise on low fan speed. Sounds may include ticking, chirping, clicking or
whirring noises.
Cause
The blower motor is located within the vehicle under the passenger side lower IP. This location, while allowing for increased serviceability, does not
offer much isolation from blower motor noise.
Correction
To reduce the noise level from the blower motor, install a blower motor sound insulator cover using the procedure below.
1. Remove the front passenger door sill molding.
2. Remove the front passenger side interior kick panel molding.
3. Remove the front passenger interior floor courtesy light.
4. Remove the BCM connector facing the blower motor.
5. Remove the wire retaining metal clip from the BCM harness.
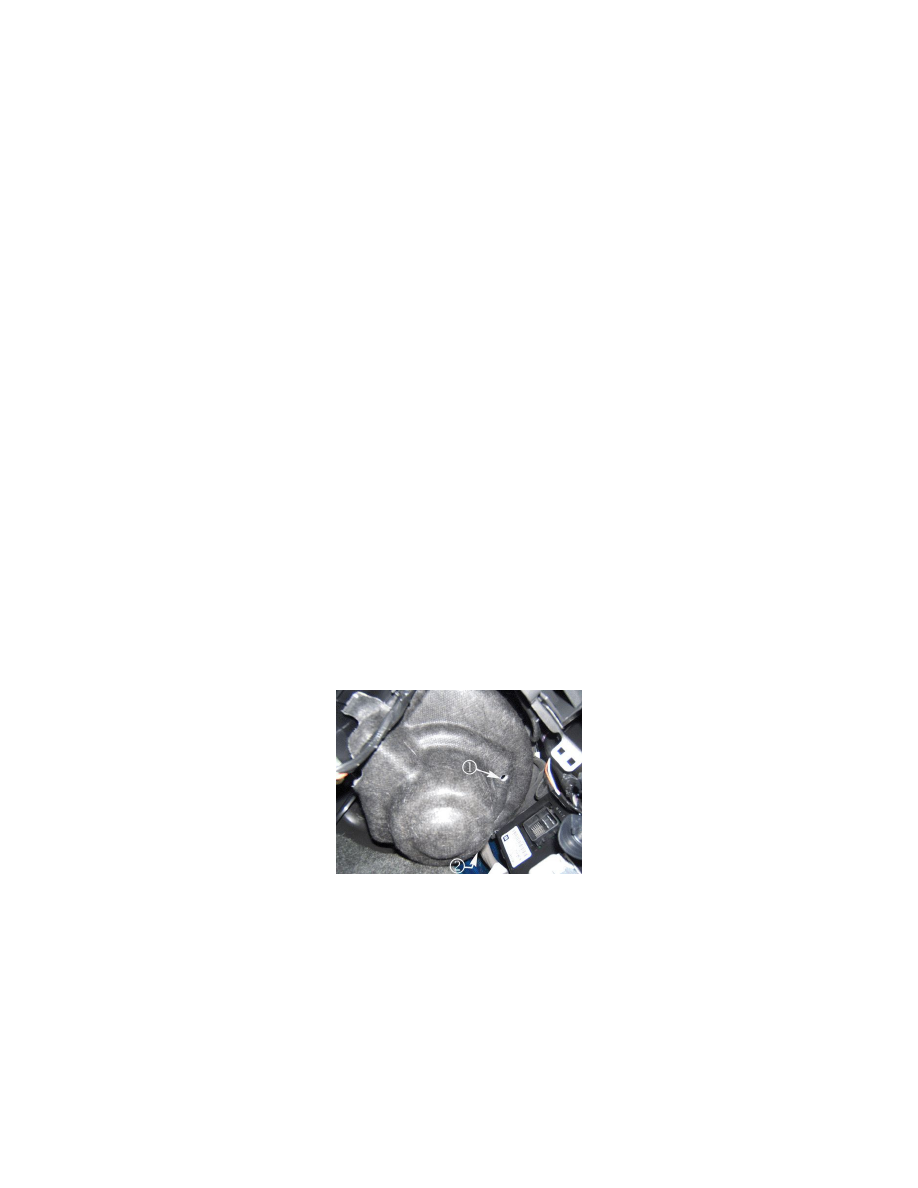
6. Install the molded insulator to the blower motor. Refer to the above illustration. The insulator may need to be flexed in order to be properly
situated on the motor. When the insulator is properly installed, it will be form fitted to the motor and the retainer hole in the cover (1) will align
with a hole in the back side of the motor body.
7. A stud will align with the second hole in the insulating cover. Refer to location (2) in the above illustration, which shows the location of the stud
(not visible in photo). Please note the location of the BCM in the photo. This should aid in properly locating the cover.
8. Use the push-pin to secure the cover in place.
9. Re-route the BCM harness over the newly installed cover and retain using the metal clip. This should give additional support to the flexible blower
motor cover.
10. Install the front passenger interior floor courtesy light.
11. Install the front passenger side interior kick panel molding.
12. Install the front passenger door sill molding.
Parts Information