
Colorado 4WD L5-3.7L (2007)
Remove the TPA by inserting a small flat-blade tool into the locking tabs on both sides of the TPA. Gently pry the TPA out of the connector.
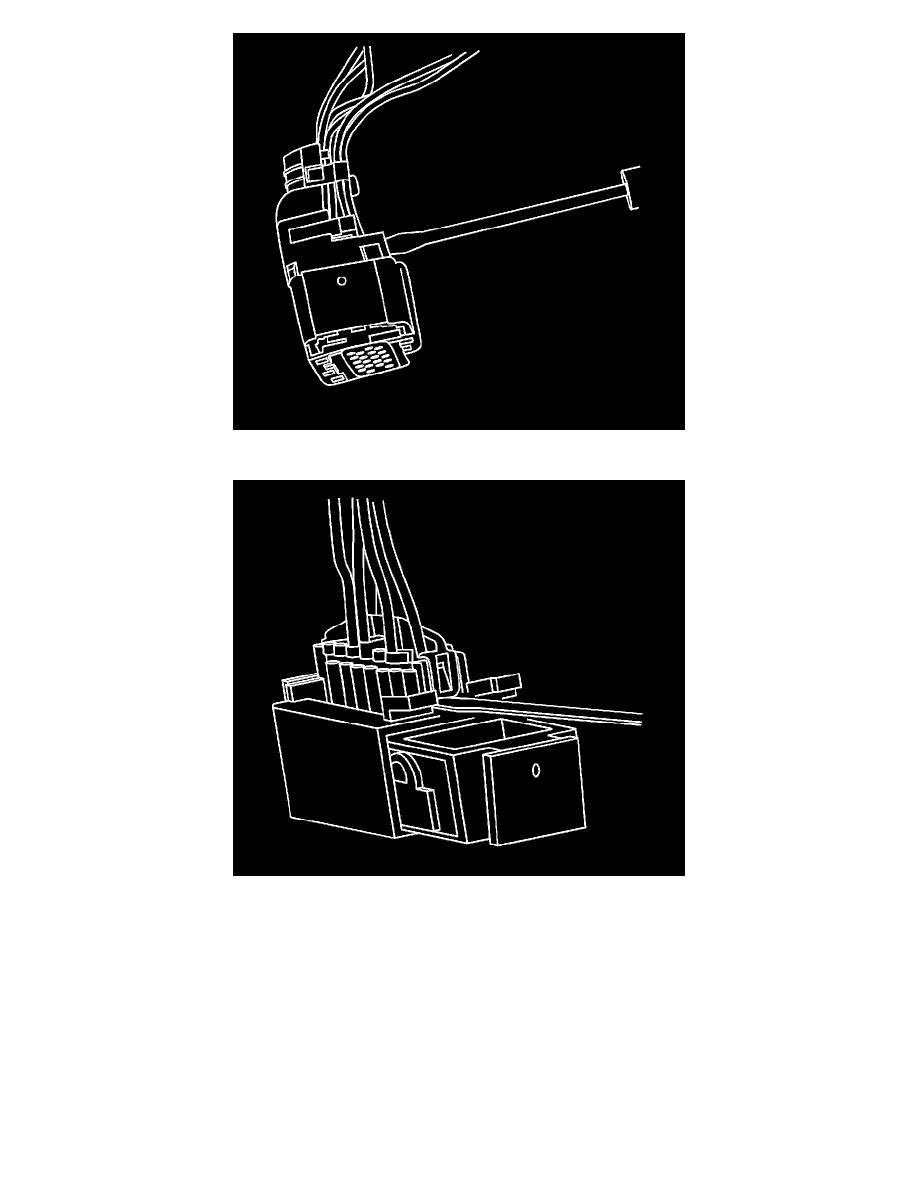
6. Remove the nose piece by inserting a small flat-blade tool into the locking tabs on both sides of the nose piece. Gently pry the nose piece out of
the connector.