
Colorado 4WD L5-3.7L (2007)
*
J39401-B SIR Deployment Fixture
*
J38826 SIR Deployment Harness
*
An appropriate pigtail adapter
1. Turn OFF the ignition.
2. Remove the ignition key.
3. Put on safety glasses.
4. Remove the inflator module.
*
If you are removing the steering wheel module, refer to Inflatable Restraint Steering Wheel Module Replacement.
*
If you are removing the I/P module, refer to Inflatable Restraint Instrument Panel Module Replacement.
*
If you are removing a roof rail module, refer to Inflatable Restraint Roof Rail Module Replacement - Front (Crew Cab) Inflatable Restraint
Roof Rail Module Replacement - Front (Regular and Extended Cab).
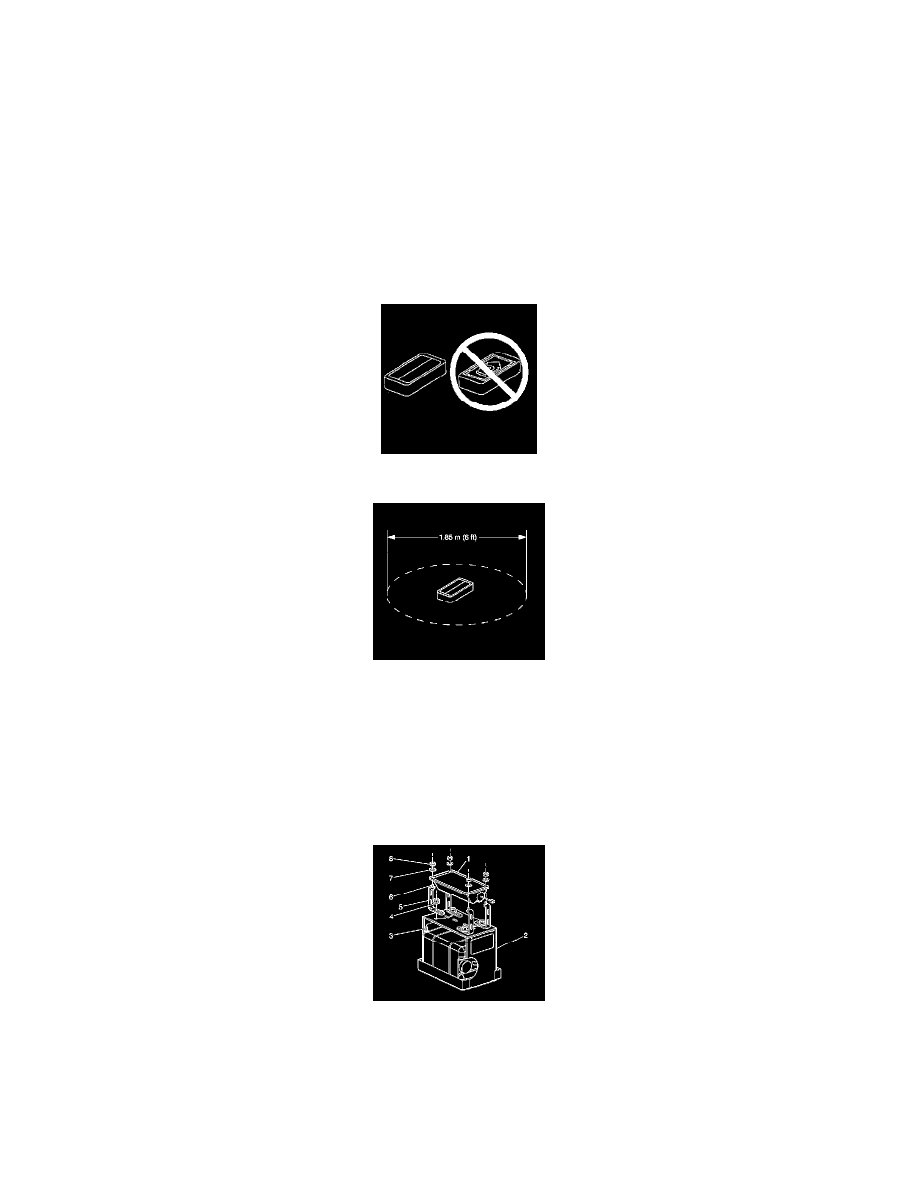
Caution: Refer to SIR Inflator Module Handling and Storage Caution.
5. Place the inflator module on a work bench, with the vinyl trim cover facing up and away from the surface.
6. Clear a space on the ground about 1.85 m (6 ft) in diameter for deployment of the inflator module or deployment fixture. If possible, use a paved,
outdoor location free of activity. Otherwise, use a space free of activity on the shop floor. Ensure you have sufficient ventilation.
7. Clear the area of loose or flammable objects.
Important: Dual stage deployments are only used in steering wheel and I/P inflator modules. If stage 1 was used to deploy a dual stage
inflator module, stage 2 may still be active. If disposal of a dual stage module is required, both deployment loops must be energized to
deploy the air bag.
8. If you are deploying a steering wheel inflator module, place the inflator module in the center of the space.
9. When deploying an I/P inflator module, perform the following instructions:
1. Place the J39401-B in the center of the cleared area.
2. Fill the deployment fixture with water or sand.
3. Using the proper nuts and bolts, mount the I/P module (1) to the deployment fixture (2), with the vinyl trim facing up.
4. Securely tighten all fasteners that hold the I/P module (1) to the deployment fixture (2).