
Colorado 4WD L5-3.7L (2007)
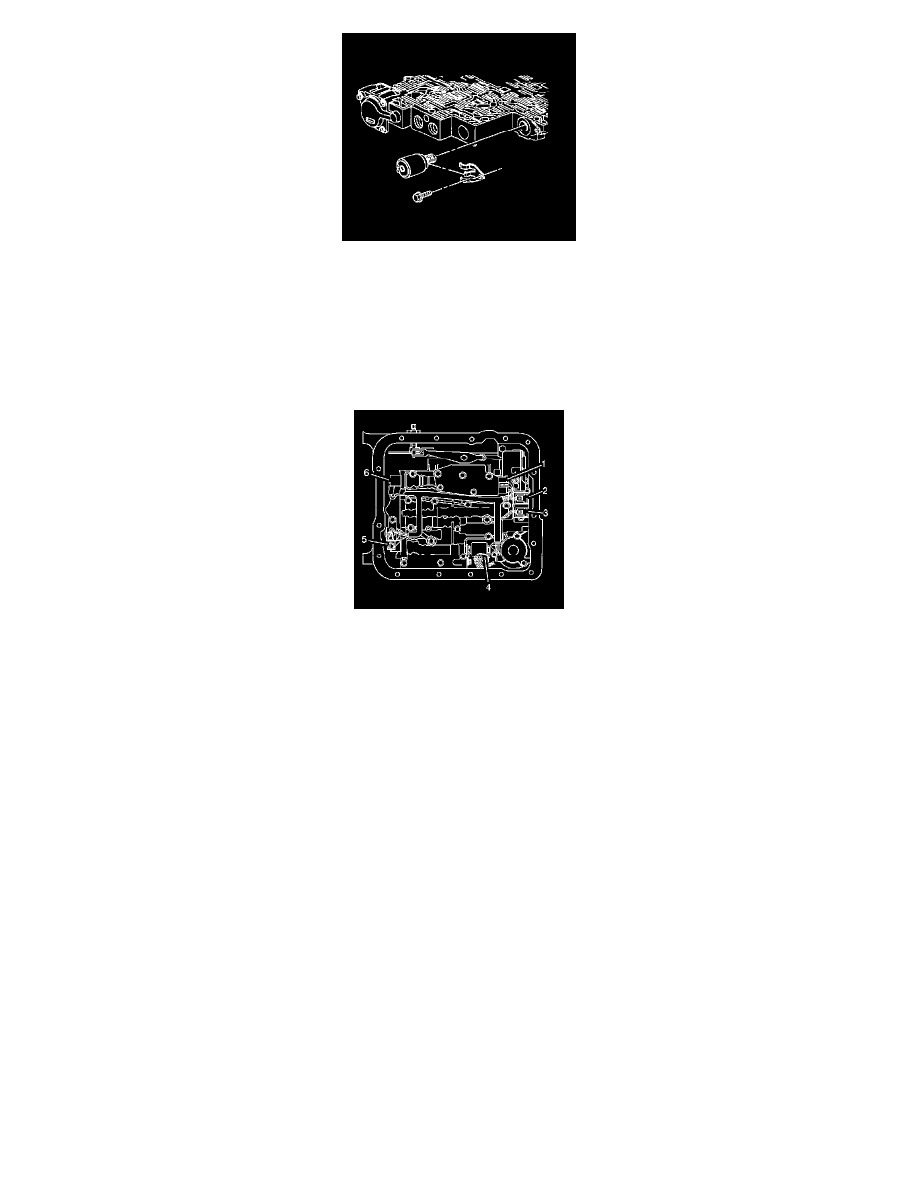
5. Install the pressure control solenoid.
Ensure that the electrical connection is facing downward.
Notice: Refer to Fastener Notice.
6. Install the pressure control solenoid retainer and retaining bolt.
Tighten the pressure control solenoid retaining bolt to 11 N.m (97 lb in).
7. Connect the internal wiring harness electrical connectors to the following components:
*
Transmission fluid pressure switch (1)
*
1-2 shift control solenoid (2)
*
2-3 shift control solenoid (3)
*
Pressure control solenoid (4)
*
TCC PWM solenoid (5)
*
3-2 control solenoid (6)
8. Install the 1-2 accumulator. Refer to Accumulator Assembly, Spacer Plate, and Gaskets.
9. Install the transmission filter and oil pan. Refer to Automatic Transmission Fluid and Filter Replacement.
Important: It is recommended that transmission adaptive pressure (TAP) information be reset.
Resetting the TAP values using a scan tool will erase all learned values in all cells. As a result, The ECM, PCM or TCM will need to
relearn TAP values. Transmission performance may be affected as new TAP values are learned.
10. Reset the TAP values. Refer to Transmission Adaptive Functions.