
Colorado 4WD L5-3.7L (2007)
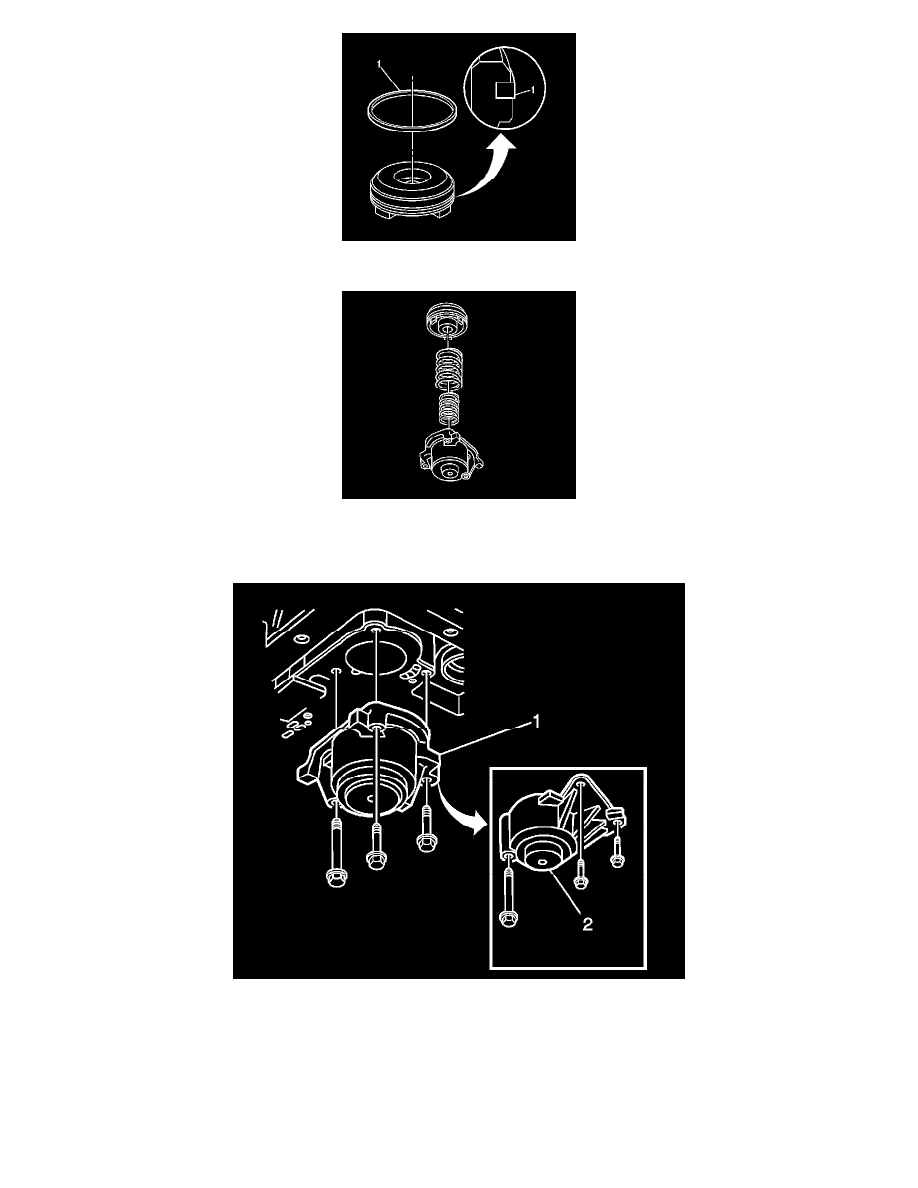
12. Install a new 1-2 accumulator piston seal (1) to the 1-2 accumulator piston.
13. Install the 1-2 accumulator inner and outer springs to the 1-2 accumulator cover.
14. Install the 1-2 accumulator piston onto the pin in the 1-2 accumulator cover.
Ensure that the piston legs face the accumulator cover.
15. Install the 1-2 accumulator cover and the accumulator cover retaining bolts.
Tighten the accumulator cover retaining bolts to 11 N.m (97 lb in).
-
RWD (1)
-
4WD (2)
16. Remove the J 25025-B from the transmission case.
17. Install the control valve body. Refer to Valve Body and Pressure Switch Replacement.