
Colorado 4WD L5-3.7L (2007)
10. Remove the pinion yoke by turning the J 8614-3 (3) clockwise while holding the J 8614-01 (1).
Use a container in order to retrieve the lubricant.
11. Remove the pinion oil seal. Use a suitable seal removal tool. Do not damage the housing.
Installation Procedure
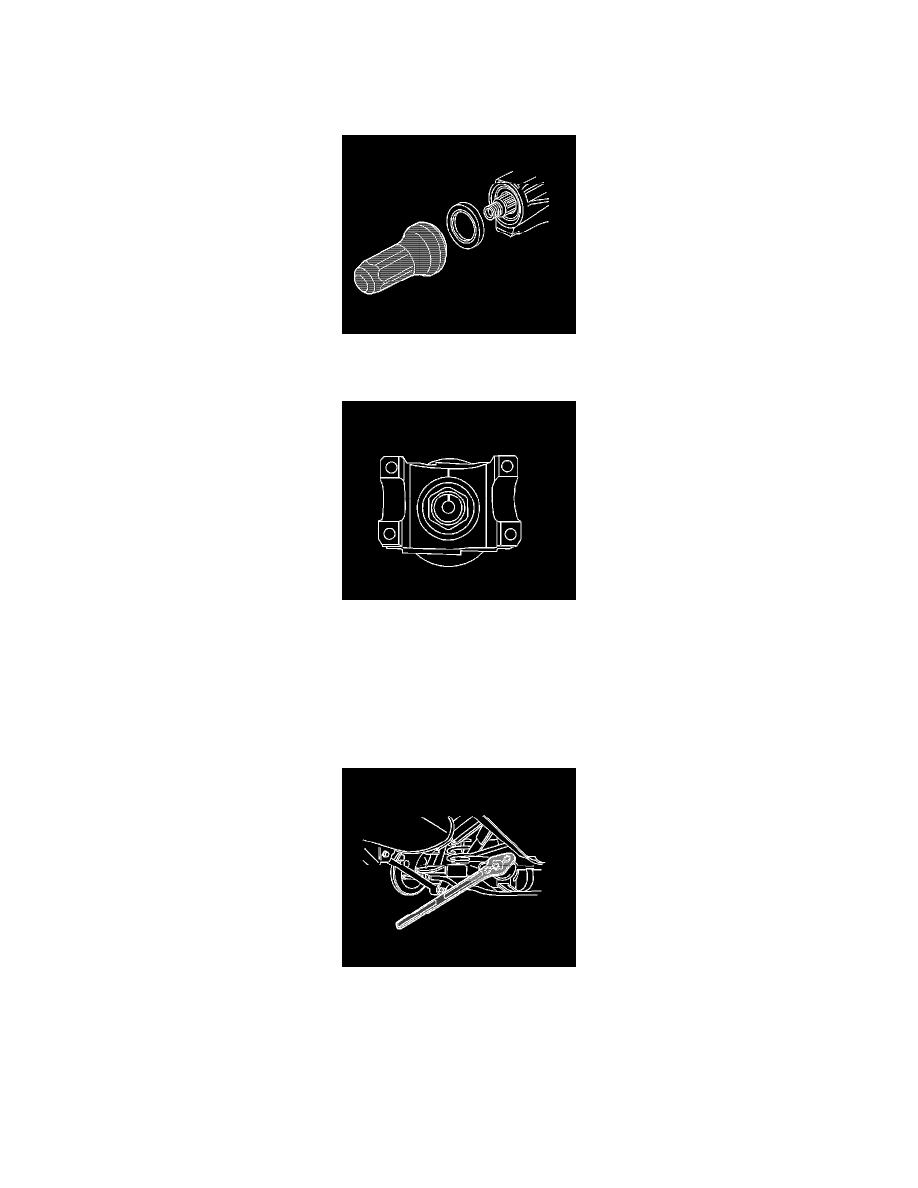
1. Using the J 33782, install the pinion seal.
2. Apply sealant GM P/N 12346004 (Canadian P/N 10953480) or equivalent to the splines of the pinion yoke.
3. Align the reference marks.
4. Install the pinion yoke.
Notice: Do not hammer the pinion flange/yoke onto the pinion shaft. Pinion components may be damaged if the pinion flange/yoke is hammered
onto the pinion shaft.
5. Using a soft-faced hammer, tap the pinion yoke until the threads on the pinion shaft can be seen.
6. Install the washer and a new pinion nut.
7. Install the J 8614-01 onto the pinion yoke as shown.
Notice: Refer to Fastener Notice.
Important: If the rotating torque is exceeded, the pinion will have to be removed and a new collapsible spacer installed.
8. Tighten the pinion nut while holding the J 8614-01.
Tighten the nut until the pinion end play is just taken up. Rotate the pinion while tightening the nut to seat the bearings.