
Colorado 4WD V8-5.3L (2010)
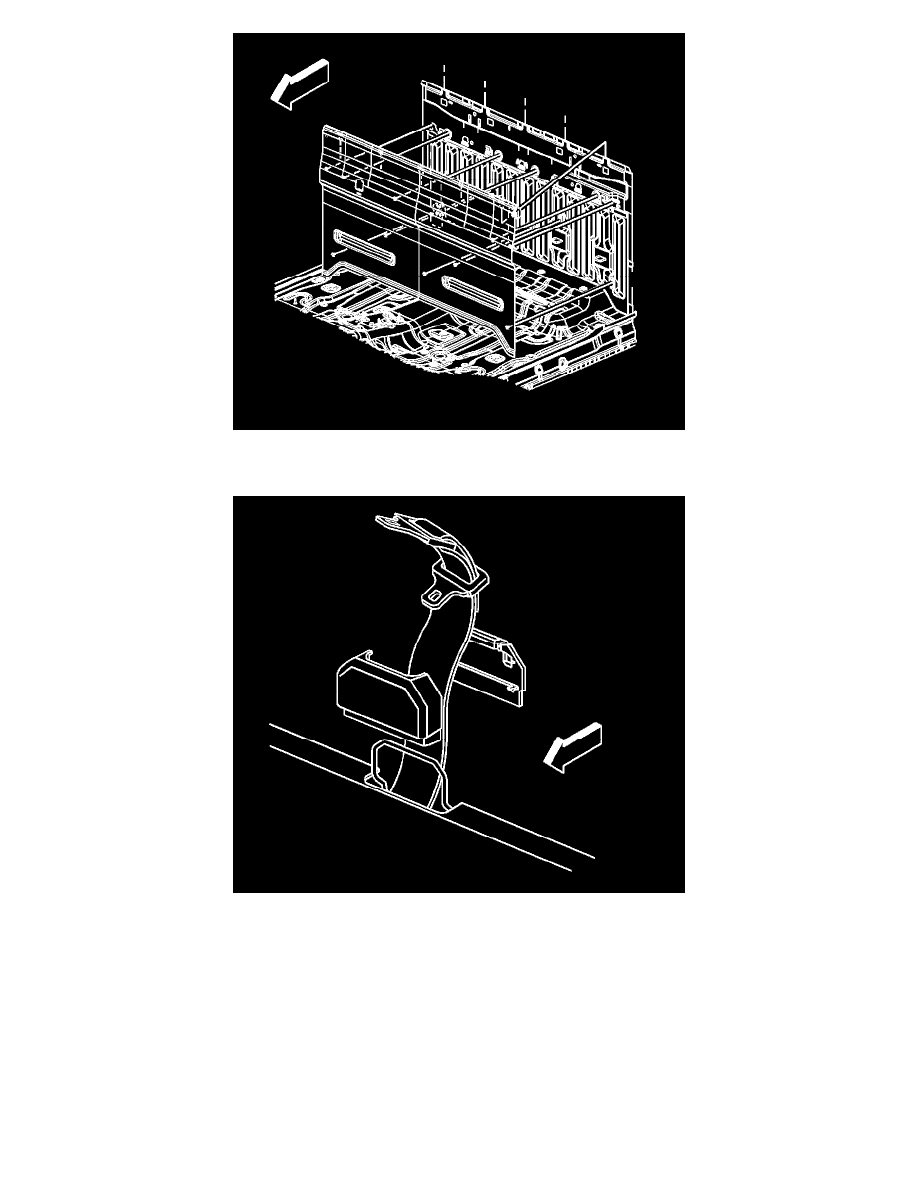
1. Hook the body rear trim panel in the sheet metal along the lower edge of the rear window.
2. Install the panel by pushing firmly against the body to seat the panel fasteners.
3. Install the rear shoulder belt guide.
4. Install the jack and tool storage bracket. Refer to Jack and Tool Stowage Container Bracket Replacement (See: Jack/Service and Repair).
5. Remove the front seats. Refer to Front Seat Replacement - Bucket (See: Seats/Service and Repair/Front Seat Replacement - Bucket) or Split
Bench Seat Replacement (See: Seats/Service and Repair/Split Bench Seat Replacement).
Body Side Rear Lower Trim Panel Replacement (Crew Cab)
Body Side Rear Lower Trim Panel Replacement (Crew Cab)
Removal Procedure
1. Remove the rear door sill plates. Refer to Rear Side Door Sill Trim Plate Replacement (See: Scuff Plate/Service and Repair/Rear Side Door Sill
Trim Plate Replacement).