
Colorado 4WD V8-5.3L (2010)
Removal Procedure
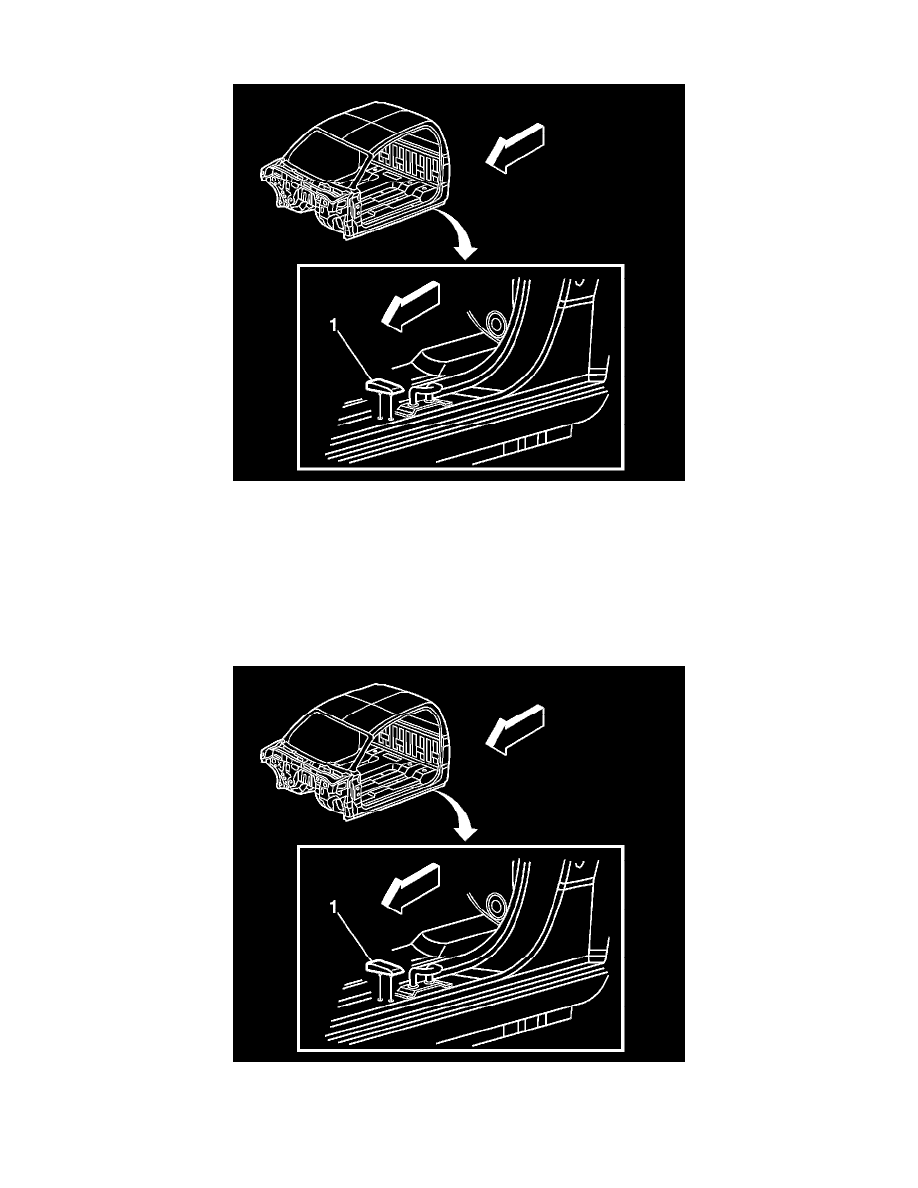
1. Open the rear side access door.
2. Apply tape to the area around the wedge to protect the paint.
3. Heat the wedge (1) using a heat gun 152 mm (6 in) from the surface.
4. Apply the heat using a circular motion for about 30 seconds.
5. Remove the wedge from the body using a plastic, flat-bladed tool.
6. Remove all adhesive from the body using 3M Scotch Brite molding adhesive remover disk 3M P/N 07201, or equivalent.
7. Clean the body surface using varnish makers and painters (VMP) naptha.
Installation Procedure
1. Warm the body surface with a heat gun 152 mm (6 in) from the surface to a minimum of 21°C (70°F).
2. Remove the backing from the wedge (1).
3. Align the tabs on the wedge to the holes in the body.
4. Press the wedge to the body surface.