
Colorado 4WD V8-5.3L (2010)
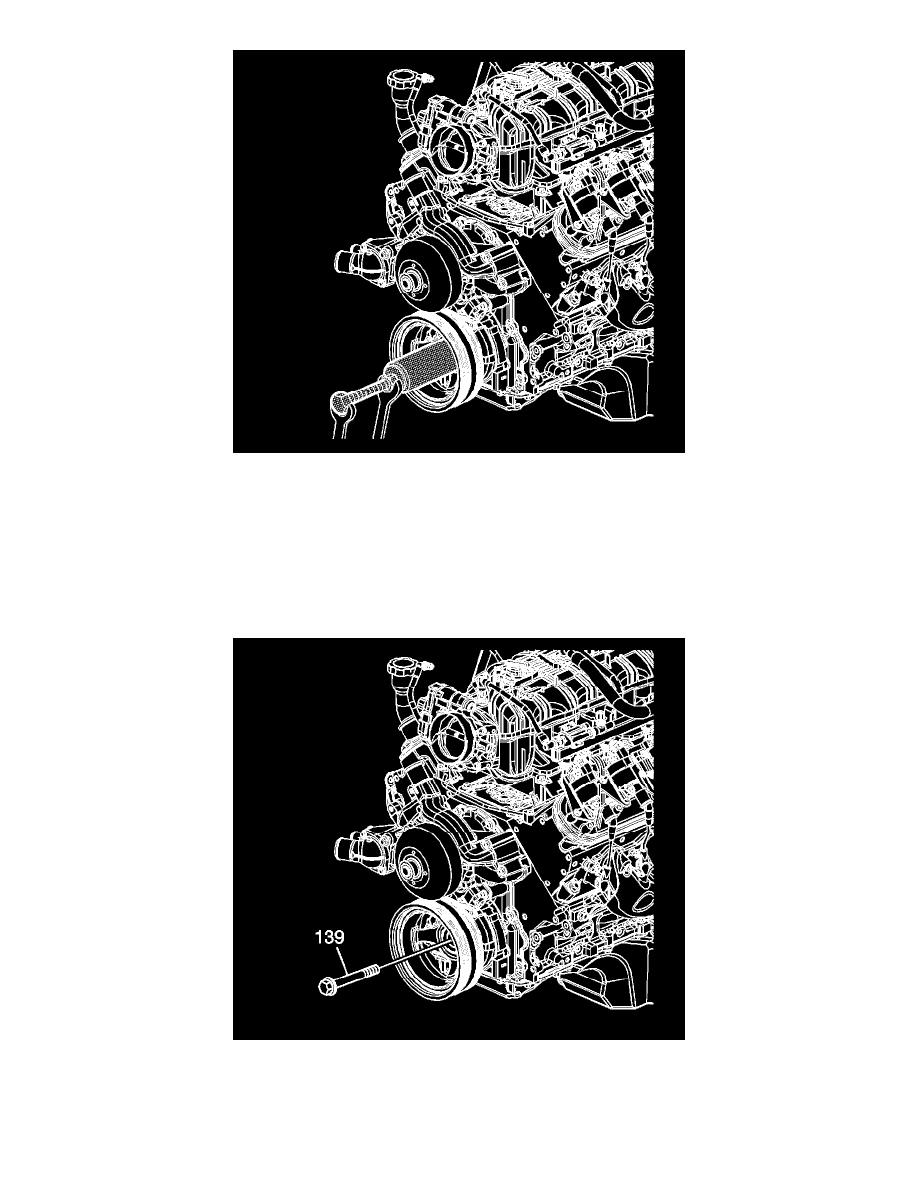
2. Install the J 41665 and the threaded rod from the J 41478 to crankshaft balancer and install the balancer.
1. Assemble the threaded rod, nut, washer and installer. Insert the smaller end of the installer into the front of the balancer.
2. Use a wrench and hold the hex end of the threaded rod.
3. Use a second wrench and rotate the installation tool nut clockwise until the balancer is started onto the crankshaft.
4. Remove the tool and reverse the installation tool. Position the larger end of the installer against the front of the balancer.
5. Use a wrench and hold the hex end of the threaded rod.
6. Use a second wrench and rotate the installation tool nut clockwise until the balancer is installed onto the crankshaft.
7. Remove the J 41665 and the threaded rod.
Caution: Refer to Fastener Caution (See: Service Precautions/Vehicle Damage Warnings/Fastener Caution).
3. Install the USED crankshaft balancer bolt (139).
Tighten the USED bolt to 330 Nm (240 lb ft).