
Colorado 4WD V8-5.3L (2010)
4. Install the splash shield to the wheel bearing/hub, brake rotor assembly.
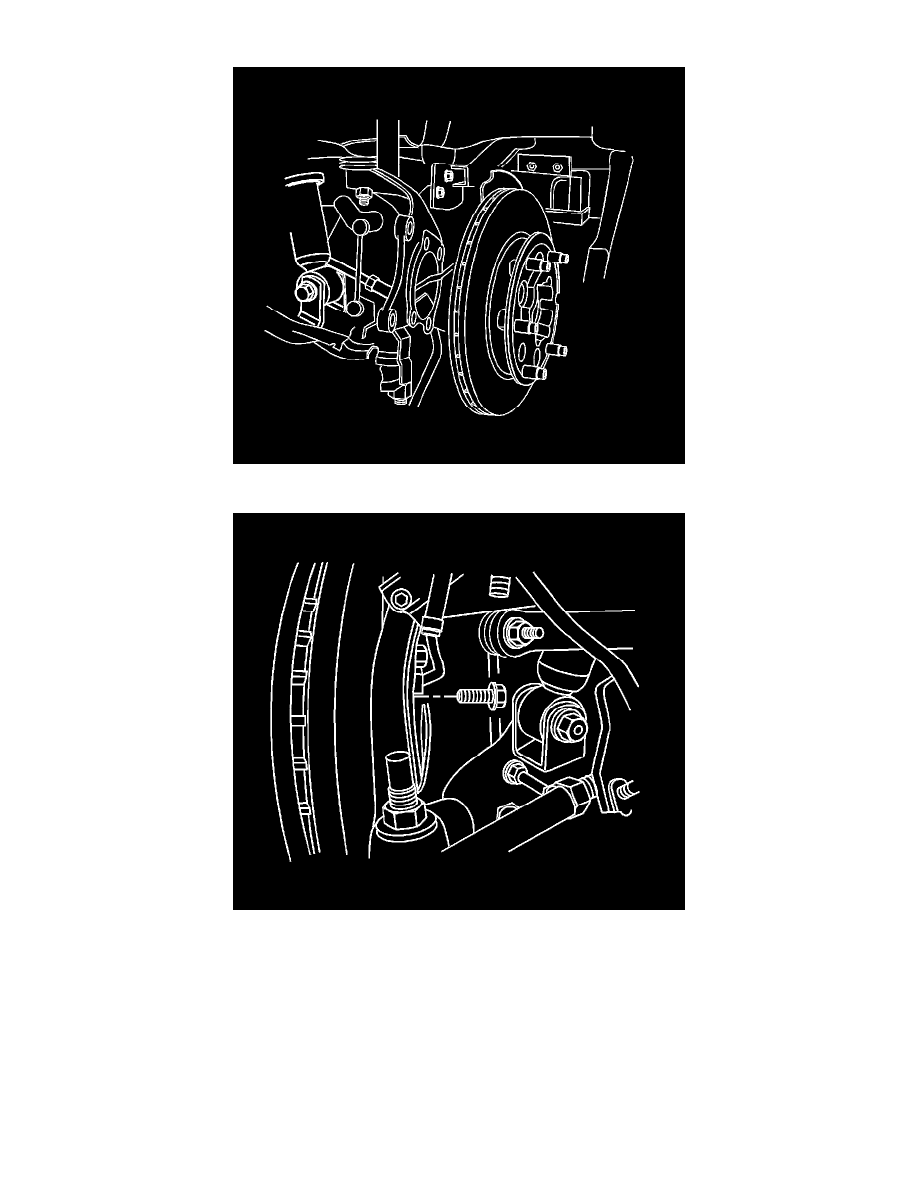
5. Install the wheel bearing/hub into the steering knuckle.
Note: When performing the following service procedure, DO NOT use air tools of any type to torque the brake rotor to hub bolts.
6. Install the wheel bearing/hub mounting bolts and tighten to 130 Nm (96 lb ft).
7. Install the brake caliper mounting bracket to the steering knuckle. Refer to Brake Caliper Bracket Replacement (See: Brakes and Traction
Control/Disc Brake System/Brake Caliper/Service and Repair/Brake Caliper Bracket Replacement)
8. Install the wheel drive shaft nut, if needed. Refer to Wheel Drive Shaft Replacement (See: Transmission and Drivetrain/Drive Axles, Bearings
and Joints/Axle Shaft Assembly/Service and Repair)
9. Tighten the brake rotor bolts to the final torque specification. Refer to Brake Rotor Replacement (See: Brakes and Traction Control/Disc Brake
System/Brake Rotor/Disc/Service and Repair/Removal and Replacement/Brake Rotor Replacement).
10. Lower the vehicle. Refer to Lifting and Jacking the Vehicle (See: Vehicle Lifting/Description and Operation).