
Corsica L4-2.2L VIN 4 (1995)
Drive Belt: Testing and Inspection
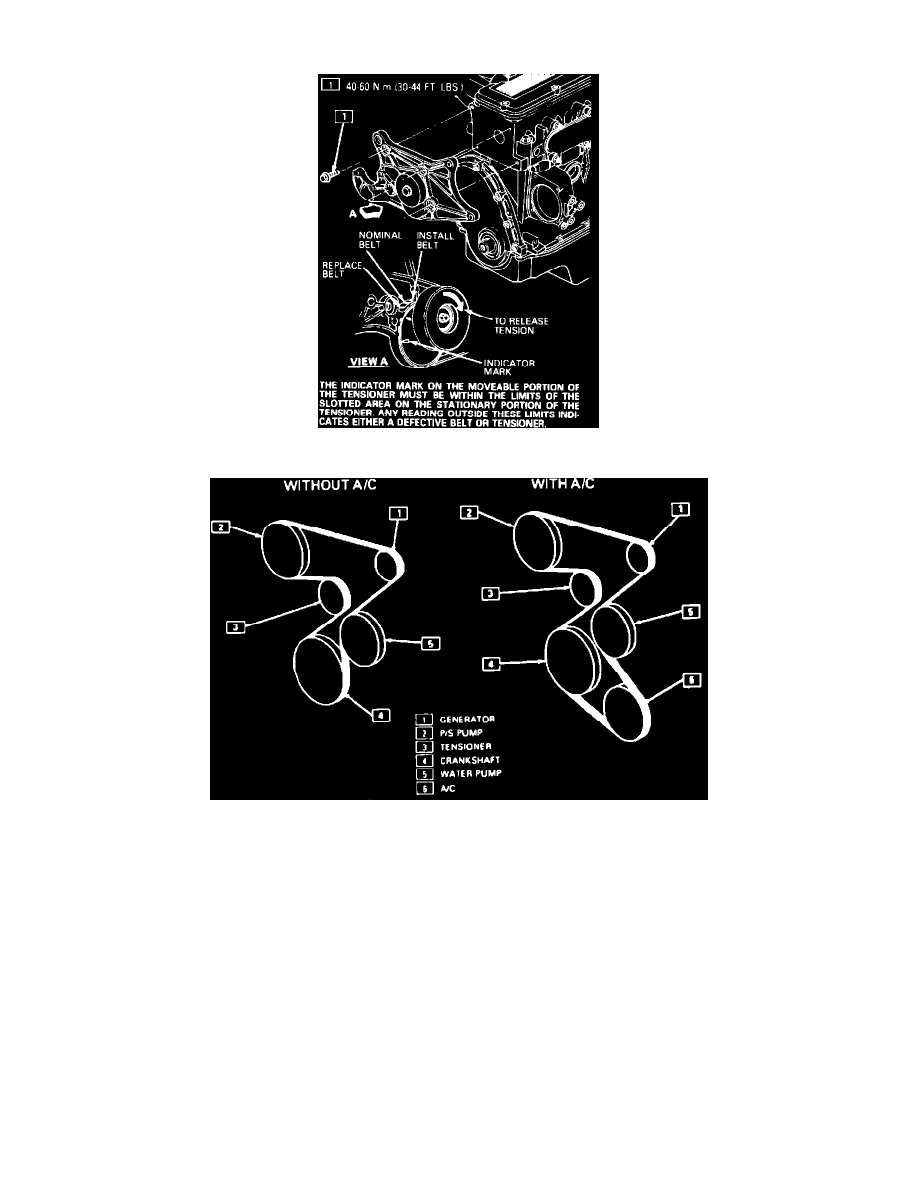
Fig. 14 Drive Belt Tensioner Assembly
Fig. 16 Serpentine Drive Belt Routing
1.
Check belt tensioner indicator marks, Fig. 14, to ensure belt is in operating range. Replace belt as needed, refer to Fig. 16 for belt routing.
2.
With all accessories Off, run engine until operating temperature is achieved.
3.
Turn ignition switch to Off.
4.
Position Belt Tensioner Tool, No. J-23600, on the drive belt between power steering pump and alternator. Note reading, and remove the tool.
5.
Run engine for 15 seconds, then turn the ignition switch to Off.
6.
Using a 15 mm socket, apply counterclockwise force to tensioner pulley bolt. Release the pulley, then take a reading as described in step 4.
7.
Using a 15 mm socket, apply clockwise force to tensioner pulley bolt until the install position is reached. Slowly release pulley to rest position,
then take a reading as described in step 4. Use caution not to disturb the belt tensioner position.
8.
If average of the three readings taken is 63-77 lbs., and the belt is in the tensioners operating range, replace the belt tensioner as described in this
section.