
Corvette V8-5.7L VIN G (1997)
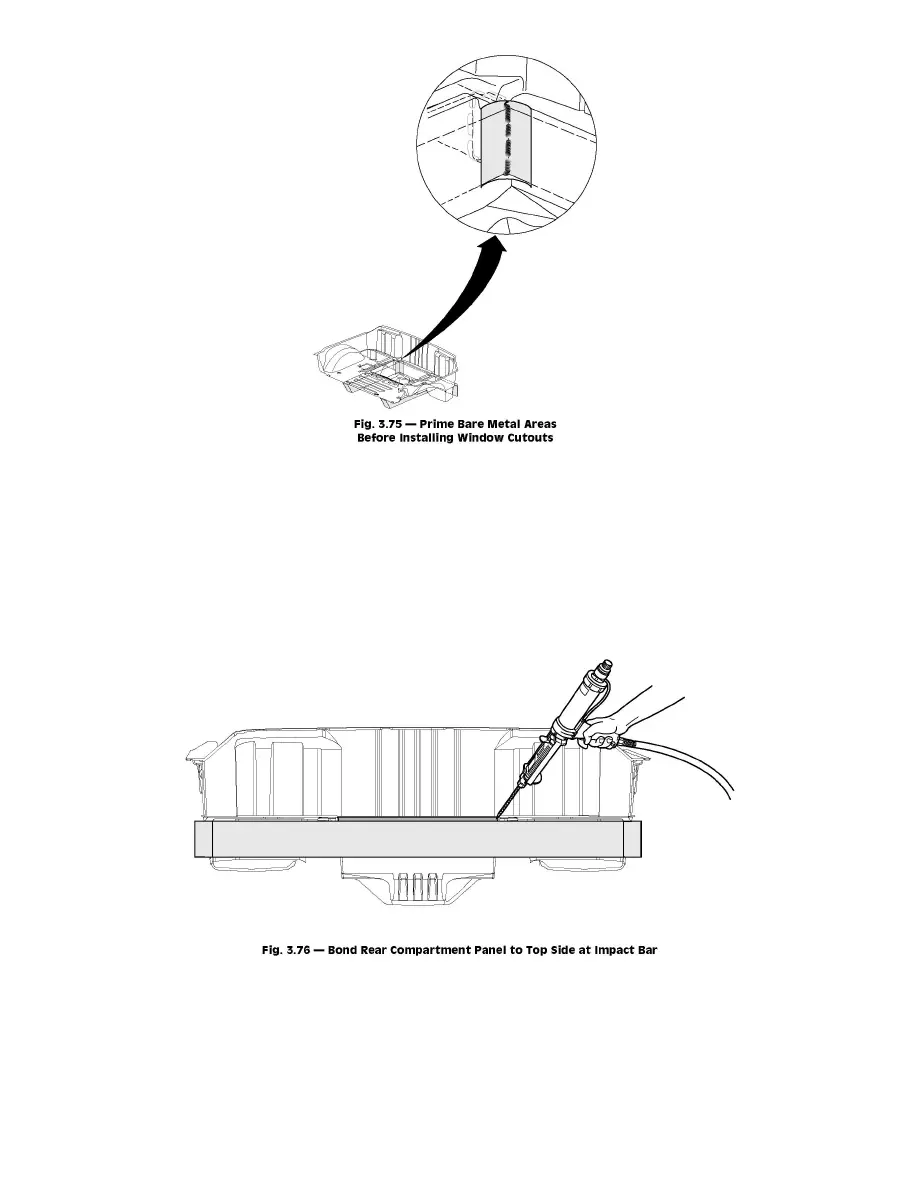
5. Clean and prepare all welded surfaces, use 3M's Scotch-Brite Clean-N-Strip Discs (disc P/N 07460, mandrel P/N 07491), or equivalent (Fig.3.75).
IMPORTANT: Prior to refinishing, refer to GM P/N 4901 Refinish Manual for recommended products.
6. Apply approved anti-corrosion primer.
NOTE:
-
DO NOT top-coat any bonding surfaces.
-
Top surface of impact bar (where it is to be bonded to the rear compartment panel), must not be top-coated, see Fig. 3.73. The bonding area
must remain a 'primer only' surface
7. Apply 50 mm (2 inch) wide tape over the 'windows' cut in the rear compartment panel, from outside the vehicle. Apply adhesive to the inside of
the tape backer, and install the previously cut-out pieces in their original locations (Fig.3.76). (Refer to SMC repair procedures.)
IMPORTANT: Use US Chemical and Plastics 82014B System 2000 Structural Adhesive, a PLIOGRIP(R) adhesive manufactured by Ashland
Chemical Company, or equivalent. Note the 9 minute working time and 1 hour cure time.
8. Apply a thin coat of Goodwrench Structural Bonding Epoxy (part no. 1234526), or equivalent, to the entire repair area extending across the cut
lines, use tacky mesh tape or an equivalent reinforcement matting. Apply enough bonding epoxy to fully 'wet out' reinforcement matting. Allow to
cure as necessary. (Refer to SMC Repair Procedures.)
9. Scuff all bonding surfaces to ensure proper adhesion. (Refer to SMC Repair Procedures.)