
Corvette V8-5.7L VIN G (1997)
Door Trim Panel Replacement: Removal Procedure
IMPORTANT: To avoid breaking the trim panel male fastener be sure to insert the fastener removal tool between the door trim panel and the
female retainer which is in the door, not between the door and the female retainer.
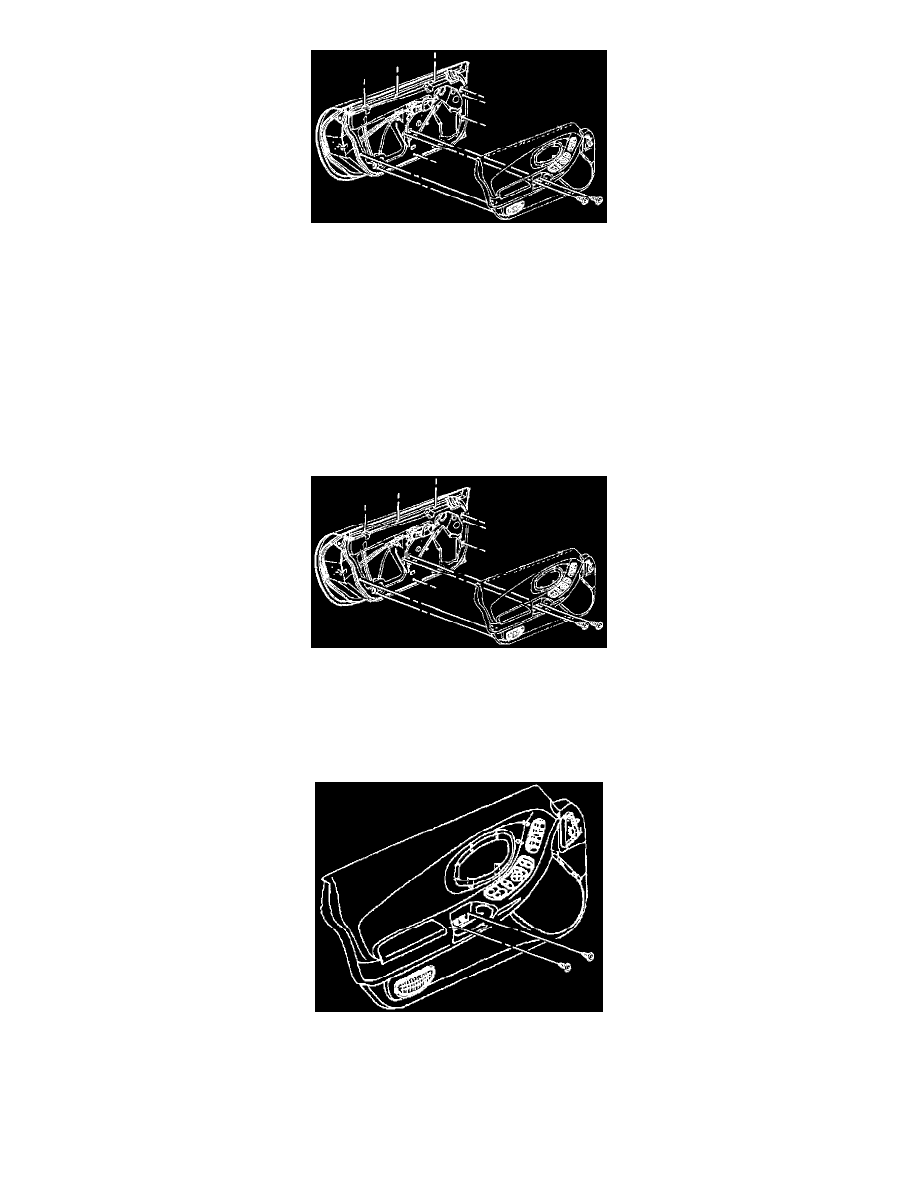
5. For better sight access to the fasteners start by prying out the fastener at the rear of the trim panel that is approximately 50 mm (2 inches) up from
the trim panel seam.
Pry out the remaining trim panel fasteners working your way forward.
6. Lift the trim panel up off the upper retainers and reposition the panel by the door.
7. Remove the harness connector from the switch.
8. Remove the trim panel with absorber, switch, and speaker grill.
9. Remove any trim panel upper retainers that remained on the door.
10. Transfer parts as necessary.
Door Trim Panel Replacement: Installation Procedure
INSTALLATION PROCEDURE
1. Reinstall any loose upper retainers to the door trim panel.
2. Position the trim panel near the door and install the switch harness to the switch.
3. Install the trim panel to the top of the door engaging the upper retainers.
Door Trim Panel Replacement: Installation Procedure
4. Align all the trim panel side and lower fasteners with the retainers in the door.
5. Press the trim panel firmly to the door at each fastener location.
6. Install the screws behind the pull handle.
Tighten