
Corvette V8-5.7L VIN G (1997)
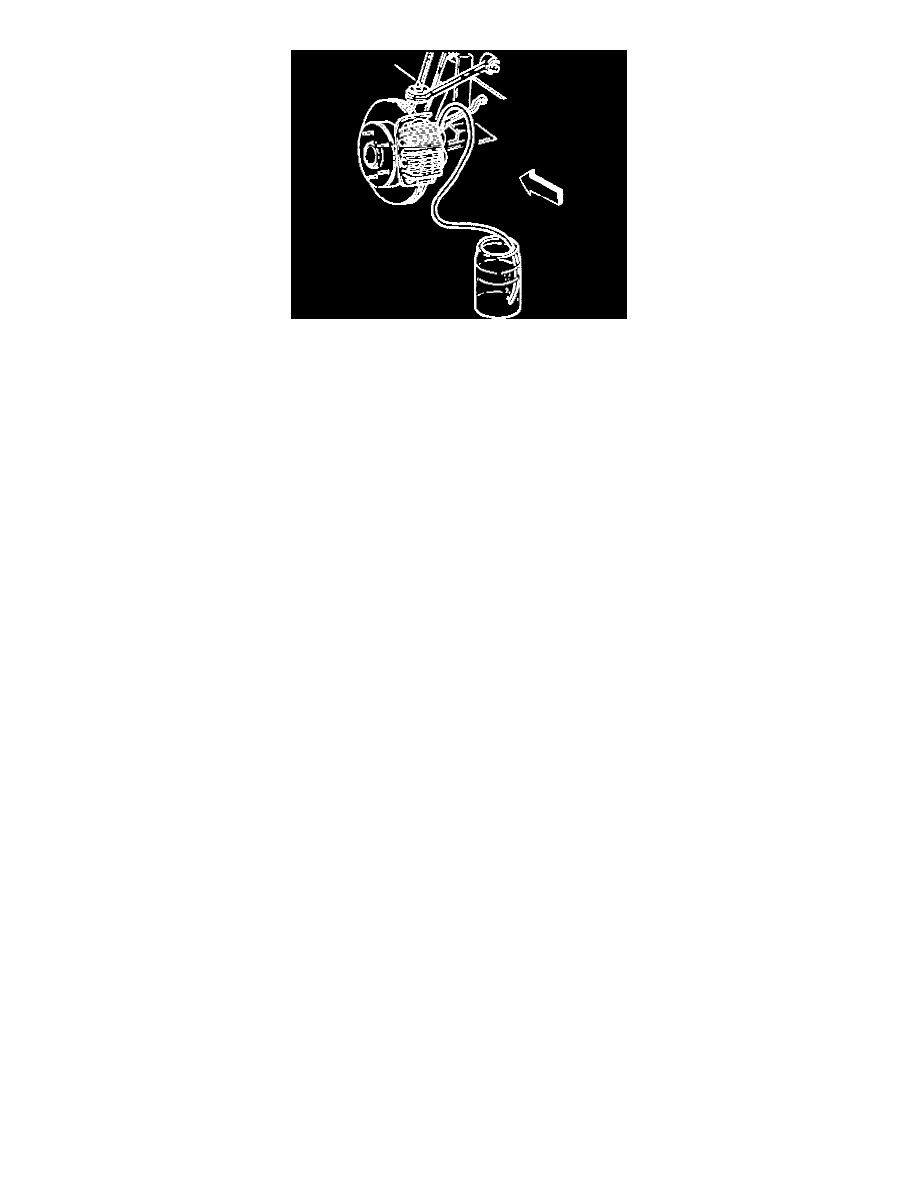
a. Place a proper size box end wrench, or equivalent, over the brake caliper bleed screw. Attach a clear tube over the screw. Submerge the other
end of the tube in a clear container partially filled with brake fluid.
b. Depress the brake pedal slowly one time and hold. Loosen the brake caliper bleed screw to purge the air from the cylinder. Tighten the brake
caliper bleed screw and slowly release the pedal. Wait 15 seconds. Repeat the sequence, including the 15 second wait, until all air is removed.
It may be necessary to repeat the sequence 10 or more times to remove all the air. Rapid pumping of the brake pedal pushes the master cylinder
secondary piston down the bore in a way that makes it difficult to bleed the system.
-
Tighten the brake caliper bleed screws to 12 Nm (106 inch lbs.).
c. If it is necessary to bleed all of the brake calipers, the following sequence should be used:
1. Right rear
2. Left rear
3. Right front
4. Left front
d. Check the brake pedal for sponginess.
e. Auto bleed the modulator and repeat the manual bleeding procedure to correct this condition.
Flushing
It is recommended that the complete hydraulic system be thoroughly flushed with clean brake fluid when new parts are installed in the hydraulic system.
The system must be flushed if there is any doubt about the grade of fluid in the system or if fluid has been used which contains the slightest trace of
mineral oil. All rubber parts that have been used with contaminated fluid must be replaced. Approximately one quart of fluid is required to flush the
hydraulic system.