
Corvette V8-5.7L VIN G (1997)
ASSEMBLE
^
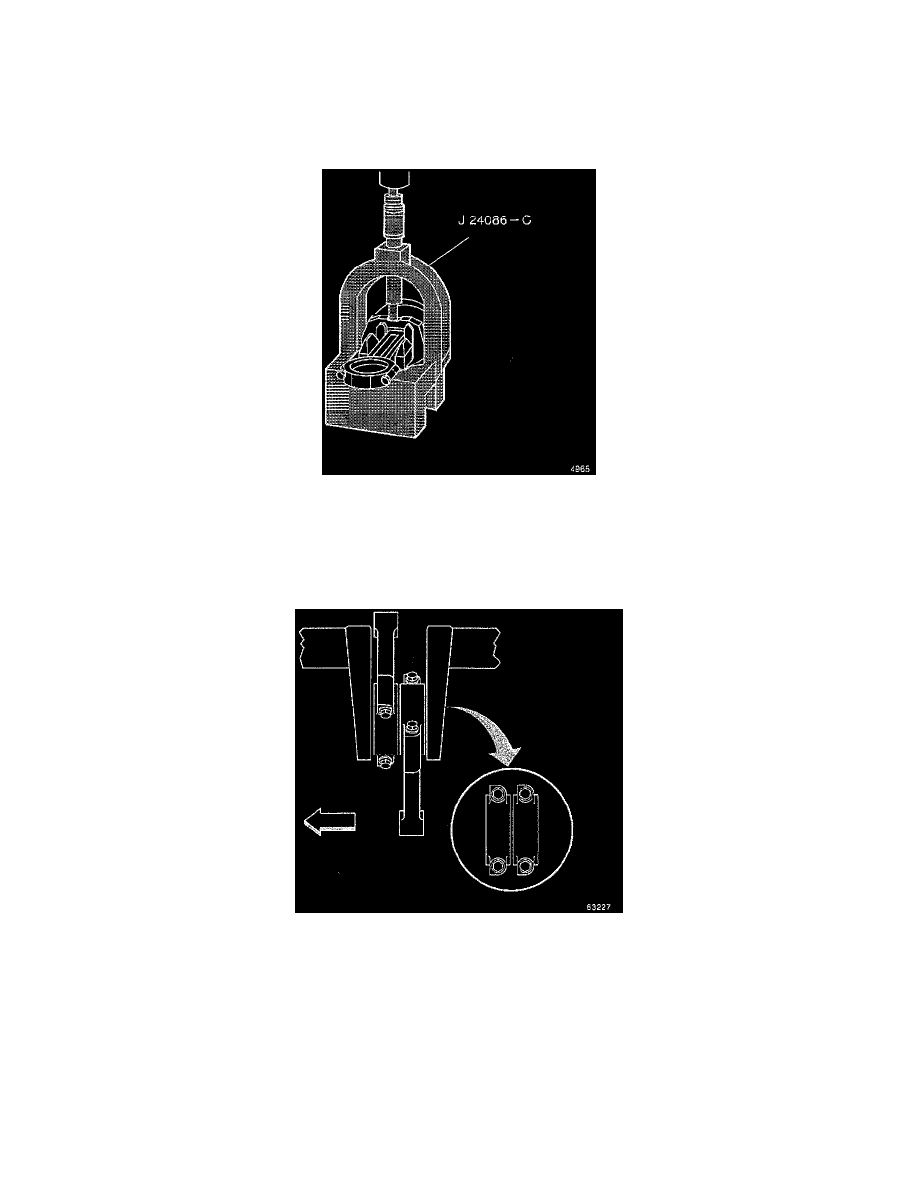
Tools Required - J 24086-C Piston Pin Remover/Installer
NOTE: Assemble the piston for the specific cylinder with the connecting rod for the corresponding crankshaft journal. The piston and connecting
rod MUST be assembled properly.
1. Insert the piston onto the press. Note the location of the alignment mark on the top of the piston.
WARNING: Avoid contact with HOT components. linear safety glasses and protective gloves to avoid personal injury.
CAUTION: Applying excessive heat to the connecting rod may damage or distort the rod. Rod temperature SHOULD NOT exceed 600°F (315°
C). At this temperature the end of the connecting rod will turn a straw color upon visual inspection.
2. Use a torch and apply MILD heat to the pin end of the connecting rod. Mild heating of the connecting rod will ease in piston and pin assembly.
NOTE: Note the alignment mark on the piston and assemble the piston and connecting rod properly.
3. Position the connecting rod so that the flat area on the bolt flange faces the front of the engine block.
CAUTION: After the installer hub bottoms on the support assembly, do not exceed 35000 kPa (5000 psi) pressure, this could cause damage to
the tool.