
Corvette V8-5.7L VIN G (1997)
8. Remove the intermediate pipe assembly.
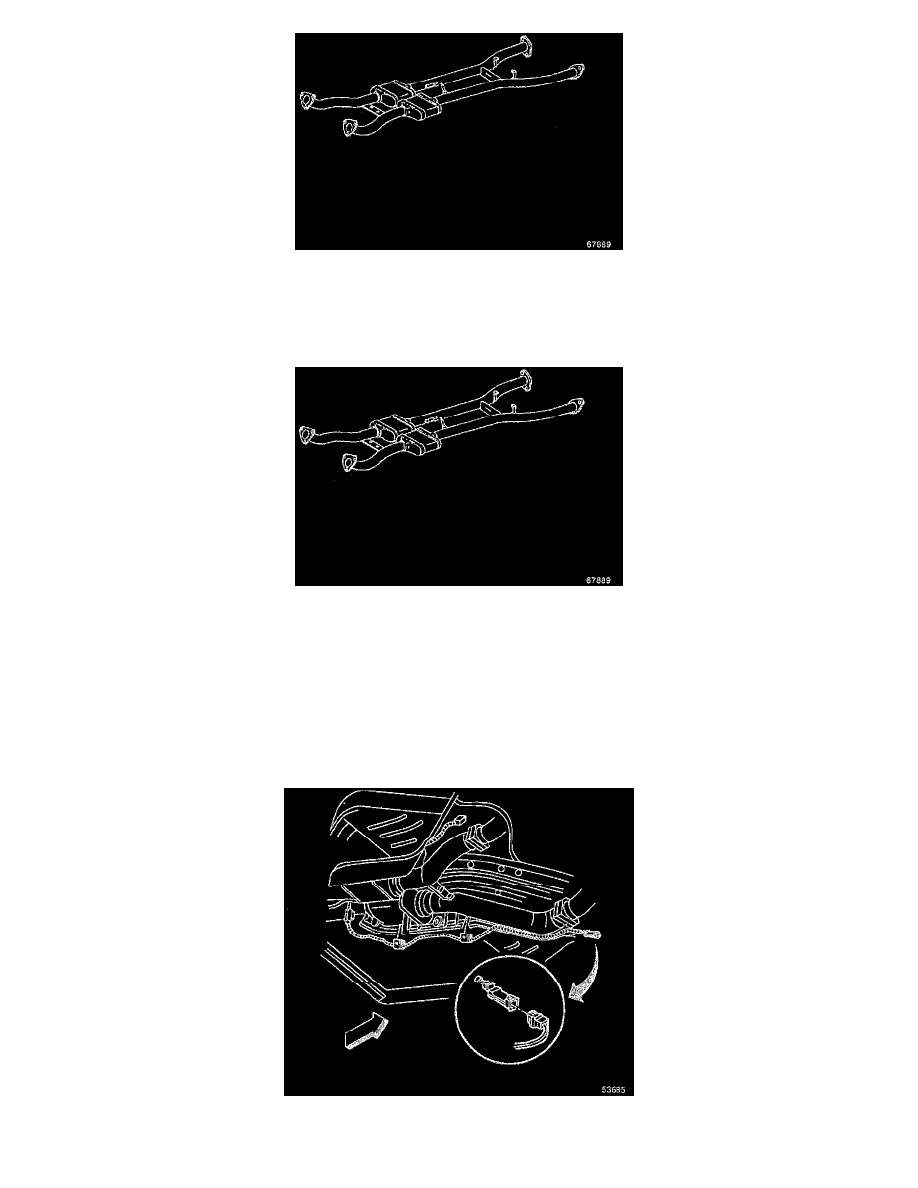
9. Remove the rear H02S from the intermediate pipe.
INSTALLATION
1. Coat the threads of the heated oxygen sensor with anti-seize compound P/N 5613695, or equivalent if necessary.
2. Install the rear H02S to the intermediate pipe. Tighten the H02S to 41 Nm (30 ft. lbs.).
3. Install the intermediate pipe assembly.
4. Handstart the following exhaust system bolts. The rear exhaust hanger bolts. The exhaust manifold-to-takedown pipe bolts The intermediate
exhaust pipe to the rear intermediate exhaust pipe bolts The front exhaust hanger bolts
5. Inspect the alignment of the exhaust system.
6. Tighten the exhaust system bolts starting at the rear and ending with the front exhaust hanger.
a. Tighten the intermediate exhaust pipe to rear exhaust pipe bolts to 50 Nm (37 ft. lbs.).
b. Tighten the rear exhaust hanger bolts to 50 Nm (37 ft. lbs.).
c. Tighten the exhaust manifold-to-takedown pipe nuts to 20 Nm (15 ft. lbs.).
d. Tighten the front exhaust hanger bolts to 50 Nm (37 ft. lbs.).
7. Connect the HO2S connectors.
8. Lower the vehicle.