
Corvette V8-5.7L VIN G (1997)
NOTICE: Refer to Fastener Notice in Service Precautions.
4. Install new seal nuts on the HVAC module studs.
-
Tighten the HVAC module seal nuts to 10 N.m (89 lb. in).
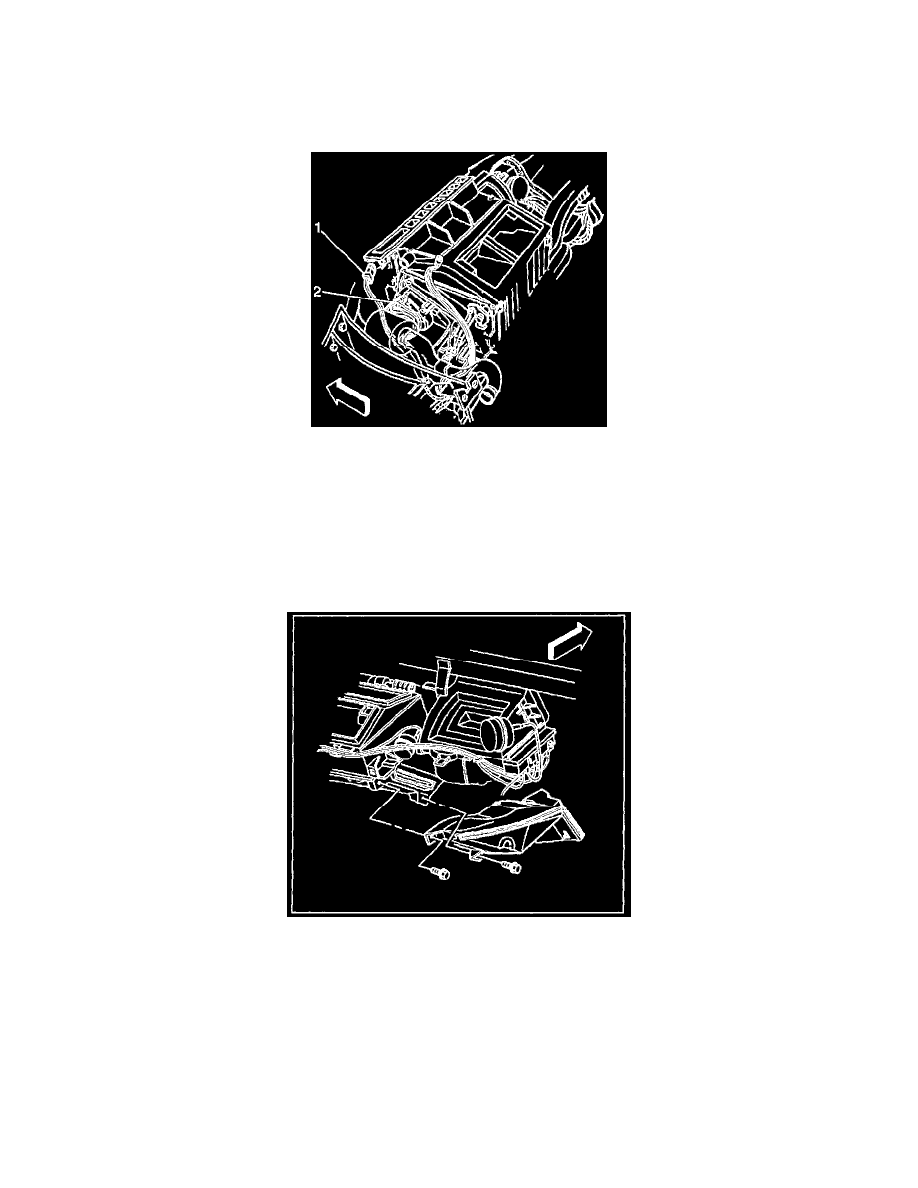
5. Connect the electrical connector (2) to temperature door control motor.
6. Connect the vacuum source line connection to the Instrument Panel (I/P) harness.
7. Install the blower motor onto the module.
-
Tighten the blower motor mounting screws to 20 N.m (15 lb. in).
8. Connect the blower motor electrical connector.
9. Install the upper RH floor air outlet duct onto the module.
-
Tighten the upper RH floor air outlet duct screws to 1.6 N.m (14 lb in).