
Corvette V8-5.7L VIN G (1997)
Fluid - A/T: Service and Repair
Transmission Fluid Checking Procedure
TRANSMISSION FLUID CHECKING PROCEDURE
INSPECTION PROCEDURE
CAUTION: When the transmission is at operating temperatures, take necessary precautions when removing the check/fill plug, to avoid
being burned by draining fluid.
1. Raise and suitably support the vehicle.
2. Start and run the engine at idle.
3. Apply the brakes.
4. Shift the transmission into each gear for at least 2 seconds per gear.
5. Shift the transmission into NEUTRAL and continue to idle the engine for 3 minutes to stabilize the transmission fluid level.
6. After allowing the fluid level stabilization time and while still in NEUTRAL (engine still running at idle), check the transmission fluid temperature
on the driver information center.
Specification
Transmission fluid level temperature: 30 to 50° C (86 to 122° F)
7. If the fluid temperature is above specification, turn off the engine and allow the transmission to cool, then repeat the procedure to this point before
proceeding.
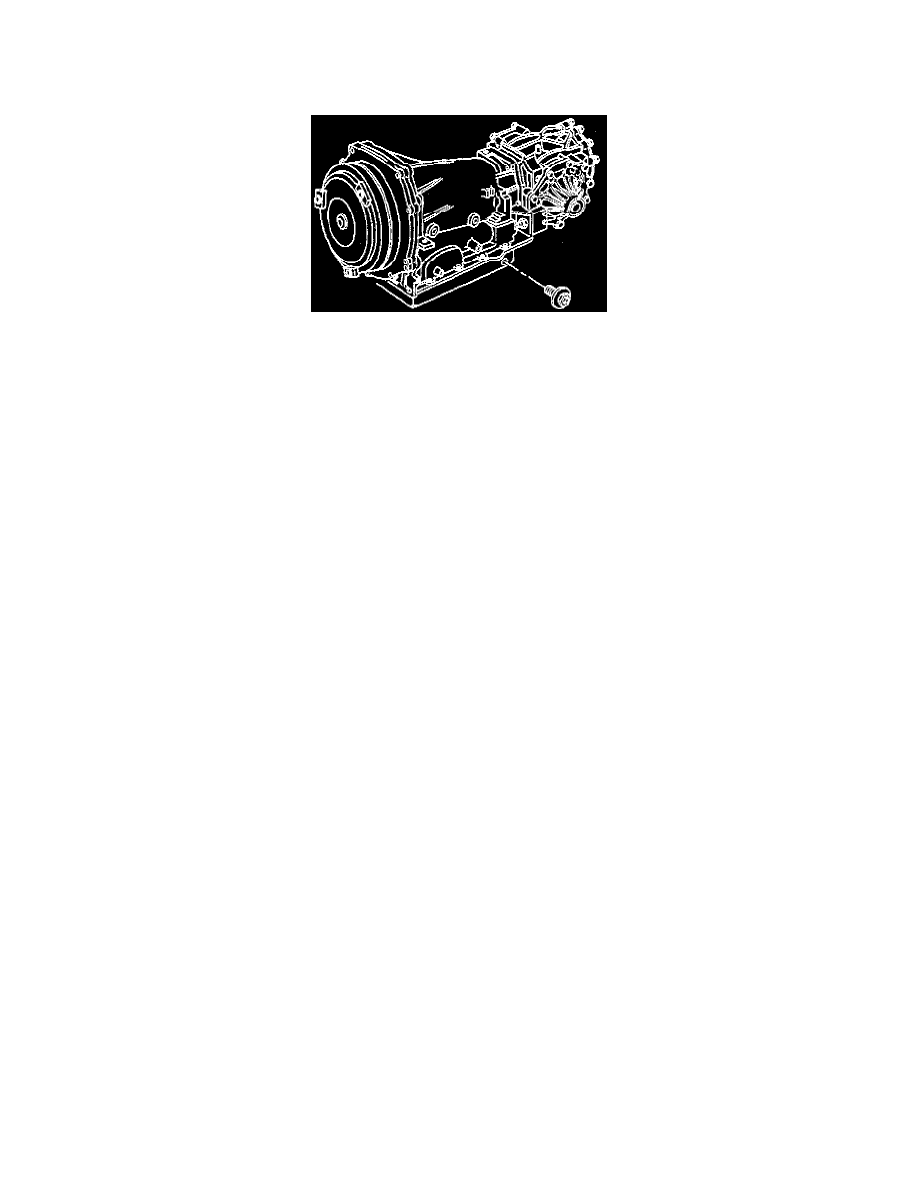
8. With the engine still running at idle, loosen the check/fill plug on the LH side of the transmission oil pan.
9. Inspect the fluid level:
-
Any excess fluid will drain when the check/fill plug is loosened.
-
If no fluid drains, remove the check fill plug and fill the transmission with DEXRON transmission fluid unfit the fluid begins to overflow.
10. Install the check/fill plug.
-
Tighten the fill plug to 30 Nm (22 ft. lbs.).
NOTICE: Use the correct fastener in the correct location. Replacement fasteners must be the correct part number for that application. Fasteners
requiring replacement or fasteners requiring the use of thread locking compound or sealant are identified in the service procedure. Do not use
paints, lubricants, or corrosion inhibitors on fasteners or fastener joint surfaces unless specified. These coatings affect fastener torque and joint
clamping force and may damage the fastener. Use the correct tightening sequence and specifications when installing fasteners in order to avoid
damage to parts and systems.
11. Shift the transmission into PARK.
12. Release the brakes.
13. Turn off the engine.
14. Lower the vehicle.