Corvette V8-5.7L VIN G (1997)

Vehicle Speed Sensor: Service and Repair
REMOVAL PROCEDURE
CAUTION: Disconnect the negative battery cable under the following circumstances:
-
When installing an electrical unit.
-
When a tool or equipment could easily come into contact with "live" exposed electrical terminals.
Failure to disconnect the negative battery terminal may result in personal injury or damage to the vehicle's components. Turn OFF the
vehicle ignition, unless instructed otherwise.
1. Disconnect the negative battery cable.
2. Raise and suitably support the vehicle.
3. Remove the RH muffler assembly.
4. Clean any dirt from around the vehicle speed sensor.
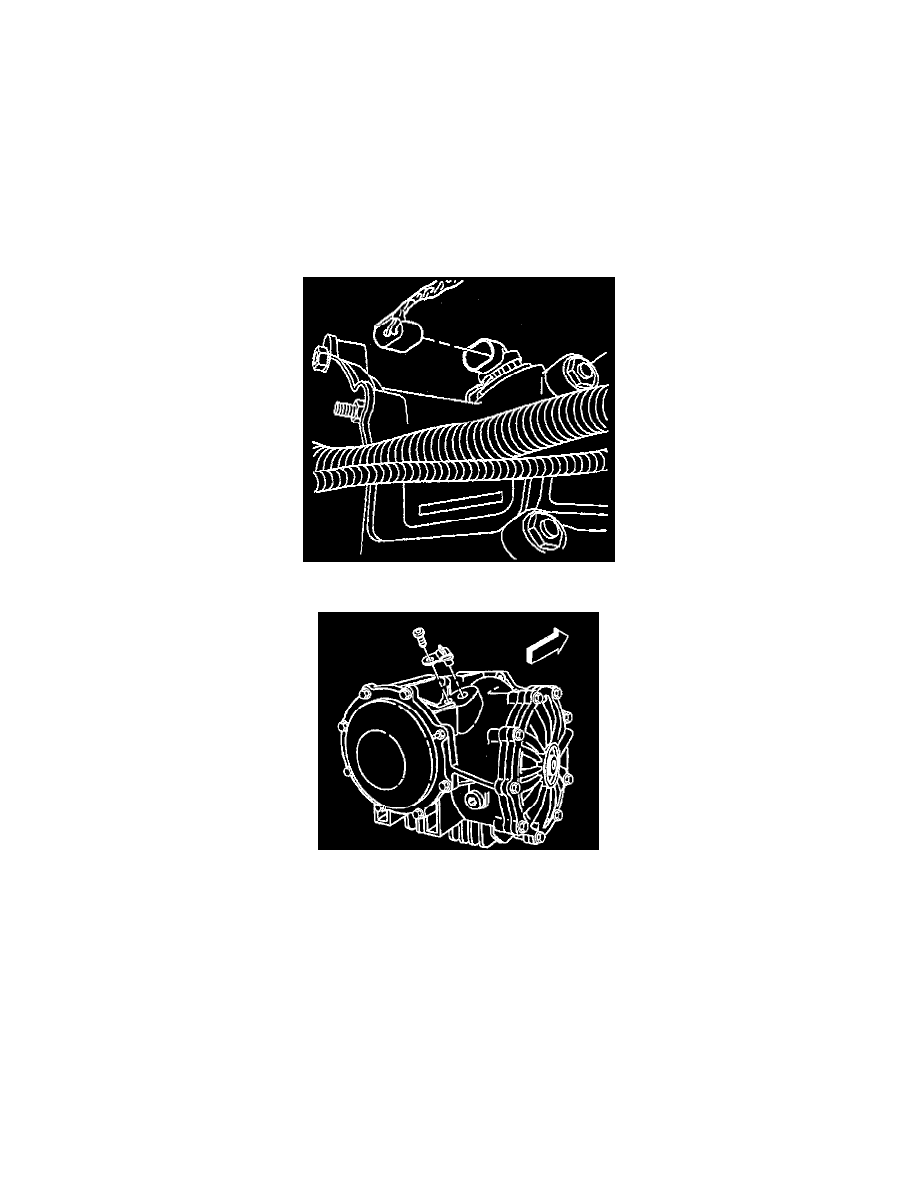
5. Disconnect the electrical connector from the vehicle speed sensor (VSS).
Vehicle Speed Sensor (VSS)
6. Remove the bolt retaining the VSS to the rear axle differential case.
7. Remove the VSS from the axle case by lifting up and out of the hole.
INSTALLATION PROCEDURE
1. Install the VSS into the hole on the axle case.
2. Line up the retaining bolt holes.
3. Install the bolt retaining the VSS to the rear axle differential case.
-
Tighten the vehicle speed sensor retaining bolt to 10 Nm (89 inch lbs.).
NOTICE: Use the correct fastener in the correct location. Replacement fasteners must be the correct part number for that application. Fasteners
requiring replacement or fasteners requiring the use of thread locking compound or sealant are identified in the service procedure. Do not use
paints, lubricants, or corrosion inhibitors on fasteners or fastener joint surfaces unless specified. These coatings affect fastener torque and joint
clamping force and may damage the fastener. Use the correct tightening sequence and specifications when installing fasteners in order to avoid
damage to parts and systems.
