
Corvette V8-5.7L VIN G (1997)
Fuel Pressure Test Port: Service and Repair
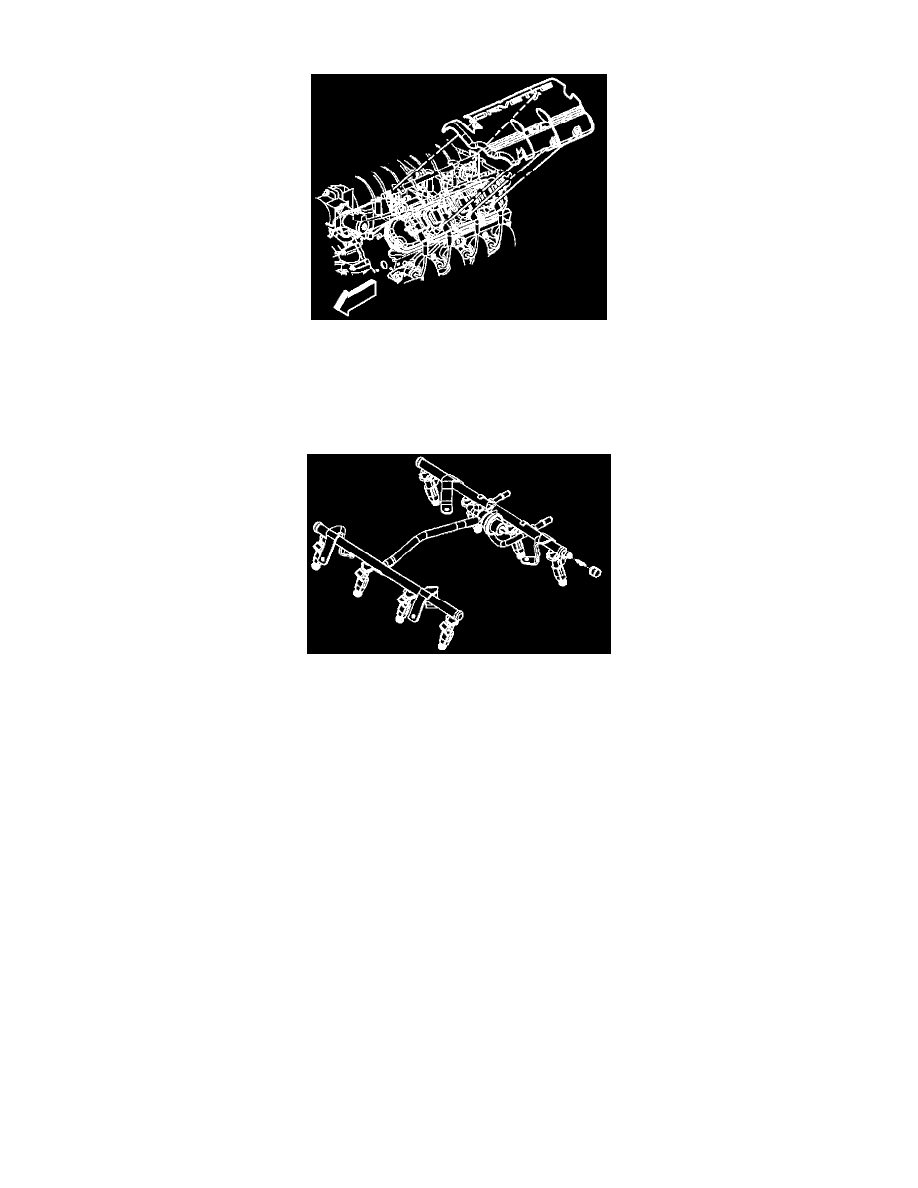
REMOVAL PROCEDURE
1. Disconnect the negative battery cable.
2. Remove the left fuel rail cover.
3. Clean the area around the fuel pressure connection with a spray type engine cleaner, GM X-30A or equivalent, if necessary.
4. Remove the cap from the fuel pressure connection valve.
5. Relieve the fuel system pressure. Refer to the Fuel Pressure Release Procedure.
Description
6. Remove the fuel pressure connection valve assembly using a standard valve core removal and installation tool.
INSTALLATION PROCEDURE
1. Install the fuel pressure connection valve assembly using a standard valve core removal and installation tool.
2. Tighten the fuel filler cap.
3. Connect the negative battery cable.
4. Inspect for leaks.
4.1. Turn the ignition switch ON for 2 seconds.
4.2. Turn the ignition switch OFF for 10 seconds.
4.3. Turn the ignition switch ON.
4.4. Check for fuel leaks.
5. Install the fuel pressure connection valve cap.
6. Install the left fuel rail cover.