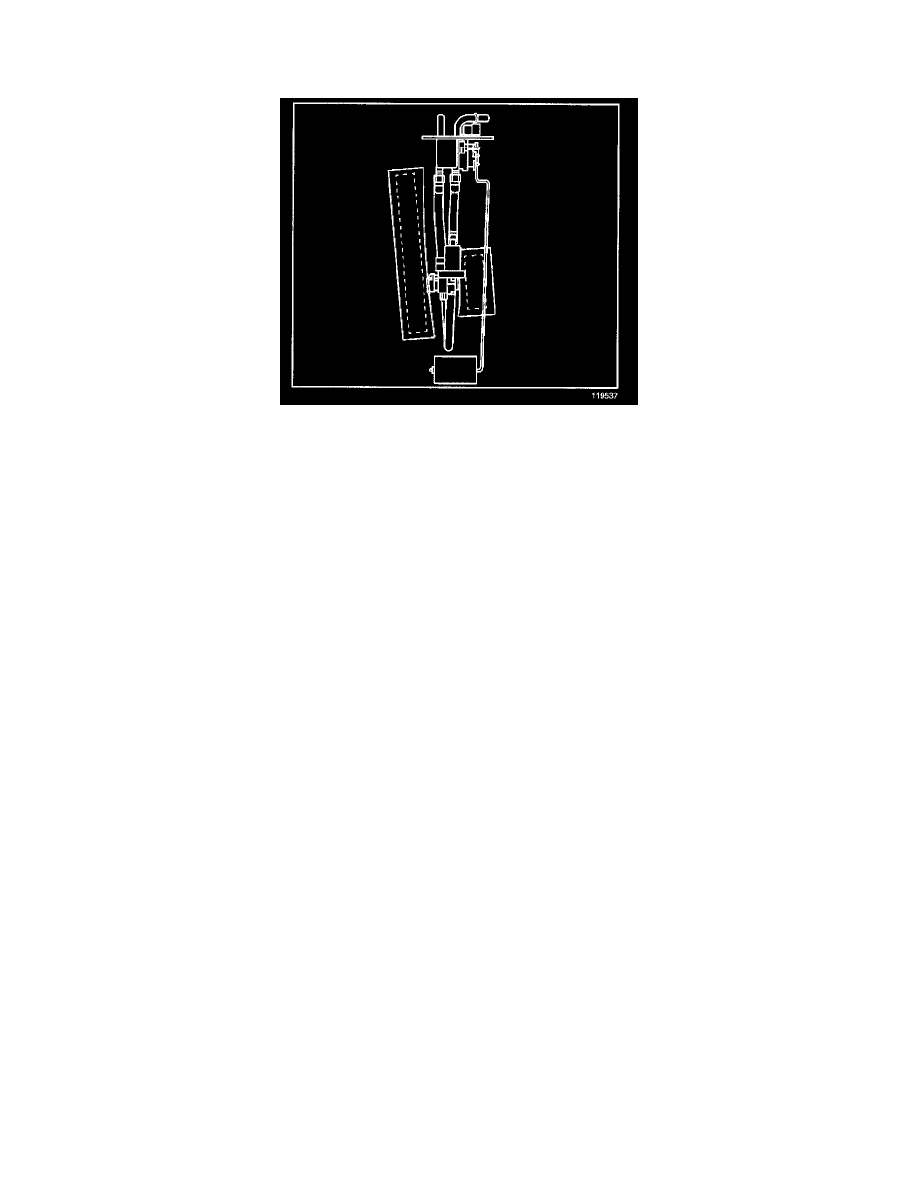
Corvette V8-5.7L VIN G (1997)

Fuel Tank Unit: Service and Repair
Right
REMOVAL PROCEDURE
1. Disconnect the negative battery cable.
2. Relieve the fuel system pressure. Refer to the Fuel Pressure Release Procedure.
3. Raise the vehicle.
4. Remove the rear wheel and tire assembly.
5. Clean all of the fuel connections and the surrounding areas before disconnecting the fuel pipes in order to avoid possible contamination of the fuel
system.
6. Drain the fuel tanks. Refer to Draining Fuel Tanks (Pump Inoperative) or Draining Fuel Tanks (Pump Operational).
7. Mark or identify each fuel pipe in order to aid in installing the pipes in their original positions.
8. Disconnect the quick-connect fittings from the fuel sender. Refer to Fuel Line Coupling (Plastic Collar).
9. Cap all of the fuel pipes.
10. Disconnect the fuel sender electrical connector.
11. Remove the fuel tank strap/shield.
12. Support the fuel tank.
13. Remove the fuel sender attaching bolts.
14. Remove the float arm retaining clip and the float arm.
15. Carefully remove the fuel sender with the gasket.
16. Discard the fuel sender gasket.
17. Discard the fuel sender attaching bolts.
18. Clean the gasket sealing surfaces.
INSTALLATION PROCEDURE
WARNING: In order to reduce the risk of fire and personal injury that may result from a fuel leak, always replace the fuel sender gasket
and the fuel sender attaching bolts when reinstalling the fuel sender assembly.
IMPORTANT: Always install new fuel pump strainers before reinstalling the fuel sender assembly. A fuel pump strainer that has been exposed to
fuel will not unfold in the fuel tank and may block full travel of the float arm.
1. Install the new fuel pump strainers in the same position as noted during disassembly.
1.1. Install the small strainer on the float arm side of the siphon jet pump by pushing the strainer ferrule onto the side opening of the siphon jet
pump body.
1.2. Install the long strainer on the opposite side of the siphon jet pump by pushing the strainer ferrule onto the side opening of the siphon jet
pump body.
1.3. Attach the two strainers to the siphon jet pump body through the tab opening with a small tie wrap.
2. Install a new fuel sender gasket on the fuel sender using the new fuel sender mounting bolts to hold the gasket in place.
3. Fold the long strainer in half over itself and hold the strainer in this position.
4. Pinch both strainers upward toward each other.
5. Insert the fuel sender through the fuel tank opening.
6. Release the strainers once the strainers are in the fuel tank. The strainers will spring back to their full position.
IMPORTANT: Do not bend or twist the float arm.
