
Corvette V8-5.7L VIN G (1997)
Front Steering Knuckle: Service and Repair
^
Tools Required
-
J 42188 Ball Joint Separator
-
Or Equivalents
Removal Procedure
1. Raise and support the vehicle.
2. Remove the tire and wheel assembly.
3. Remove the brake caliper and rotor. Refer to Brakes and Traction Control.
4. Disconnect the wheel speed sensor electrical connector.
5. Support the lower control arm using a jack stand.
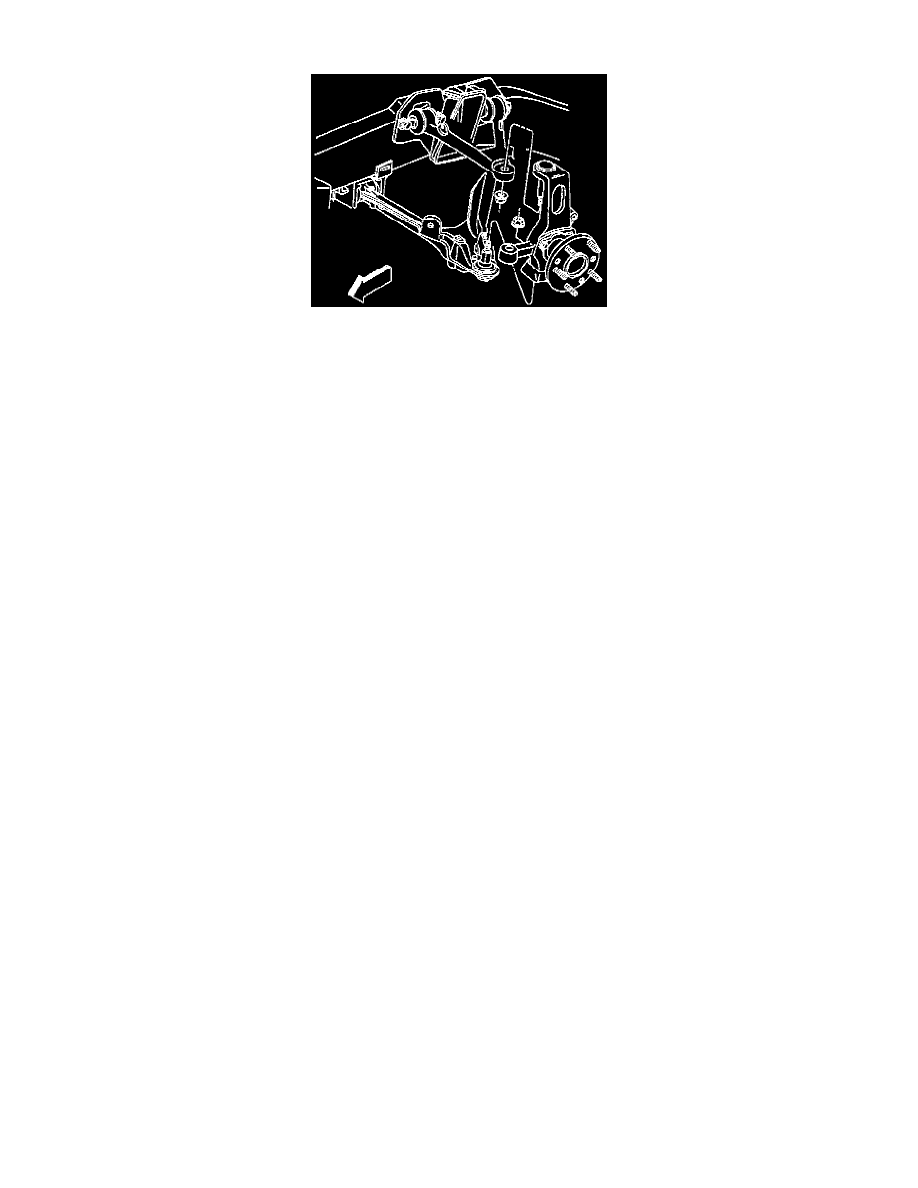
6. Separate the outer tie rod ball stud from the steering knuckle using J 42188. Refer to Outer Tie Rod End. See: Steering/Tie Rod
7. Separate the upper ball joint stud from the upper control arm using J 42188.
8. Separate the lower ball joint stud from the steering knuckle using J 42188. Refer to Lower Control Arm Replacement.
9. Remove the steering knuckle from the vehicle.
Installation Procedure
1. Install steering knuckle onto the upper control arm and the lower control arm ball stud.
2. Remove the jack stand.
3. Install the steering linkage outer tie rod ball into the steering knuckle. Refer to Outer Tie Rod End. See: Steering/Tie Rod
4. Connect the wheel speed sensor electrical connector.
5. Install the brake rotor and caliper. Refer to Brakes and Traction Control.
6. Install the tire and wheel assembly.
7. Lower the vehicle.
8. Check the front wheel toe and adjust as necessary.