
Corvette V8-5.7L VIN G (1997)
to use the urethane kit will result in poor retention of the windshield which may allow unrestrained occupants to be ejected from the vehicle
resulting in personal injury.
^
When you are working with any type of glass, use approved safety glasses and gloves to reduce the chance of personal injury.
1. Inspect the acoustic strip on the dash panel and replace if necessary.
2. Using suction cup holders, position the replacement windshield in the body opening.
3. Carefully inspect the windshield overlap at the body pinch-weld and the retaining flanges all the way around the body opening.
Specifications
Minimum overlap is 5.0 mm (0.19 in).
4. Mark the windshield position at the following locations using tape:
^
The windshield pillars
^
The lower edge
^
The upper edge
5. Cut the tape.
6. Remove the windshield from the body opening.
7. Place the windshield on a protected surface.
8. Thoroughly clean the replacement windshield surface to which urethane is to be applied with an alcohol dampened cloth. Allow the alcohol coated
surface to air dry.
9. Apply Clear Glass Prep #1 with a dauber to the edge and inner 100 mm (2 in) of the perimeter of the windshield surface and wipe the surface dry
with a clean cloth.
10. Apply Black Glass Primer #2 with a dauber to the edge and inner 100 mm (2 in) of the windshield surface and allow the surface to dry for
approximately 6 to 10 minutes.
IMPORTANT:
^
Urethane will not bond to the windshield unless Black Primer #2 has been applied to the windshield.
^
DO NOT apply Black Primer #2 to existing urethane.
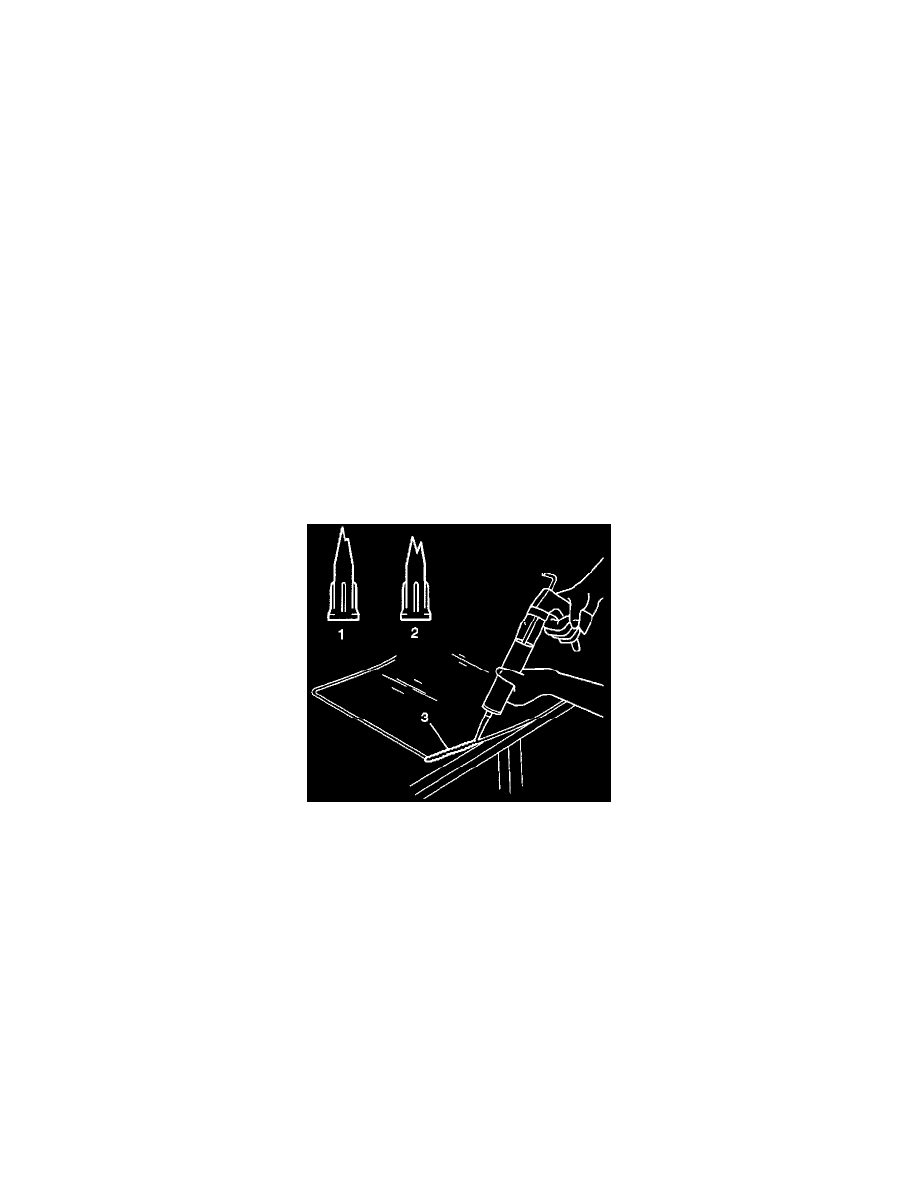
Windshield (Short): Installation Procedure
11. Cut a notch in the side of the caulking tip 4 mm (3/16 in) high and wide.
12. Apply the windshield adhesive using a caulking gun:
^
Hold the gun perpendicular to the surface.
^
Apply a smooth continuous 4.0 mm (0.17 in) bead of adhesive directly to the old adhesive in the body opening.