
Corvette V8-6.0L VIN U (2005)
18. Remove the crossmember from the vehicle.
19. Discard the rear crossmember mounting nuts.
Installation Procedure
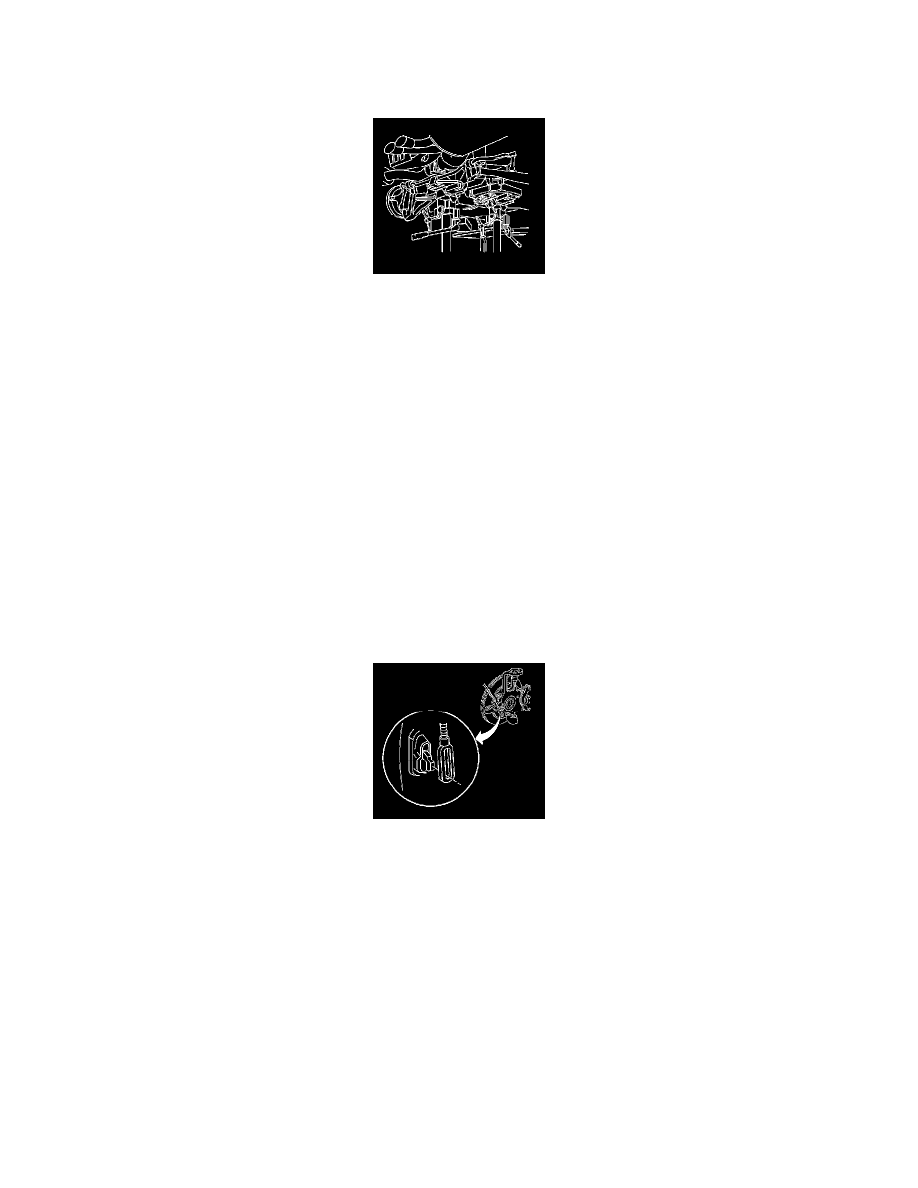
1. Install the crossmember to the vehicle.
*
Align the crossmember dowel pins to the holes in the frame rails.
*
Align the transaxle mount studs to the crossmember.
Notice: Refer to Fastener Notice in Service Precautions.
Important: Only use NEW crossmember mounting nuts.
2. Using HAND TOOLS ONLY, install NEW rear suspension crossmember mounting nuts.
Tighten nuts to 110 N.m (81 lb ft).
3. Remove the J 42055 transmission jack from the transmission.
4. Remove the transmission jack from the crossmember.
5. Connect all electrical harness retainers to the crossmember.
6. Connect the brake pipes retainers to the crossmember.
7. Install the transaxle mount lower nuts.
8. Install the transverse spring to the crossmember.
9. Install the lower control arms to the crossmember.
10. Install the inner tie rod end studs to the crossmember.
11. Install the rear suspension position sensors.
12. Connect the electrical connectors to the ESC shock absorber harnesses, if equipped.
13. Connect the park brake cables to the actuator levers.
14. Connect the wheel speed sensor harness connector.
15. Install the tire and wheel assemblies.
16. Lower the vehicle.
17. Measure and adjust the rear trim height as necessary.
18. Perform a rear wheel alignment. Refer to Measuring Wheel Alignment in Wheel Alignment.