
Corvette V8-6.0L VIN U (2005)
5.
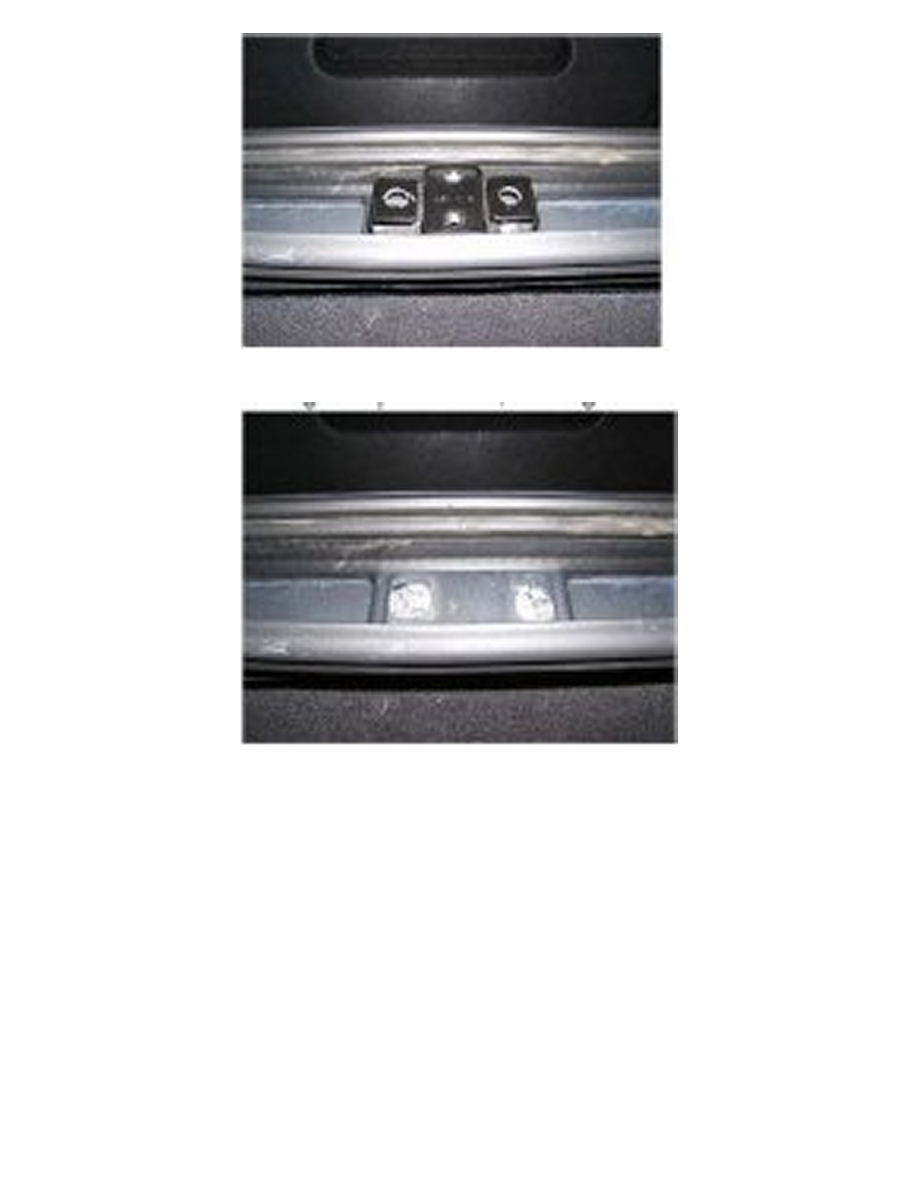
Directly above the rivet on each side of the bracket, drill a 1/8 in pilot hole. DO NOT drill into the rivet.
6.
Using the pilot hole, enlarge the hole in the bracket to 3/8 in.
7.
Using the access holes and the 3/8 drill bit, drill out the rivets just enough to remove the bracket. DO NOT drill all the way through the rivet.
Note
If the rivets are drilled through and fall into the cross channel, apply a piece of masking tape over the open hole directly below the bracket in
the cross channel. Use expandable foam, 3M(TM) Automix(TM) Flexible Foam P/N 08463 or equivalent, and apply four squeezes of material
into the cavity of the channel. This will ensure that the rivets do not cause a rattle concern.
8.
Clean the area of all debris. Remove any sealer that may be present on the body.
9.
On the new bracket, remove the paint from the bottom using sandpaper.
10.
Reinstall the bumper and the plug to the new bracket. Set the height of the bumper to the measurement recorded earlier.
11.
Apply a bead of body structural adhesive (see parts information below) to the bottom of the bracket.
12.
Use the old rivets as locators and press the bracket into place.
13.
Wipe off any excess adhesive that may have squeezed out.
14.
Allow the adhesive to cure.