
Corvette V8-6.0L VIN U (2005)
Tighten
Tighten the stabilizer shaft insulator clamp bolts to 58 N.m (43 lb ft).
52.
Install the tie rod to the steering knuckle.
53.
Install the outer tie rod end stud nut to the outer tie rod end stud and tighten.
Tighten
Tighten the outer tie rod end stud nut to 20 N.m (15 lb ft) to seat the stud.
53.1. Turn the nut an additional 160 degrees.
53.2. Check for the outer tie rod end stud nut for a minimum final torque of 45 N.m (33 lb ft).
54.
Install the lower ball joint to the steering knuckle.
54.1. Tighten the lower control arm ball joint stud nut.
Tighten
Tighten the nut to 20 N.m (15 lb ft) to seat the ball joint stud.
54.2. Turn the ball joint stud nut an additional 210 degrees.
54.3. Check the ball joint stud nut for a minimum final torque of 55 N.m (41 lb ft).
55.
Install the shock bolts and tighten.
Tighten
Tighten the shock absorber lower mounting nuts to 28 N.m (21 lb ft).
56.
Repeat tie rod, lower ball joint and shock for the other side.
57.
Install the tires and lug nuts.
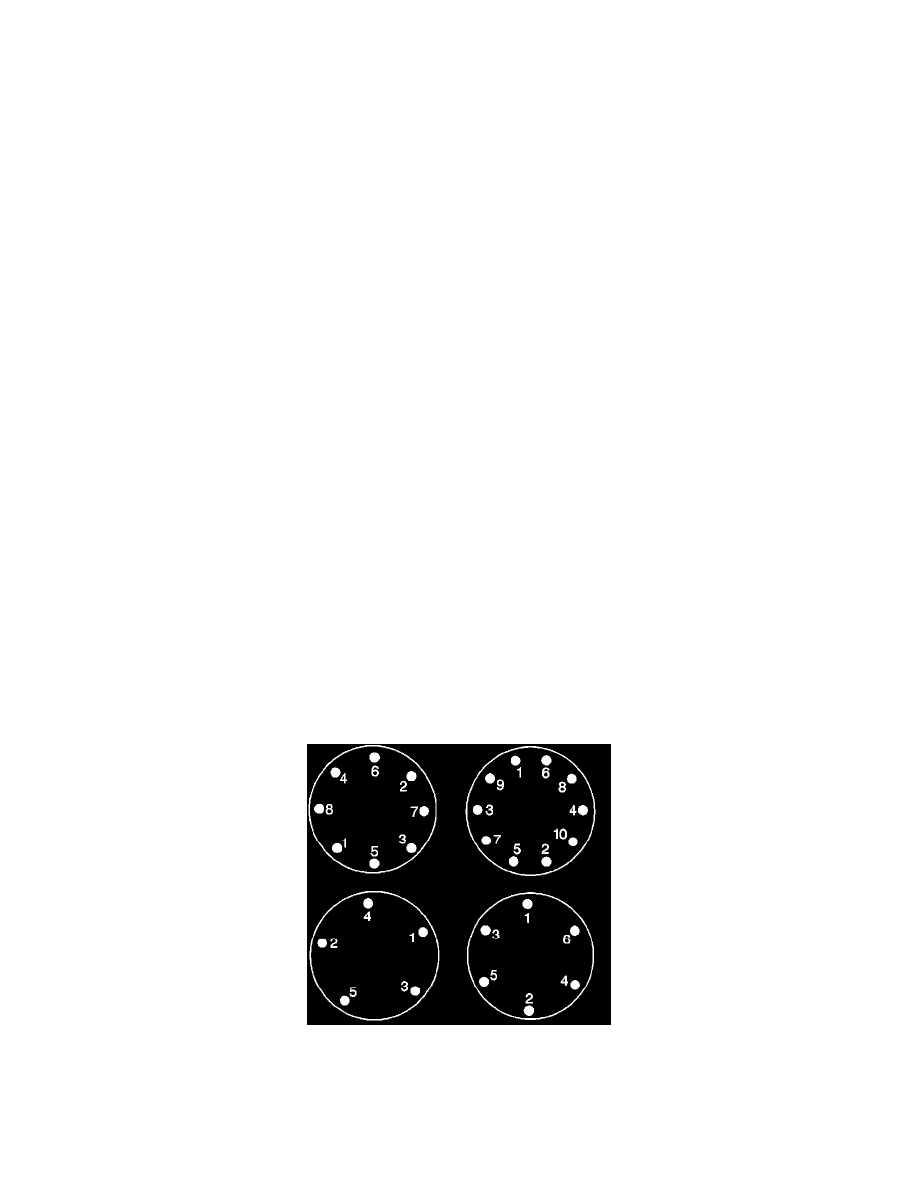
Important:
Tighten the nuts evenly and alternately in order to avoid excessive run out of the tire and wheel assembly.
58.
Using the J 39544-KIT tighten the wheel nuts in the appropriate sequence shown.
Tighten
Tighten the nuts in sequence to 140 N.m (100 lb ft).