
Corvette V8-6.0L VIN U (2005)
Harmonic Balancer - Crankshaft Pulley: Service and Repair
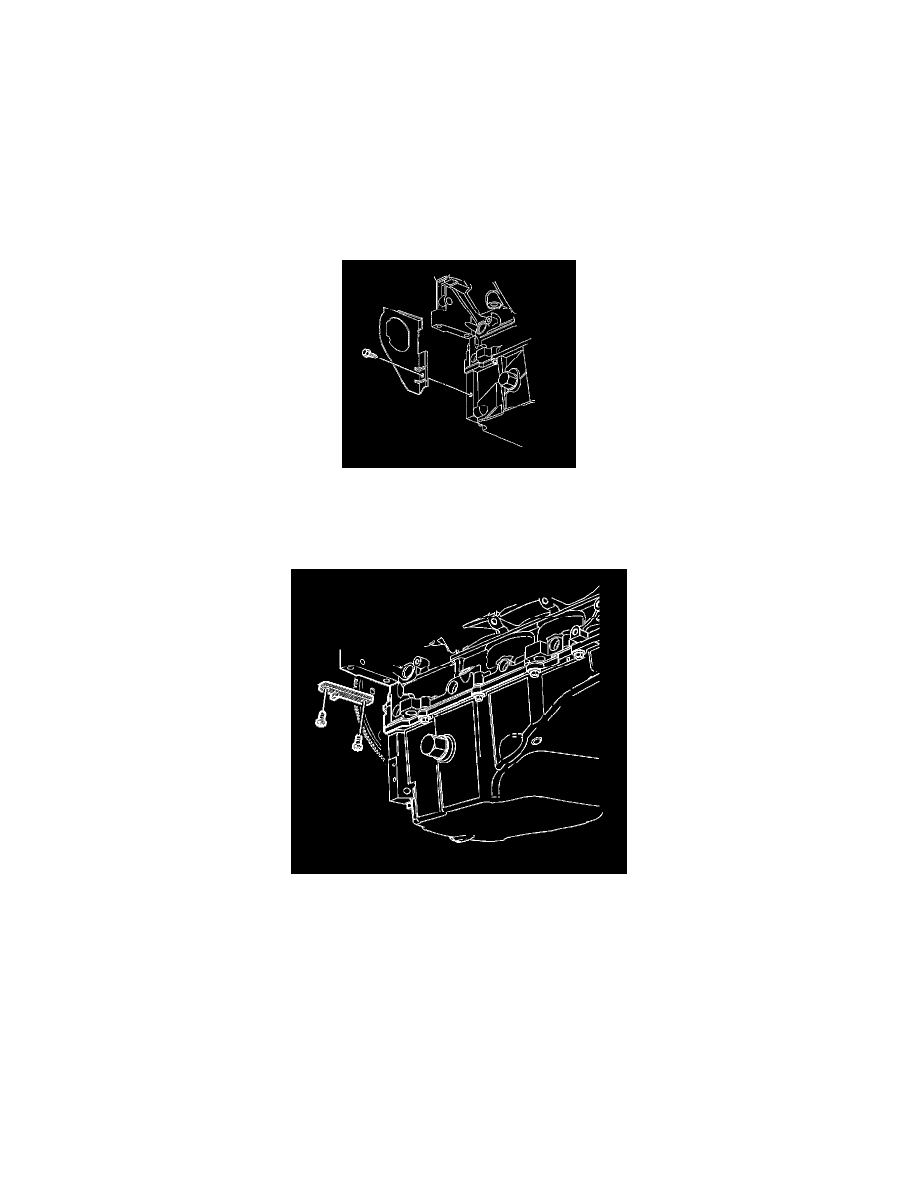
Crankshaft Balancer Replacement
Tools Required
^
J41816 Crankshaft Balancer Remover
^
J41816-2 Crankshaft End Protector
^
J42386-A Flywheel Holding Tool
^
J41665 Crankshaft Balancer and Sprocket Installer
^
J42386-A Flywheel Holding Tool
Removal Procedure
1. Remove the air conditioning (A/C) drive belt.
2. Remove the power steering gear.
3. Remove the starter motor.
4. Remove the right transmission cover and bolt.
5. Notice: Refer to Fastener Notice in Service Precautions.
Important:
^
For manual transmission applications, note the position of the crankshaft balancer before removal. The balancer does not use a key or keyway
for positioning. Mark or scribe the end of the crankshaft and the balancer before component removal. The crankshaft balancer must be
installed to the original position. If replacing the crankshaft balancer, note the location of any existing balance weights, if applicable.
Crankshaft balance weights must be installed into the new balancer in the same location as the old balancer. A properly installed balance
weight will be either flush or below flush with the face of the balancer.
^
Do not use the crankshaft balancer bolt again. Install a NEW crankshaft balancer bolt during final assembly.
Install the J42386-A and bolts. Use one M10 - 1.5 x 120 mm and one M10 - 1.5 x 45 mm bolt for proper tool operation.
Tighten the J42386-A bolts to 50 Nm (37 ft. lbs.).