
Corvette V8-6.0L VIN U (2005)
^
Metal transfer to the crank post. Replace the crankshaft if metal has been transferred to it or it is damaged.
^
Metal transfer or damage to the timing chain sprocket face. Replace the sprocket if either condition is present. Verify that the bolt does not
bottom out in the crank post.
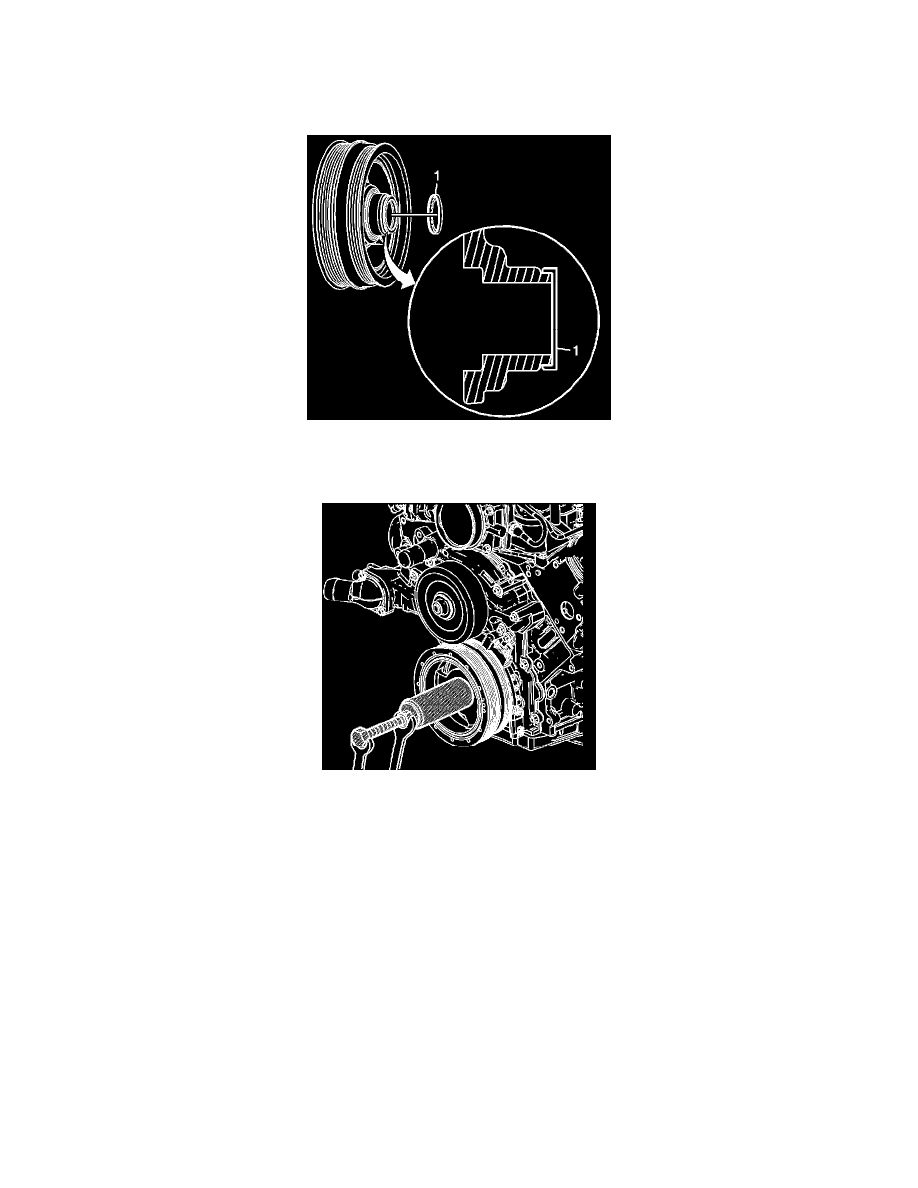
32.
Install the new POA friction washer onto the back of the new crankshaft balancer by hand. Refer to the illustration, item 1, for proper installation.
33.
Install the new balancer paying attention to line up the scribe mark.
34.
Use the J 41665 and the J 41478 in order to install the balancer. Note that the threaded rod in the illustration above is from J 41478, Front Oil Seal
Installer.
34.1. Assemble the J 41478 threaded rod, nut, washer and installer. Insert the smaller end of the J 41665 installer into the front of the balancer.
34.2. Use a wrench and hold the hex end of the threaded rod.
34.3. Use a second wrench and rotate the installation tool nut clockwise until the balancer is started onto the crankshaft.
34.4. Remove the tool and reverse the installation tool. Position the larger end of the installer against the front of the balancer.
34.5. Use a wrench and hold the hex end of the threaded rod.
34.6. Use a second wrench and rotate the installation tool nut clockwise until the balancer is installed onto the crankshaft.
34.7. Remove the balancer installation tool.
Note:
Failure to apply proper torque to the old balancer bolt may result in the balancer not being fully seated. This could lead to failure of this joint
in the future.