
Corvette V8-6.0L VIN U (2005)
Tighten
Tighten the starter bolts to 50 N.m (37 lb ft).
Important:
Orient the purple lead wire to the 10 o'clock position when installing.
41.
Connect the starter wiring
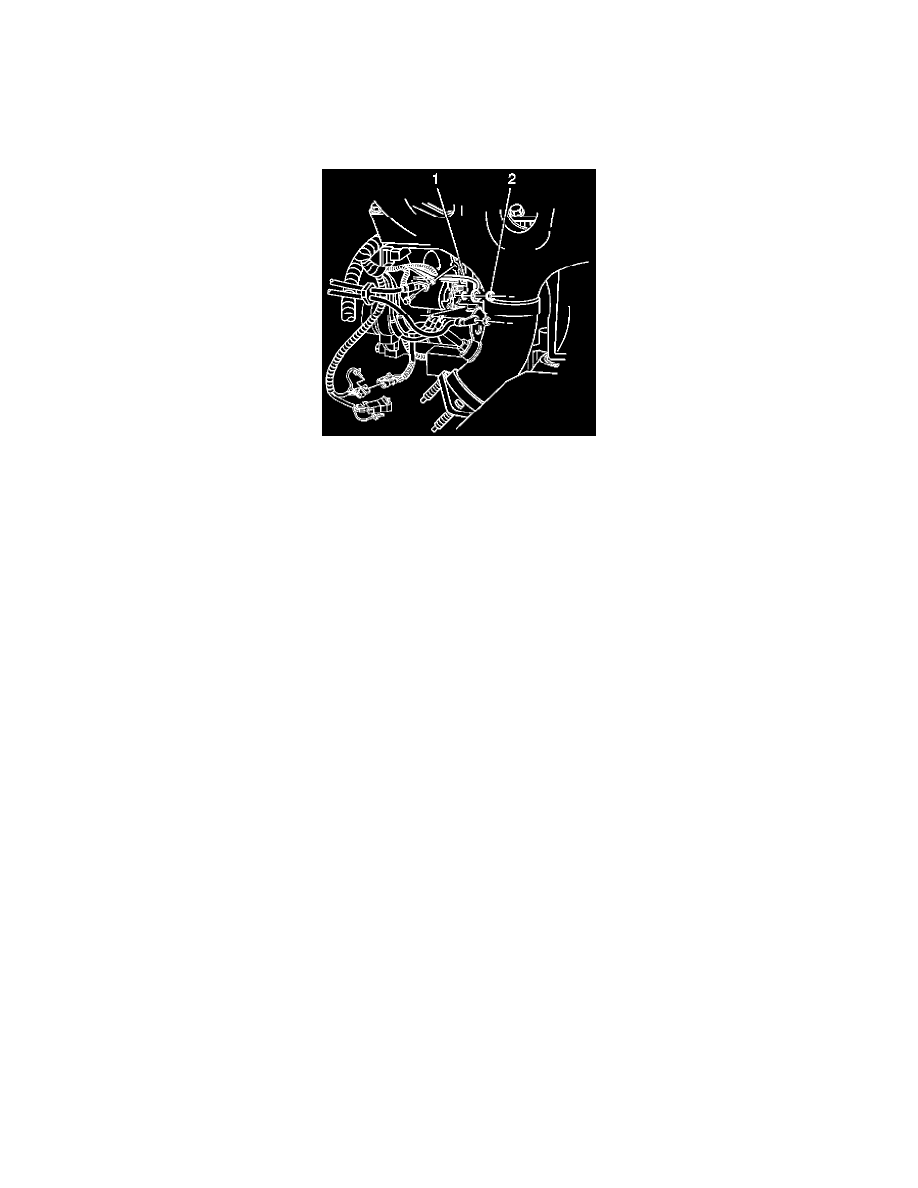
42.
Install the starter motor S terminal washer and purple lead wire (1).
43.
Install the S terminal nut (2) and tighten.
Tighten
Tighten the S terminal nut to 4 N.m (35 lb in).
Important:
Orient the gray and rust harness leads to the 6 o'clock and 7 o'clock position.
44.
Install the gray and rust harness leads to the solenoid.
45.
Raise and align the cradle.
46.
Install and tighten the cradle nuts.
Tighten
Tighten the nuts, using hand tools only, to 110 N.m (81 lb ft).
47.
Install and tighten the engine mount nuts.
Tighten
Tighten the nuts to 65 N.m (48 lb ft).
48.
Install the A/C belt.
49.
Install the cooler line bolts.
50.
Install the fan shroud assembly and bolts.
Tighten
Tighten the bolts to 5 N.m (44 lb in).
51.
Position the stabilizer shaft and install insulator clamps and bolts.