
Corvette V8-6.0L VIN U (2005)
Exhaust Manifold: Service and Repair
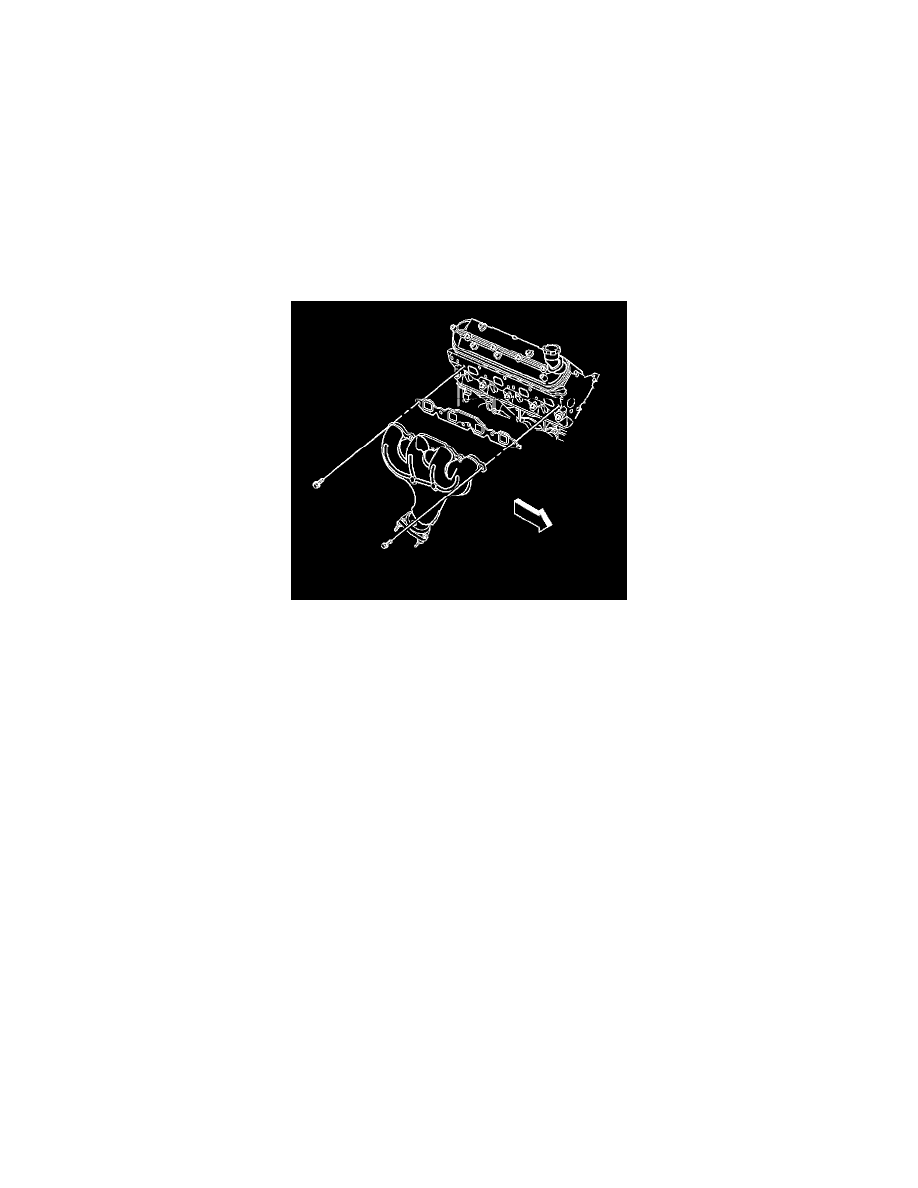
Exhaust Manifold Replacement - Right
Exhaust Manifold Replacement - Right
Removal Procedure
1. Remove the engine sight cover.
2. Remove the spark plugs.
3. Remove the Bank 2, Sensor 1 oxygen sensor.
4. Remove the oil level indicator and tube assembly.
5. Raise the vehicle. Refer to Vehicle Lifting.
6. Remove the catalytic convertor.
7. Lower the vehicle.
8. Remove the mounting nuts for the exhaust manifold.
9. Important: In the following service procedure, it maybe necessary to remove the heat shield from the exhaust manifold.
Remove the exhaust manifold and gasket.
Installation Procedure
Important: Tighten the exhaust manifold bolts as specified in the service procedure. Improperly installed and/or leaking exhaust manifold gaskets
may effect vehicle emissions and/or On-Board Diagnostics (OBD) II system performance.
The cylinder head exhaust manifold bolt hole threads must be clean and free of debris or threadlocking material.
1. Notice: Refer to Fastener Notice in Service Precautions.
If necessary, install the exhaust manifold heat shield and bolts.
Tighten the exhaust manifold heat shield bolts to 9 Nm (80 inch lbs.).
2. Raise the vehicle.
3. Important: In the following service procedure, DO NOT tighten the exhaust clamp. Leave it loosen so that the exhaust manifold and gasket can
be aligned on the cylinder head.
Install the catalytic convertor on the intermediate pipe.
4. Lower the vessel.